How to Build a Minecraft Lighthouse from Start to Finish
Lighthouses are one of those builds that look way more complicated than they actually are. You need a tower, some blocks that coordinate, and a light source at the top that makes sailors not crash into rocks. The good news? You can build one in vanilla Minecraft with stuff you probably already have in your inventory, and it'll look genuinely impressive on a survival server or creative world.
Planning Your Lighthouse Location and Design
First thing: pick a spot that actually makes sense. Real talk, coastal builds are the obvious choice, sure, but I've seen some incredible lighthouses on islands in the middle of lakes, on mountains overlooking biomes, even one absolutely ridiculous floating lighthouse someone dropped in the sky for aesthetics. The location matters because a lighthouse isn't just functional (unless you're playing with mods that have actual ship mechanics) - it's a landmark. It needs to be visible.
Height is critical here. You want tall enough that the light reads from a distance. Most functional lighthouses I've built end up around 20-30 blocks high, though you can go taller if you're feeling ambitious. Think about your terrain too. Building on flat beach? You don't need as much vertical space. Building on a cliff? That's already doing half the work for you.
Color scheme matters more than people realize.
White and red stripes are classic for a reason - they're visible from far away and they look intentional. You can also do all white, all black, or go creative with warm tones like red and brown. The point is commitment. Don't mix seven different wood types and then wonder why it looks messy. I tested a few lighthouse designs on my server, and the striped ones absolutely pop in screenshots, which is probably what you're after anyway.
Gathering Materials and Choosing Your Blocks
For a classic design, you're looking at:
- White blocks (white concrete, quartz, white wool, or snow) for the main color
- Red or dark blocks (red concrete, red wool, dark oak, or blackstone) for stripes or accent
- A top section that stands out (lanterns, soul lanterns, or colored glass)
- Stairs and slabs for architectural detail
- Decorative stuff like chains, fences, or walls for texture
The material choices change the whole vibe. White concrete with red clay stripes gives you a modern, clean look. Quartz with dark oak is more classical. Wool is softer and less shiny, which some people prefer. Try a few combinations in creative mode first. It takes ten minutes and saves you from mining three stacks of the wrong block.
Building the Core Tower Structure
Start with your base.
I go with a circular or octagonal footprint because it looks better than a square, but honestly, if square is easier for you, do square. Grab your main color block and build the outline. Make it about 8-12 blocks in diameter at the base. Then fill it in or leave it hollow - if you're planning interior rooms, hollow is better.
Now stack. Keep your stripes consistent as you go up. If you're doing every four blocks, measure it out. Nothing worse than realizing halfway up that your stripe pattern is off by one. It's tedious but it matters. Add stairs on the outside edge to break up the flatness. Stairs on the perimeter of each level give instant depth and make it look less like a solid cylinder.
Around the 15-block mark, start narrowing the tower slightly. Not drastically - just go from 12 blocks to 10 blocks in diameter. This taper is what separates a tower that looks like a pillar from one that looks intentional. At the very top, you want a platform or a room where your beacon sits. Make it 3-4 blocks wide and a couple blocks tall.
The Beacon Light: Making It Glow
This is where your lighthouse actually becomes a lighthouse and not just a random tower.

You've got options. Soul lanterns on top look creepy and cool. Regular lanterns look classic. A beacon block (the actual in-game beacon) will shoot a light straight up and give you status effects if you stand under it. For pure aesthetics, I prefer a mix: beacon on the very top with multiple lanterns surrounding it, maybe set into a cage or lantern post design.
Colored glass and glow lichen can create really cool light effects too, though glow lichen specifically works better for accent lighting inside the structure. If you want to get fancy, use different light sources on different levels - maybe warm lighting (lanterns) in the mid-section and cool lighting (soul lanterns or sculk sensors with redstone) at the top. It's extra, but it works.
For the actual room holding the beacon, think of it as the lamp room on a real lighthouse.
A 4x4 platform with railings, maybe some glass panels to look out from, and your light source in the middle. You could add a crafting table up there as a lookout post, or just leave it minimal. The point is making it feel functional, even if it isn't actually doing anything.
Interior Details and Accessibility
Okay, so most people build the tower and forget that someone's gotta get to the top. Add a staircase. Spiral stairs inside are classic lighthouse energy, but a straight staircase up the center works too and is way faster to build. Leave room for it - don't fill your entire interior with blocks and then realize you can't climb.
Add a landing or two on the way up. Every few blocks, create a small platform where you could hypothetically sit or stand. This breaks up the monotony and gives the interior some visual interest if anyone's actually going inside. If you're feeling ambitious, add small rooms: a library level, a sleeping quarters, a storage room. You could even use the Minecraft text generator to create a nameplate or sign identifying different levels.
Lighting on the way up matters.
Use lanterns or torches spaced evenly. Soul lanterns on one side, regular lanterns on the other - something that creates rhythm as you climb.
Common Mistakes That Tank the Whole Build
Don't make it too skinny.
A lighthouse that's only 4 blocks wide looks like a creeper got stretched. Go at least 8-10 blocks at the base. You can taper it, but start wide.
Don't forget the surrounding landscape. A perfect lighthouse plopped on blank terrain looks abandoned and weird. Add a walkway, some rocks, maybe a small dock if it's by water. Plant some seagrass or kelp if it's coastal. A few scattered driftwood details. The area around the lighthouse is like the frame on a painting - get it right and the whole thing looks intentional.
Don't over-complicate the color scheme. Two colors, maybe three maximum. Simplicity reads better, especially from distance. If you're trying to cram in oak, spruce, birch, and dark oak all at once, step back. It looks busy.
Actually, while we're talking about visibility - if you're building this on a server with other players and you want it to be a actual navigation aid, consider using the free Minecraft DNS tools to make sure the server address is stable and your builds stay in place. Nothing worse than crafting something incredible and then having the server go down mid-session.
And don't leave it unlit at night.
Your lighthouse does nothing if nobody can see it. Make sure that beacon or lantern setup actually glows at night. Test it with the sun down.
Going Further: Variations and Advanced Ideas
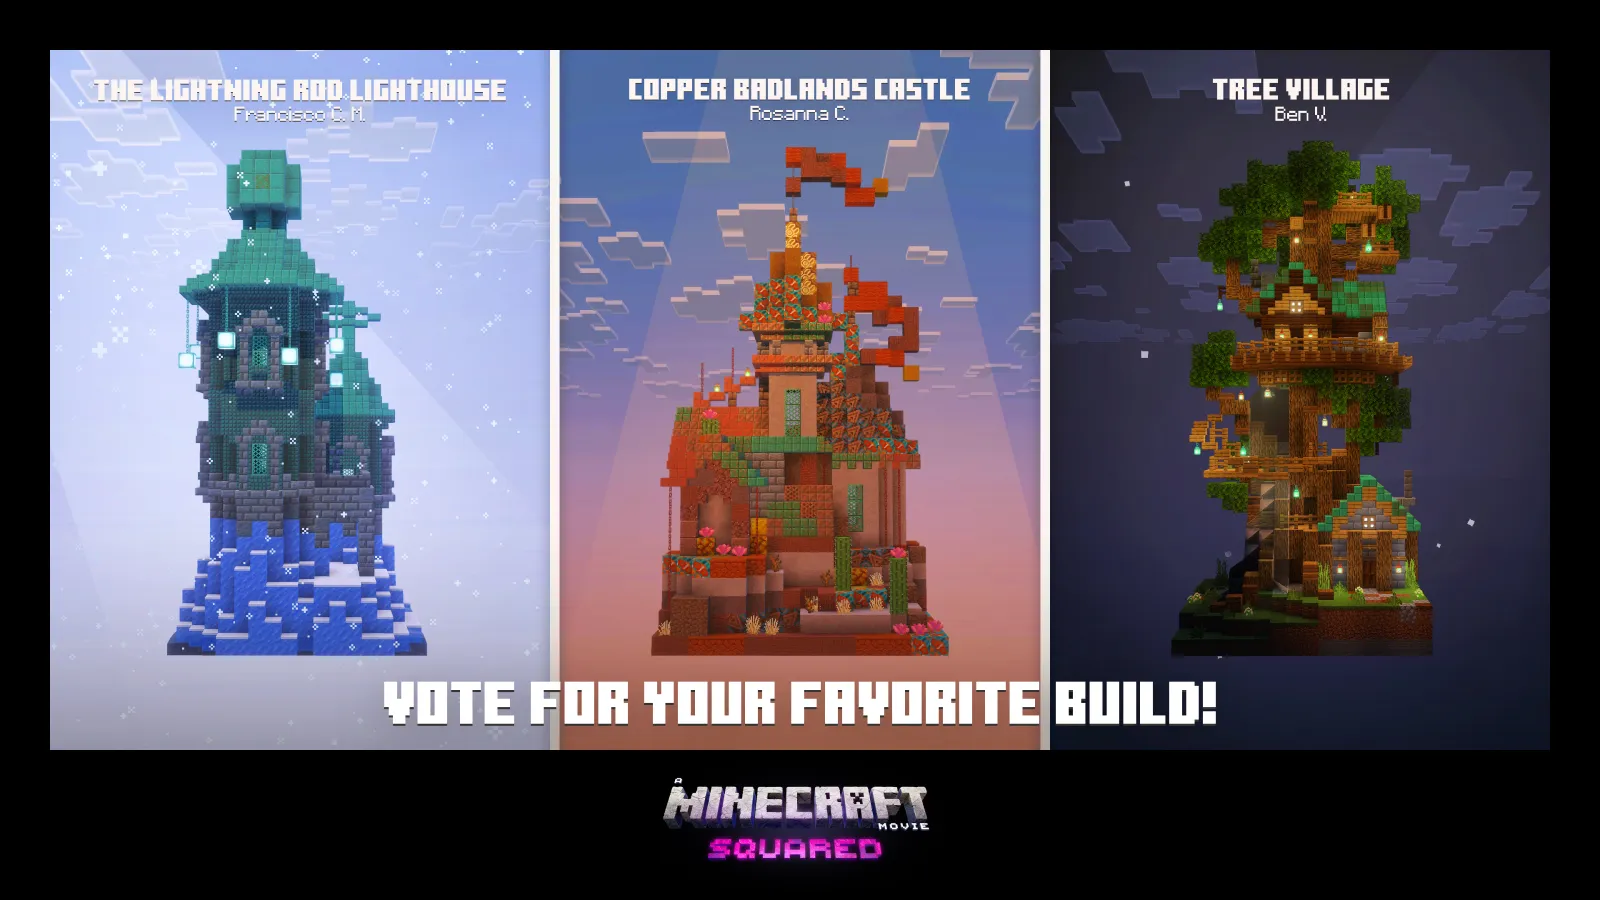
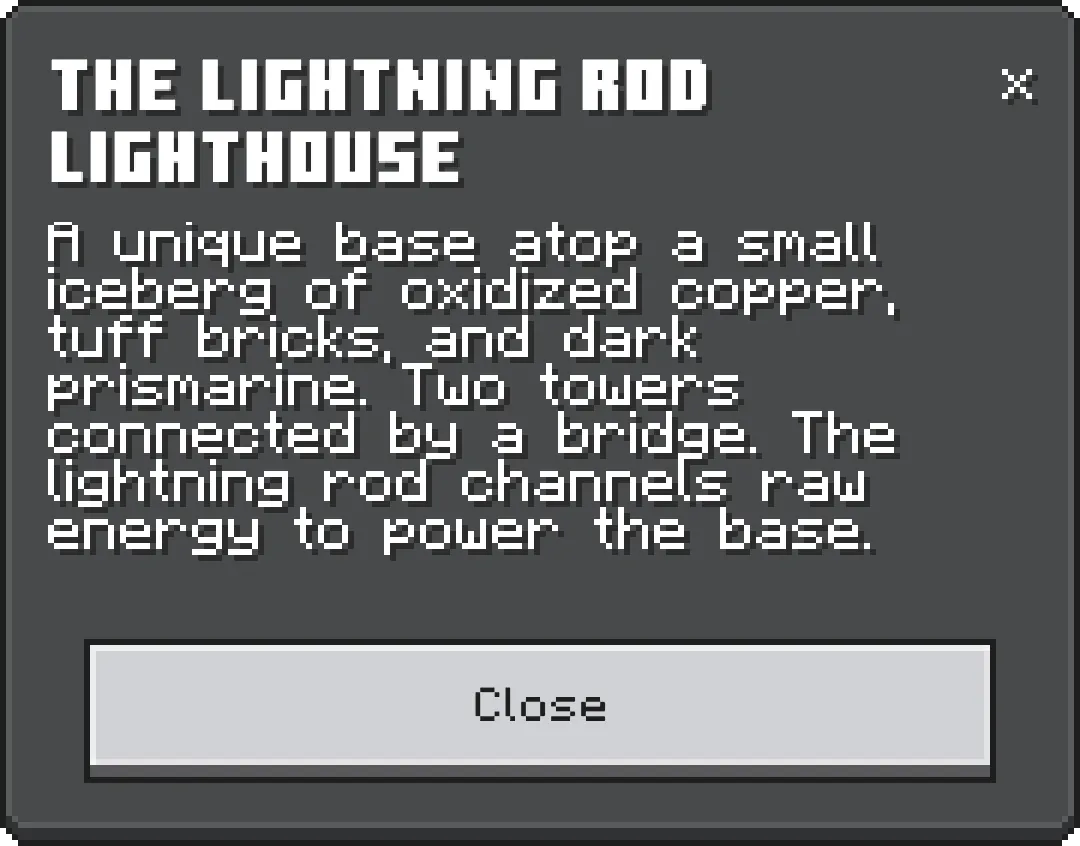
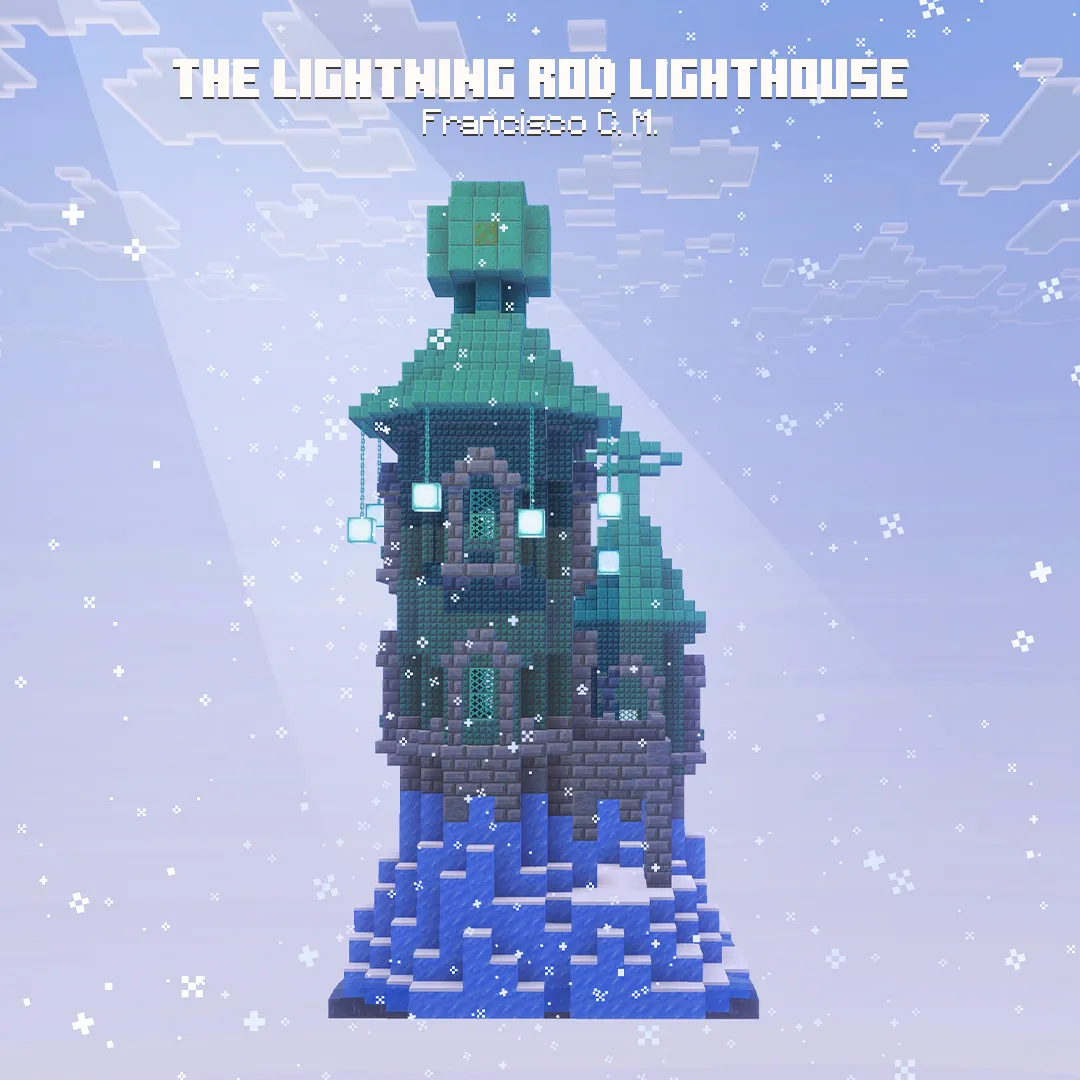
Once you've nailed the basic lighthouse, you can get weird with it. Francisco C.M. submitted a Lightning Rod Lighthouse design for a Minecraft Movie: Squared build vote, and honestly, incorporating actual lightning rods into the design is a brilliant touch if you've got the blocks and you want something that reads as more advanced.
Try a double-tower design. Weirdly, two adjacent lighthouses with a bridge or walkway between them look incredible and reads as more of a landmark than a single tower. Or build one in each corner of a coastal base as navigation aids. You could do a progression - a small starting lighthouse, then progressively larger ones as you get better at them.
Texturing is your friend too. Mix in some walls, some stairs, some slabs. Layer your colors. A striped lighthouse isn't just flat vertical stripes - it's stripes with depth, with stair-stepped details, with architectural interest. That's what turns it from basic to genuinely good.
Honestly though, your first one doesn't need to be complicated. Get one done, learn what works, then build the second one better. That's how everything in Minecraft goes.

Lead writer at minecraft.how. Long-time Minecraft player running a small SMP server, testing every build, mod, and seed before writing about it.
Frequently Asked Questions
What height should my Minecraft lighthouse be?
What are the best blocks for a lighthouse?
Do I need to add interior details to my lighthouse?
Can I build a lighthouse in Minecraft Bedrock?
How do I make my lighthouse look more realistic?
Have a Question or Tip about this Guide?Community Q&A
Ask a question or help other players below. Join the discussion and share your Minecraft tips!
Comments
No comments yet. Be the first to share your thoughts!