ReplayMod: Record and Replay Your Minecraft Adventures
ReplayMod/ReplayMod
Minecraft ReplayMod
View on GitHub ↗Ever played a moment in Minecraft that was so cool you immediately regretted not recording it? ReplayMod solves that problem by recording everything automatically in the background, then lets you replay the session from any angle you want. It's like having a time machine for your gameplay - no performance hit, no separate recording software hogging your RAM.
What This Project Does
ReplayMod is a client-side Minecraft mod that records game sessions at the engine level rather than capturing video output. Instead of streaming video data (which destroys framerates), it records the raw player state, entity positions, animations, and chunk data - essentially a replay of everything that happened. You can then open the replay viewer, rewind to any moment, and fly around your recorded world with perfect freedom.
Think of it like this: normal recording is a camera pointing at your screen. ReplayMod is a replay system that lets you place unlimited cameras anywhere you want, even after gameplay is done. You can zoom slowly through a massive build, watch a battle from three different angles, or create smooth cinematic camera movements that would take forever to execute in-game.
The filesize advantage is huge. A typical 10-minute gameplay session creates a replay file under 100MB, whereas the same session recorded as video could be multiple gigabytes depending on resolution and settings. That's why servers and content creators love it - you can keep years of replays without filling your entire drive.
Why You'd Use This
Content creators are the obvious use case. Building a YouTube video? Record your gameplay once, then replay it multiple times with different camera angles and edits. You get professional-looking shots without setting up a crazy OBS configuration or spending hours recording multiple takes.
Server communities use ReplayMod all the time for clan wars, building competitions, and disputes. "Did you actually hit that shot?" Rewind the replay and check. "Who destroyed the tower?" Look at it from above. Admins can review what actually happened instead of trusting player reports.
Speedrunners analyze their runs from angles they couldn't see while actually speedrunning. A split-second decision that worked? Watch exactly how the blocks interacted from above. A route that failed? Slow it down and see where the mistake was.
For casual players, it's just the peace of mind that you're always recording. That moment when your friend's house explodes unexpectedly? It's in the replay. And that weird glitch that might happen once a month? You've got it. No stress about remembering to hit record.
If you're recording server gameplay and want to add polish, text generators can help add titles, watermarks, or overlays to your exported video. And if you run your own server, setting up a proper DNS for your server means more stable connections for players - which means smoother gameplay to replay.
Installation and Basic Setup
ReplayMod requires two things: Minecraft Forge and the mod jar itself. You'll also need Java and Minecraft installed (obviously).
Step 1: Install Forge. Download the Forge installer from forge.net, pick your Minecraft version, and run the installer. This creates a Forge profile in your Minecraft launcher.
Step 2: Get the ReplayMod jar. The project has builds available from the releases page. Download the version that matches your Minecraft version. Unlike many mods that have one universal jar, ReplayMod has separate jars for different Minecraft versions (1.8, 1.12, 1.16, 1.20, etc.) because of how deeply it hooks into the game.
Step 3: Place the jar in your mods folder.
Windows: %appdata%\.minecraft\mods\
Mac: ~/Library/Application Support/minecraft/mods/
Linux: ~/.minecraft/mods/
Just drop the jar file in that folder. No extraction needed.
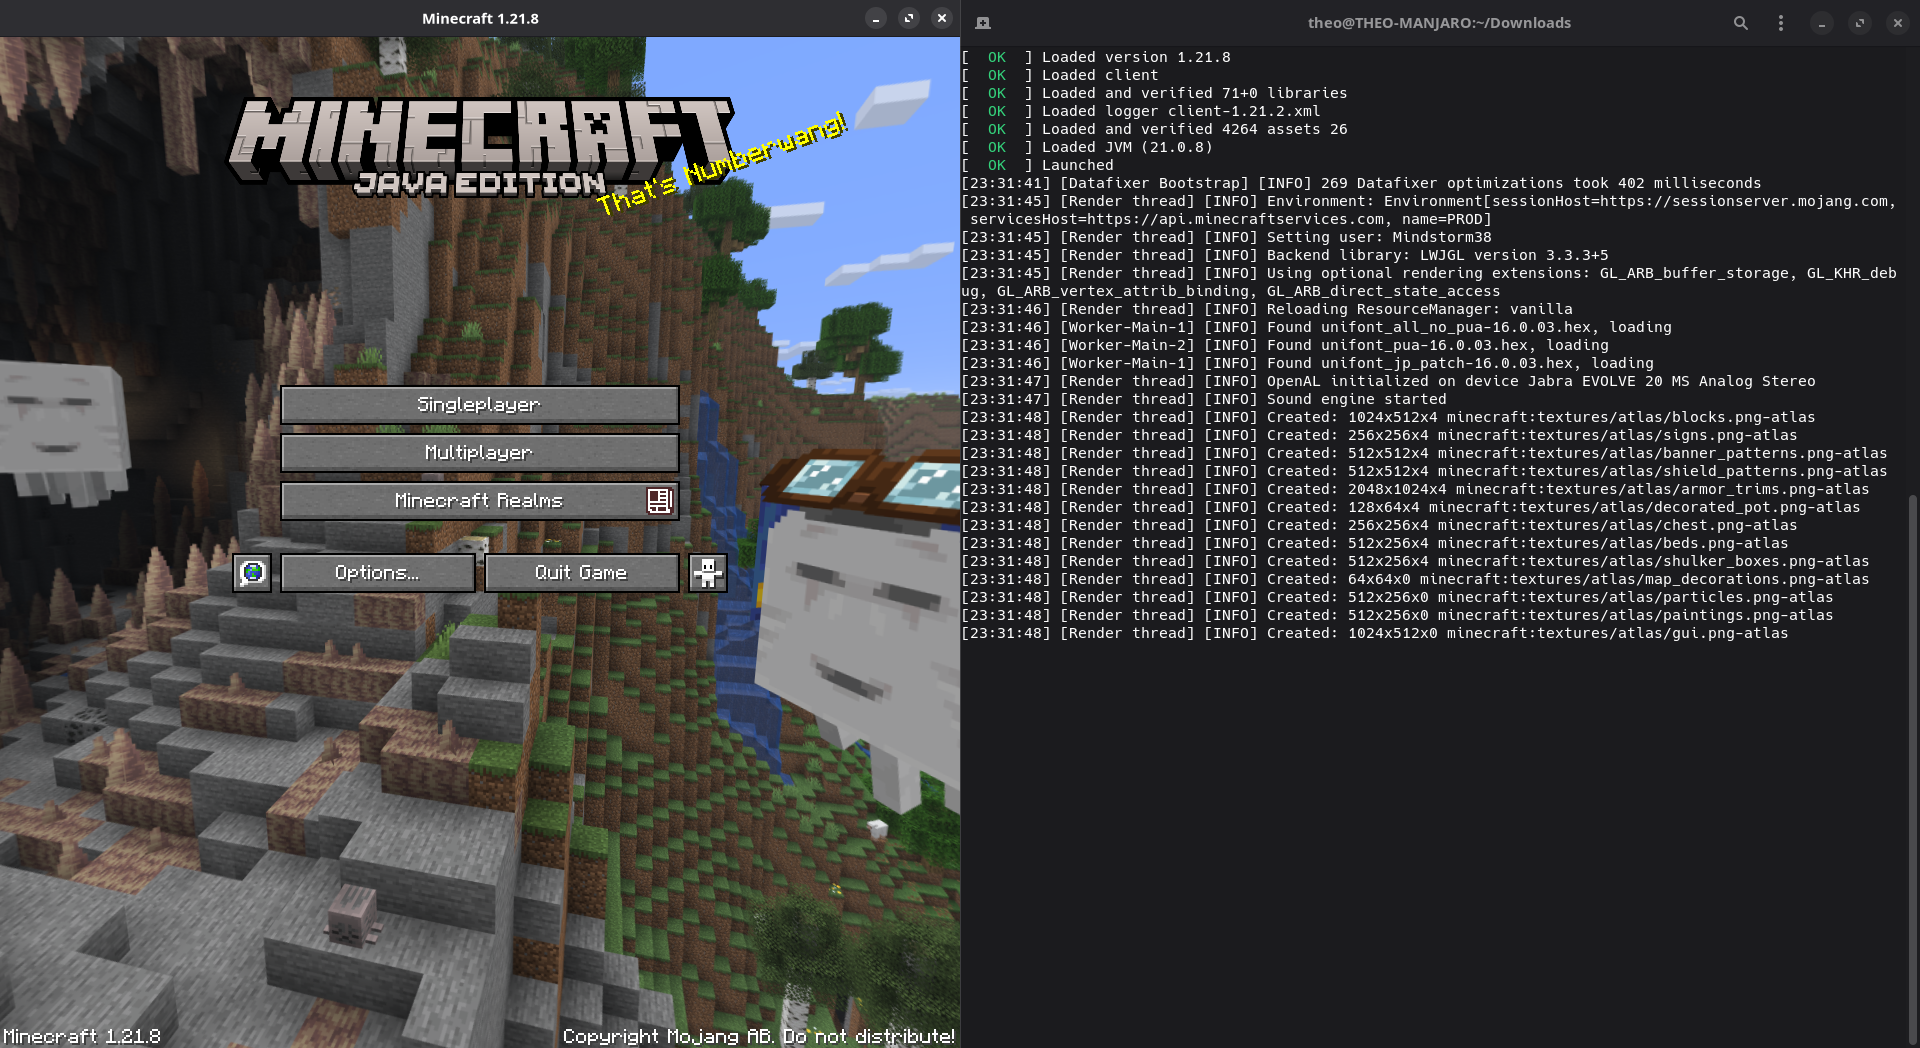
Step 4: Launch with Forge. Start Minecraft, select the Forge profile from the launcher, and load a world. ReplayMod initializes automatically.
The first time you load the mod, you might see a prompt asking where to store replays. You can put them in the default location (.minecraft/replay_recordings/) or pick a custom folder if you're planning to collect a lot of recordings.
One quirk: if you're building from source (which most people won't do), the project uses a custom preprocessor for handling multiple Minecraft versions. The actual building is straightforward though:
./gradlew buildBut pre-built jars are your friend. Source building is for developers contributing to the project.
Core Features and How They Work
Automatic Recording: Once the mod loads, it records silently. Every world, every server, everything. If you want to stop recording for a specific session (like when visiting a private server), there's a mod menu option. Otherwise, just play normally.
The Replay Viewer: This is where the magic happens. Open a completed replay, and instead of being locked to where your character was, you get a camera that can fly anywhere. You can position it manually, follow a player, create keyframe-based paths for smooth cinematic movements, speed up or slow down the playback, and jump to any moment on the timeline.
Multi-Version Support: The codebase handles versions from 1.7.10 through recent 1.20+ releases. The preprocessor mentioned in the README allows one codebase to adapt to the deep engine changes between versions. You don't see this complexity - you just download the jar for your version.
Server Recordings: Works on multiplayer servers just fine. Each player records their own perspective independently. This is great for replaying group events from different angles or proving what actually happened in a dispute.
Timeline Scrubbing: The replay viewer shows a frame-by-frame timeline of your session. Click any point, and the replay jumps there instantly. Want to watch a 45-minute session but only see the last 2 minutes? Scrub to the end.
Pitfalls, Gotchas, and Hard-Won Wisdom
Replays aren't permanent storage. ReplayMod has configurable storage limits - by default, it deletes old replays once the folder hits a size threshold. If you care about a recording, either export it to actual video using the replay viewer's export feature, or manually save the replay file to a backup location.
Some server plugins mess with packet handling and break replays - you'll get out-of-sync playback or entity glitches. If you're the server owner, check that ReplayMod is allowed in your config. If you're a player, mention it to your admin - most will happily whitelist it.
The mod's source code looks weird if you peek at it. That's the preprocessor at work, adding version-specific sections. Don't be alarmed if you see directives in the code that look like they shouldn't be there - they're part of the version-handling system.
Replays are somewhat tied to your specific Minecraft installation. Move your.minecraft folder or upgrade Java significantly, and old replays might fail to load. It's not a huge deal, just something to know if you're an archival-minded person.
Alternatives Worth Knowing
Cinematic Camera mods: Simpler alternatives that just give you free camera control in creative mode. You'd need separate recording software, but if you already have OBS or Nvidia Share running, these work too.
OBS + screen recording: The old-school approach. Capture your entire screen, edit afterward. Slower, uses more resources, creates huge files. But hey, it works on any mod and any server.
AdvancedScreenshots: Totally different tool - it's for high-resolution screenshots, not video or replays. People sometimes confuse it with ReplayMod.
Honestly, there aren't many direct competitors because ReplayMod does something pretty unique: zero-friction recording with pro-level replay tools. Most alternatives are either simpler (just camera control) or more resource-intensive (full-screen recording).
Visit ReplayMod/ReplayMod on GitHub ↗Lead writer at minecraft.how. Long-time Minecraft player running a small SMP server, testing every build, mod, and seed before writing about it.