A Complete Guide to Building Animal Pens in Minecraft
Animal pens in Minecraft don't need to be complicated. A simple fence enclosure with gates and appropriate blocks keeps livestock contained, makes farming easier, and can look great with the right design. Here's everything you need to know to build one that actually works.
Why Your Farm Needs a Proper Pen
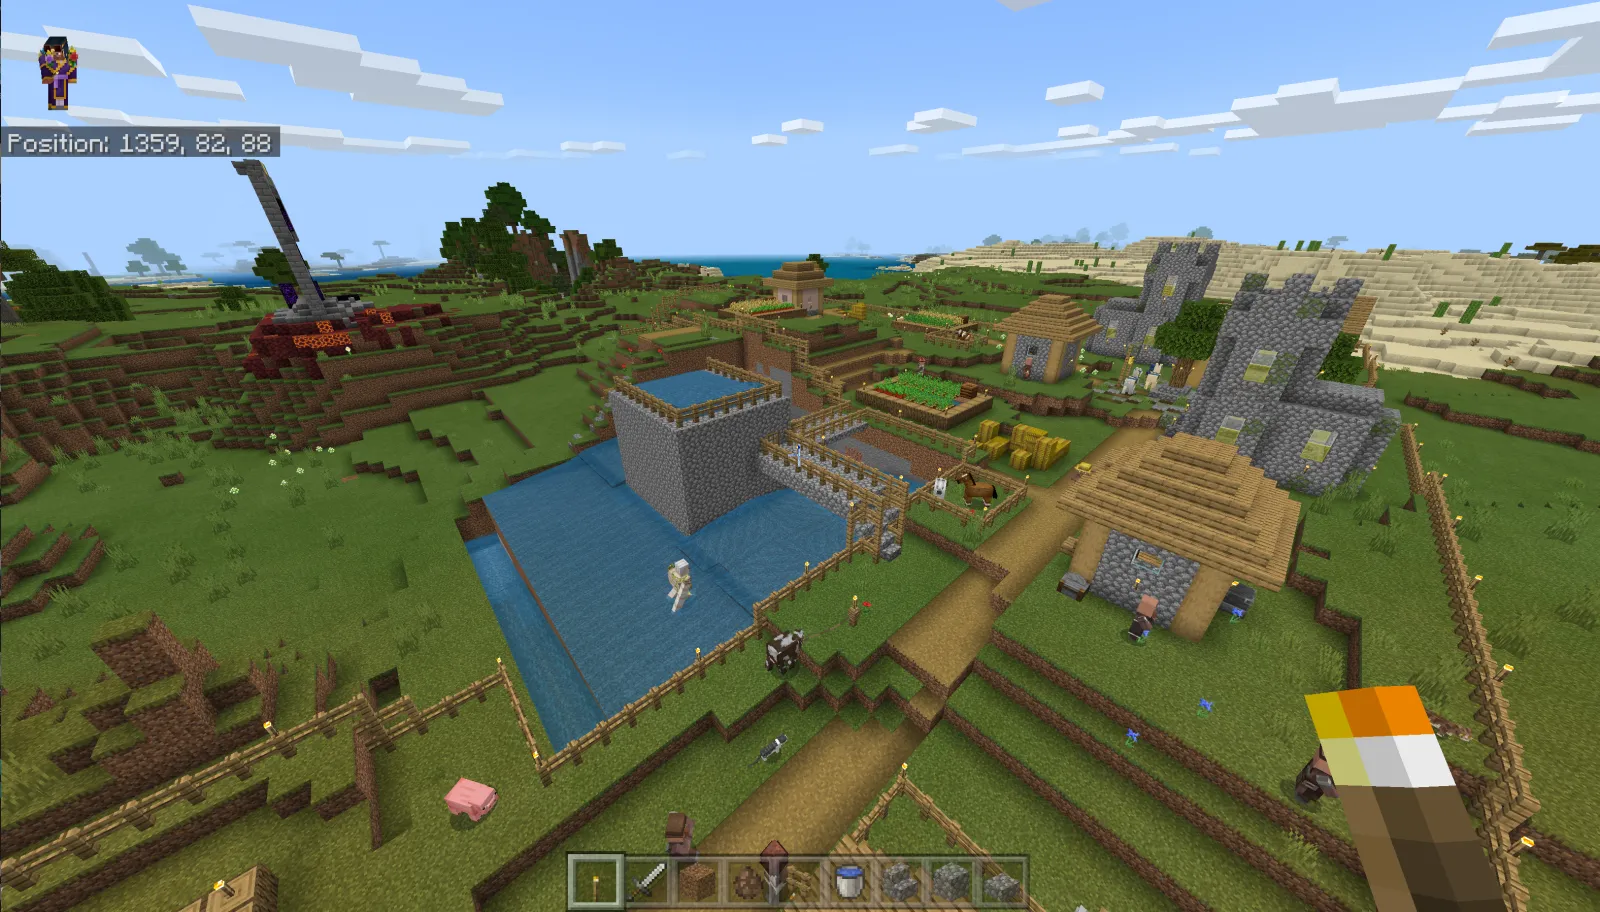
I spent way too long on my server letting animals just roam freely. Sheep here, cows there, horses in weird places... it was chaos. Then I actually built a proper pen and realized I'd wasted months. A dedicated animal enclosure does three things really well: it lets you control breeding easily, keeps livestock safe from hostile mobs at night, and makes harvesting resources infinitely less frustrating.
The real benefit though? Breeding becomes predictable. Instead of tracking down scattered animals to find wheat, you've got them all in one spot. That means faster breeding cycles and more consistent food production. Plus, when you need to gather leather, wool, or eggs, you're not hunting across the map.
Finding the Right Spot for Your Pen
Location matters more than you'd think.
You want flat terrain if possible, because slope-building wastes blocks and creates annoying gaps where animals get stuck. I'd recommend finding a spot within sight of your base so you can check on things without a five-minute walk, but far enough that animals don't feel like yard decoration. A hundred blocks away from your main buildings usually works well. The best locations have grass nearby for natural animal spawning, and you want to avoid placing pens over water (animals glitch out, fall through, or worse). Also, solid ground underneath matters. Real talk, don't build over caves without checking first.
Size-wise, bigger is always easier to work with.
A 20x20 pen can hold dozens of animals comfortably, but if you're planning massive breeding farms, go bigger. Thirty blocks on a side feels right for serious production. Never skimp on space because crowded pens cause problems with entity cramming and make it harder to see what you're doing. You need room to walk around, sort animals, and fix things when they inevitably go wrong.
Choosing Fences and Building Materials
Oak fences are the default choice and they work fine. But if you're going to spend the effort, make your pen look decent by mixing materials.
I'm actually not saying you need to spend hours making it beautiful. What I mean is combining fence types creates visual interest without extra work. Try pairing oak fences with spruce or birch fence posts every few blocks, or use different wood types on the exterior versus interior. Dark oak looks meaner. Nether brick fences give a serious, enclosed feel. Warped or crimson fencing from the Nether adds color without requiring dyes.
The important part? Your fence needs to be at least two blocks high to keep most animals contained. Some animals can jump, so two blocks is the minimum. Three blocks is safer, especially if you're planning to add roofing later for complete security.
Before you commit to a full build, test your material palette on a small section first. Use our Minecraft block search tool to find specific materials and compare appearances side-by-side. It'll save you the frustration of building twenty blocks of fence only to realize the colors don't match your vision.
Building the Actual Pen
Start simple. Mark out your rectangle with temporary blocks (dirt works), then build your walls. Don't overthink the floor. Grass is fine. Dirt works. Some people use slabs, but honestly, animals don't care.
The layout matters more than decorations. Leave at least a three-block-wide path running through the pen so you can walk through without jumping over animals constantly. This sounds obvious, but I've built cramped pens that are miserable to navigate. Place feeding areas (where you'll drop wheat or other food) in corners, away from gates. If you're breeding multiple animal types, consider dividing your pen into sections with internal fences, though this uses more materials and space.
One mistake I see constantly? Building the pen too crowded. People get excited about space efficiency and suddenly there's barely room to stand. Resist that urge. Animals need air to move (okay, they don't actually, but you do). Make it big enough that you can walk around comfortably, see every animal, and reach them if something goes wrong.
Gates and Getting Animals Inside
A single gate in the pen wall should be your main entrance. Fence gates work perfectly and close with a satisfying click when you right-click them. Make sure it closes properly and opens fully without hitting the fence posts. Awkward gate placement is surprisingly common and surprisingly annoying to fix after building.
Getting animals into your pen uses leads and patience. Find your target animal, attack it once (doesn't hurt them, just gets their attention), then right-click with a lead to attach it. Leads are craftable with string and slimeballs if you haven't found any yet. Walk the animal to your pen and guide it through the open gate. It's slower than you'd want, but it works reliably and doesn't risk losing animals to mistakes. Some players build collection systems using water and funnels, but that's advanced territory.
If you're on a multiplayer server, document your pen location and access procedures. Check your server settings using our server properties generator to make sure your server's entity limits and mob cap won't interfere with your animal population goals.
Breeding and Managing Your Animals
Now the fun part: making baby animals.
Each animal type has different food requirements. Sheep eat wheat. Cows and mooshrooms eat wheat. Pigs eat carrots, potatoes, or beetroot. Chickens eat seeds. Horses eat golden carrots or golden apples (expensive but fast breeding). Throw the correct food on the ground or hold it in your hand to encourage breeding. Two animals of the same type that eat will enter love mode and produce a baby within a few seconds. Keep breeding going by ensuring you always have food on hand.
Watch your population count carefully. The animal limit on a server varies by settings, but locally single-player worlds don't have hard caps until things get absurdly crowded. If you notice animals glitching or vanishing mysteriously, you've probably hit entity cramming limits. Standard practice is keeping thirty to fifty animals per species per pen. Beyond that, you're asking for trouble with lag and unpredictable behavior.
One last thing: separate your animal types if you value your sanity.
Putting cows and pigs together works fine mechanically, but visually it's a mess. You won't be able to find anything. Dedicate sections of your pen or build separate enclosures. Future you'll thank present you when you need to breed specifically or locate a particular animal quickly.
Making Your Pen Better Over Time
The basics work great, but simple pens get boring after a while. After you've had your pen running for a few in-game days, consider adding details that make it feel lived-in.
Lighting makes the space feel alive and prevents hostile mob spawning at night. Add lanterns or soul lanterns on fence posts. A small watchtower or covered feeding area gives your pen personality. Trapdoors and stairs create climbing spots (animals can't use them, but they look cool). Roofing is optional but useful if you want to prevent hostile mobs from spawning inside on future visits. You can also add decorative elements like flower pots, banners, or painted signs to personalize the space.
Some players eventually automate breeding completely using redstone and hoppers, but that's unnecessary for a functional pen. A basic manual setup works indefinitely without any complications. The real value is having your animals in one organized place instead of scattered across your world, making your whole farm run smoother.

Lead writer at minecraft.how. Long-time Minecraft player running a small SMP server, testing every build, mod, and seed before writing about it.
Frequently Asked Questions
What's the minimum size for a good animal pen in Minecraft?
How do I get animals into my pen once it's built?
Which foods work best for breeding different animals?
Can I use walls or other blocks instead of fences for my pen?
How many animals should I keep in one pen before they glitch out?
Have a Question or Tip about this Guide?Community Q&A
Ask a question or help other players below. Join the discussion and share your Minecraft tips!
Comments
No comments yet. Be the first to share your thoughts!