How to Make a Minecraft Skin: Free 3D Editor Guide
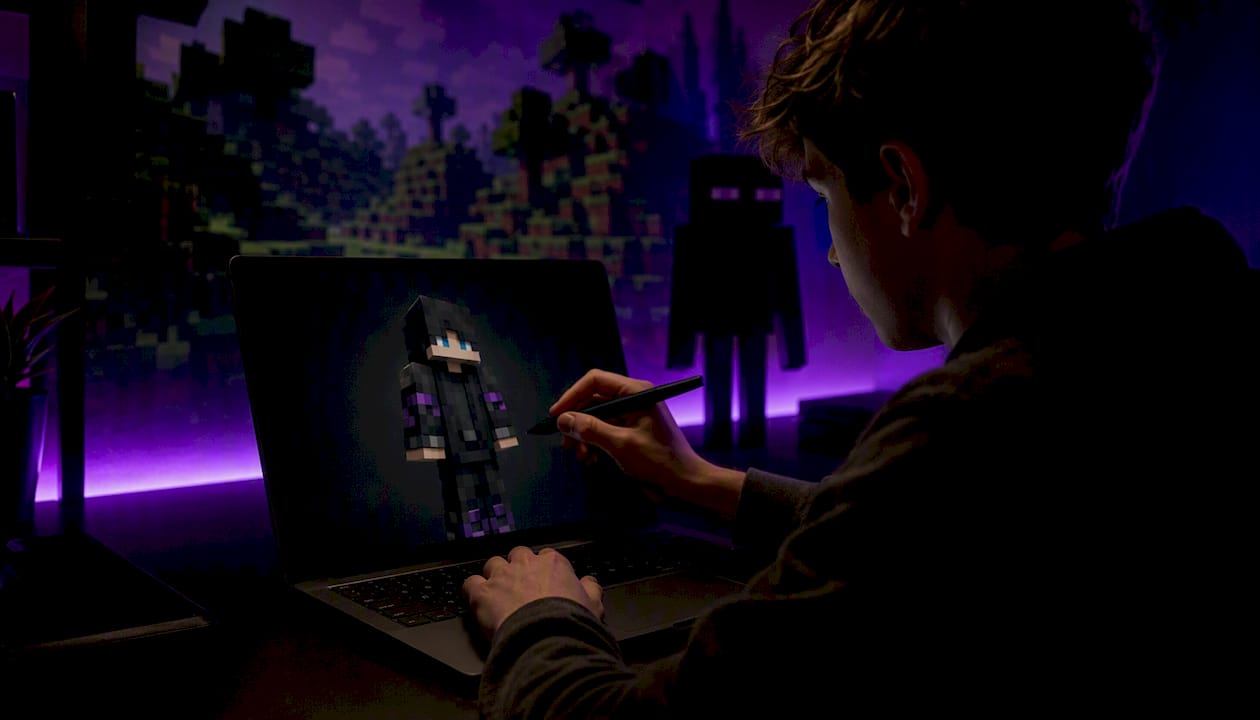
You can make a Minecraft skin in minutes using a free browser editor that exports a ready-to-upload 64×64 PNG. No software to install, no account required.
Here’s the shortest path from zero to in-game:
- Open a browser-based skin editor (the Minecraft.How Skin Creator works right away).
- Load a Steve or Alex template, or import an existing skin PNG to edit.
- Paint your design using the 3D preview so you can catch seams as you go.
- Export the finished file as a 64×64 PNG, then upload it at minecraft.net (Java) or through the in-game Character Creator (Bedrock).
That’s the whole loop. The sections below break each step down so you get it right the first time, including the two-layer system, mirror mode, and the exact upload steps for both editions.
Table of Contents
- How to make a Minecraft skin: choosing the right editor
- Steve vs. Alex: which base should you start from?
- Painting your skin: tools, layers, and the 3D workflow
- How to export and save your skin file correctly
- How to apply your skin in Java and Bedrock editions
- Why Minecraft.How Skin Creator is worth trying first
- Key Takeaways
- The part most guides skip
- Ready to design your own skin?
- Useful sources
How to make a Minecraft skin: choosing the right editor
The single biggest upgrade you can make to your workflow is switching from a flat 2D image editor to a browser-based 3D skin editor. Painting a skin in something like Photoshop without a 3D preview is like wrapping a gift blindfolded, you only see the result after the fact, and seams are almost always off.
Browser editors solve that. They let you rotate the model while you paint, toggle layers on and off, and export a properly formatted PNG without touching your file system settings. The Laby skin editor and PlanetMinecraft’s editor both follow this standard, offering live 3D painting, layer controls, and direct 64×64 export. MinecraftSkins.com’s editor does the same.
For most players, the Minecraft.How Skin Creator is the fastest starting point. It requires no account, loads templates immediately, and exports a standard PNG that works on both Java and Bedrock. The skin library at Minecraft.How also gives you over 200,000 free skins to use as starting points or inspiration.
What to look for in any editor:
- Live 3D preview with model rotation
- Inner and outer layer toggle
- Mirror/symmetry mode
- Fill, pencil, and eyedropper tools
- Export to 64×64 PNG with transparency preserved
- Template library (Steve and Alex models)
- Mobile/touch support if you’re not on a desktop
Pro Tip: *If you want to build full skin packs or work with custom model geometry,
is the tool for that workflow. For a single PNG skin, a browser editor is faster and simpler.*
Steve vs. Alex: which base should you start from?
Before you paint a single pixel, you need to pick the right body model. Getting this wrong means your skin will look distorted in-game even if the art itself is perfect.
| Feature | Steve (Classic) | Alex (Slim) |
|---|---|---|
| Arm width | 4 pixels wide | 3 pixels wide |
| Default for | Male-presenting builds | Slim/female-presenting builds |
| Compatibility | All editions, all accounts | Java and newer Bedrock versions |
| Template size | 64×64 PNG | 64×64 PNG |
The pixel difference in arm width sounds minor, but it shifts every sleeve pixel. A design built on Steve’s 4-pixel arm will stretch or gap if applied to an Alex model, and vice versa. Pick the model that matches how you want the finished character to look, then stick with it.
Starting options:
- Import an existing skin: Drop in a PNG you’ve downloaded from the Minecraft.How skins library or saved from a previous design. The editor will map it onto the 3D model so you can edit it directly.
Starting from a template or an imported skin is almost always the smarter move. You learn the layout by editing it, not by memorizing a UV diagram.
Painting your skin: tools, layers, and the 3D workflow
Once you’ve loaded your base, the actual painting process follows a clear sequence. Skipping steps here is where most beginners lose time.
The workflow:
- Load your base template and immediately enable the 3D preview.
- Switch to the inner layer and paint your base colors, skin tone, hair, clothing base.
- Toggle to the outer layer for accessories, jacket details, hats, or anything that should appear to float slightly above the base. The outer layer is a few pixels larger, which creates visible depth in-game.
- Use the pencil tool for single-pixel precision work (faces, edges) and the fill bucket for large flat areas.
- Turn on mirror mode before painting anything symmetrical, sleeves, legs, eyes, ears. It applies your strokes to both sides simultaneously.
- Rotate the 3D model frequently to check for seams, especially around the neck, wrists, and waist.
- Use the eyedropper to sample existing colors and keep your palette consistent.
The inner vs. outer layer distinction is the most important concept in skin design. Paint base colors on the inner layer and add 3D accessories or clothing detail on the outer layer. Players who ignore this end up with flat-looking skins that miss the depth effect Minecraft’s renderer actually supports.
Pro Tip: Build depth by offsetting outer-layer pixels one shade darker than the inner layer beneath them. It creates a subtle shadow effect that reads clearly even at small screen sizes.
Mirror mode deserves its own mention. Painting a face or a pair of sleeves pixel by pixel on both sides is tedious and error-prone. With mirror mode on, one stroke covers both sides, and the result is always perfectly symmetrical.
How to export and save your skin file correctly
Exporting wrong is the most common reason a skin looks broken in-game. Minecraft accepts one format: a 64×64 pixel PNG with transparency preserved. That’s it.
| Export setting | Required value |
|---|---|
| File format | PNG |
| Canvas size | 64×64 pixels |
| Background | Transparent (no white fill) |
| Layers | Flattened to single image |
| Color mode | RGBA (supports transparency) |
Before you click download, run through this checklist:
- Toggle both inner and outer layers visible and confirm they look right in the 3D preview.
- Check that any areas meant to be transparent (like the outer layer’s “empty” zones) are actually transparent, not white.
- Verify the canvas is exactly 64×64, not 128×128, not 64×32 (the old legacy format).
- Download the PNG and save it locally with a clear name: something like
hero-skin-v1.pngbeatsdownload(3).pngwhen you’re managing multiple designs.
Keep a dedicated folder for your skins and use versioned names (hero-v1.png, hero-v2.png) when you iterate. It takes ten seconds and saves real frustration when you want to roll back a change.
How to apply your skin in Java and Bedrock editions
The upload path differs by edition, so follow the right set of steps.
Java Edition
The official Minecraft Help Center documents two routes:
Via minecraft.net:
- Log into your account at minecraft.net.
- Go to your profile page.
- Click “Change skin,” upload your 64×64 PNG, and select either Classic (Steve) or Slim (Alex) to match your design.
- Save. The change applies the next time you launch the game.
Via the Minecraft Launcher:
- Open the Launcher and go to the Skins tab.
- Click the “+” icon to add a new skin.
- Upload your PNG and assign the correct model type.
- Set it as active and launch.
Bedrock Edition
- Open Minecraft and go to the main menu.
- Select Character Creator, then choose the Classic Skins tab.
- Tap or click the “+” icon and select “Import from file.”
- Navigate to your saved PNG and confirm.
On consoles (Xbox, PlayStation, Switch), the import option may be inside the wardrobe or dressing room menu rather than a file browser. Mobile players on iOS and Android can import from their device’s photo library or file storage.
One thing to double-check on both editions: the model type you select at upload must match the model you designed on. A skin built on Alex’s slim arm template will look wrong if you upload it as Classic/Steve.
Why Minecraft.How Skin Creator is worth trying first
There are several solid browser editors out there, and the honest answer is that most of them handle the basics well. The reason the Minecraft.How Skin Creator stands out for beginners comes down to friction.
- Connected to a large skin library: The free skins library gives you over 200,000 designs to import and edit, which is a faster learning path than starting blank.
- Part of a broader platform: The Minecraft.How tools page includes server tools and other resources, so it’s a useful bookmark beyond just skin creation.
For players who want to go further, building skin packs, animating textures, or working with custom geometry, Blockbench is the right next step. But for a single custom PNG skin, the browser editor gets you there faster.
Key Takeaways
A browser-based 3D skin editor is the fastest way to create a custom Minecraft skin: open the Minecraft.How Skin Creator, paint on a Steve or Alex template, export a 64×64 PNG, and upload it at minecraft.net or through Bedrock’s Character Creator.
| Point | Details |
|---|---|
| File format is non-negotiable | Export exactly as a 64×64 PNG with transparency; wrong dimensions cause stretching. |
| Two layers create depth | Paint base colors on the inner layer; use the outer layer for accessories and clothing detail. |
| Mirror mode saves time | Enable it before painting faces, sleeves, or legs to keep both sides symmetrical. |
| Model type must match | Choose Classic (Steve) or Slim (Alex) at upload to match the template you designed on. |
| Minecraft.How Skin Creator | Free, browser-based, no account needed, exports a ready-to-upload PNG with 3D preview. |
The part most guides skip
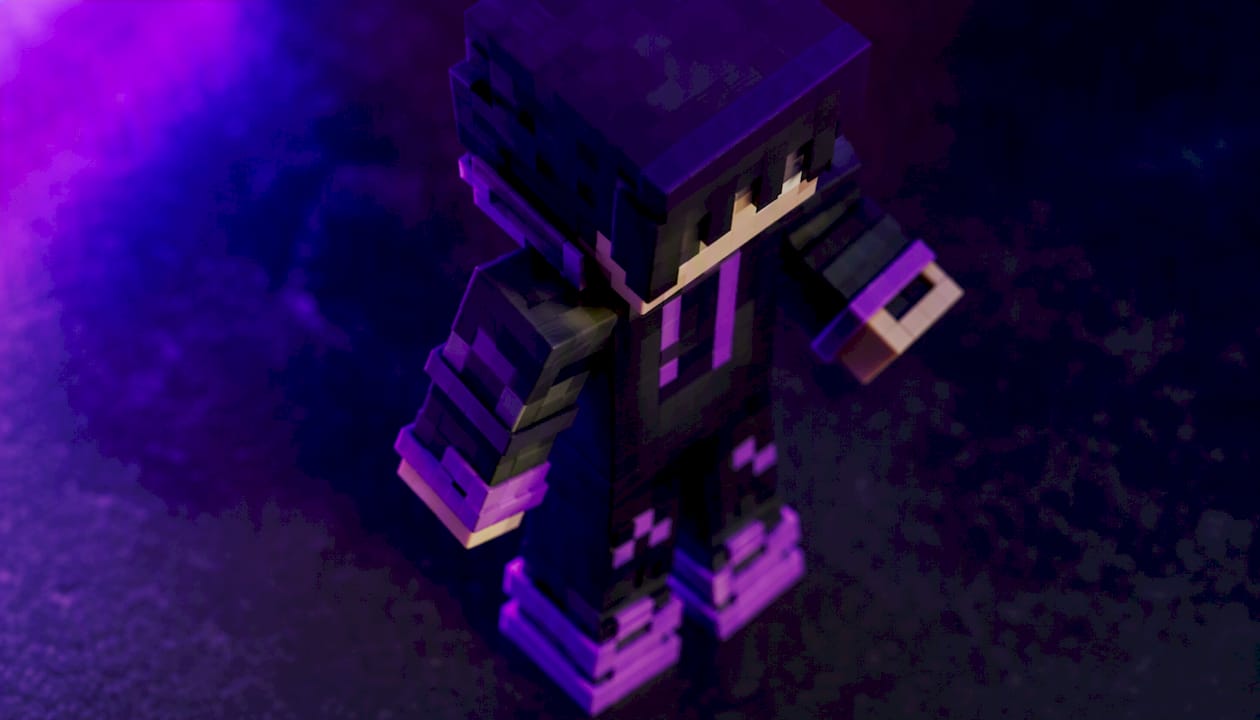
Most skin tutorials spend all their time on tools and almost none on the two-layer system, which is where the real difference between a flat-looking skin and a polished one lives. The outer layer isn’t just for hats. Used well, it adds visible depth to sleeves, collars, and boots, the kind of detail that reads clearly even on a small character model.
The other thing worth saying: don’t start from blank. Load a template or grab a skin from the library and edit it. You’ll learn the UV mapping faster by modifying something that already works than by staring at an empty grid. The first skin you make won’t be your best one, and that’s fine. The loop from editor to PNG to in-game takes minutes, so iteration is cheap.
Ready to design your own skin?
The Minecraft.How Skin Creator puts a full 3D browser editor in front of you with no account, no install, and no cost. Load a Steve or Alex template, paint your design, and download a 64×64 PNG that’s ready to upload in under five minutes.
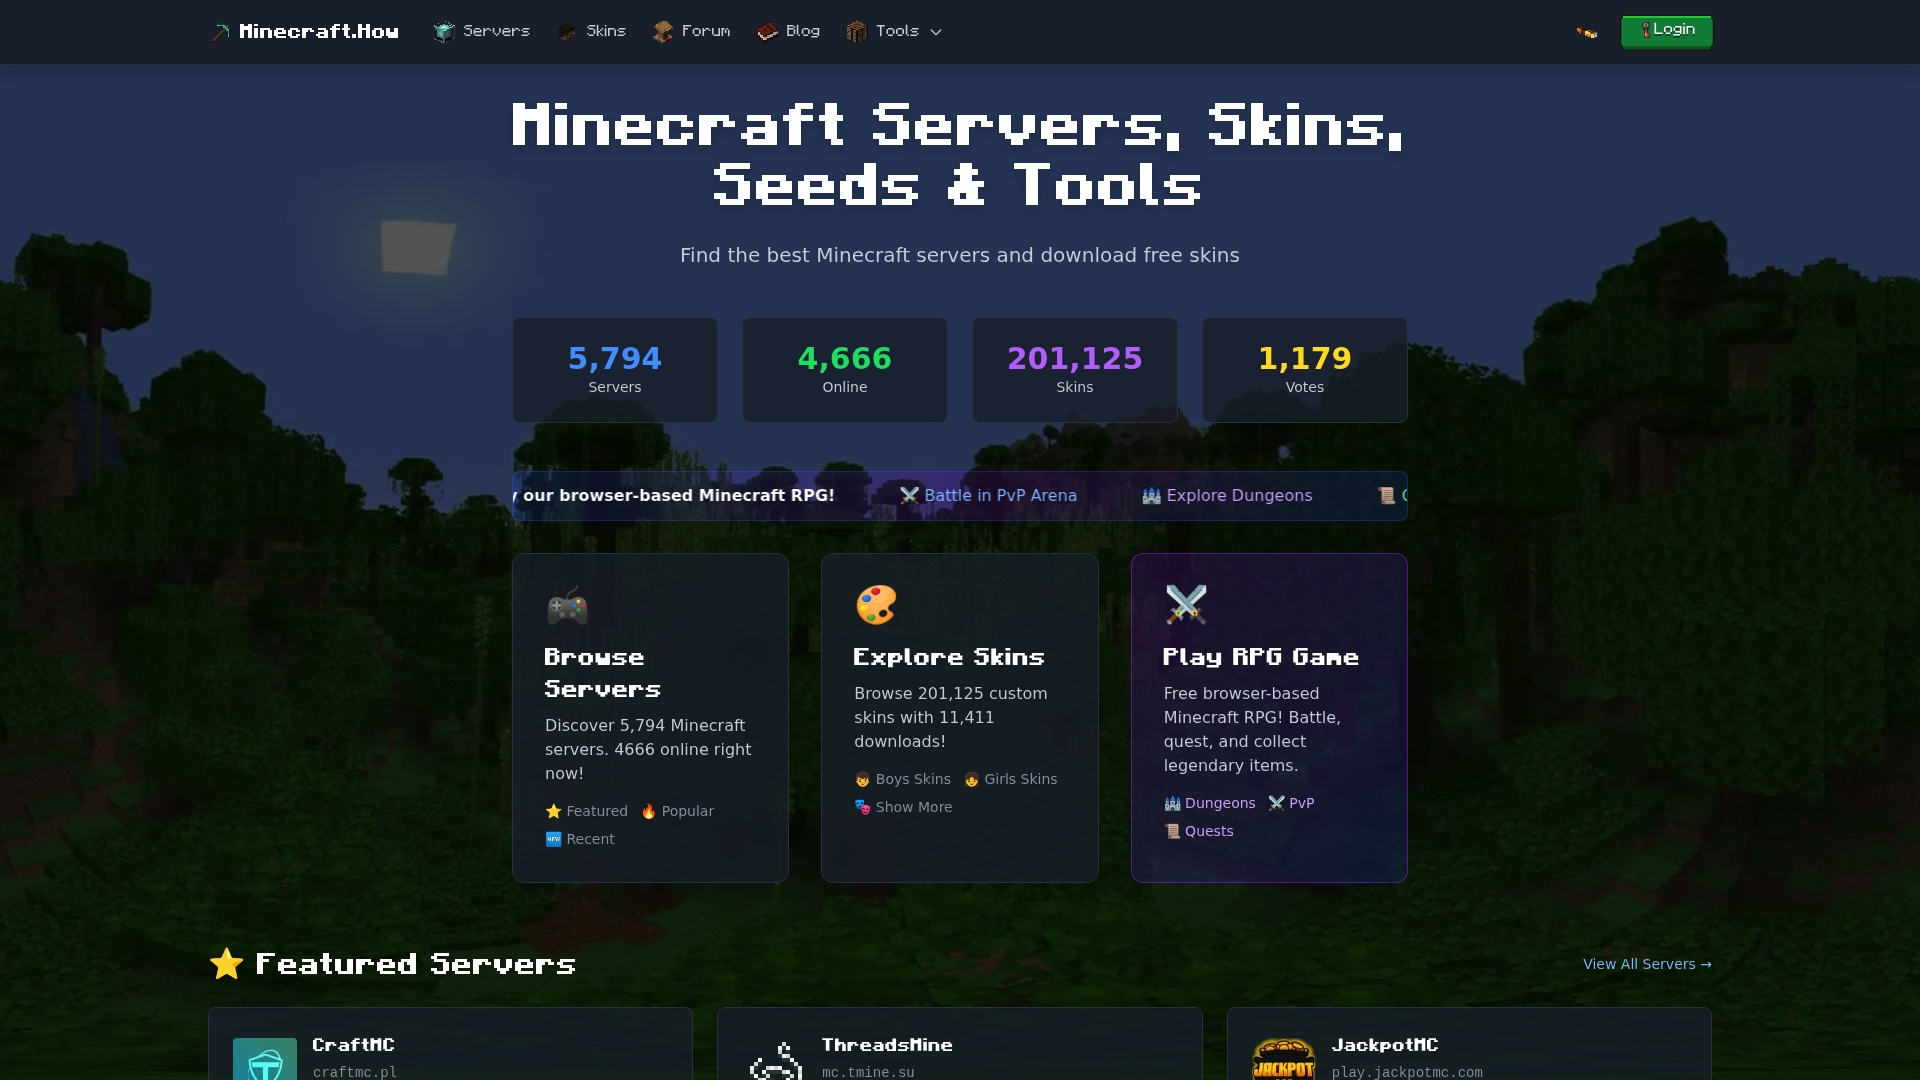
If you’d rather start from something existing, the free skins library has over 200,000 player skins you can download and edit directly in the creator. Both tools work across Java and Bedrock editions. Once your skin is live, find a server to show it off at Minecraft.How servers.
Useful sources
- Minecraft Skin Creator - Design Custom Skins - Minecraft.How
- Make a Custom Skin in Minecraft Java Edition - Minecraft Help Center
- Minecraft Skin Editor - Create & Edit Skins Online in 3D | Laby
- Minecraft Skins, Download 200,000+ Free Player Skins - Minecraft.How
- Minecraft Skin Editor - PlanetMinecraft
- Minecraft Skin Editor - MinecraftSkins.com
Lead writer at minecraft.how. Long-time Minecraft player running a small SMP server, testing every build, mod, and seed before writing about it.
Have a Question or Tip about this Guide?Community Q&A
Ask a question or help other players below. Join the discussion and share your Minecraft tips!
Comments
No comments yet. Be the first to share your thoughts!