Minecraftでバイキングロングハウスを建築する方法
A Viking longhouse is one of the most satisfying builds in Minecraft. It's all about long timber walls, a steep roof, and that rustic Norse aesthetic. Whether you're building on a vanilla server or your personal SMP, this guide walks you through the whole process from material gathering to final decorations.
Understanding Viking Longhouse Design
So what actually makes a Viking longhouse look like a Viking longhouse? Look, it's not just slapping some wood together and calling it a day. The key is the silhouette: long, rectangular, with a roof pitched so steeply it almost looks exaggerated. Which, honestly, is perfect for Minecraft because exaggeration reads well in voxels.
Viking longhouses were built to last. In real life, they had massive timber frames covered in wood or sometimes turf. For your Minecraft build, you're working with blocks, but the principle is the same. You want that sense of weight and solidity. Dark wood, worn stone foundations, maybe some dirt banks piled around the base. That's the vibe.
The proportions matter as much as the materials. We're talking 30-50 blocks long, 12-15 blocks wide. Short for their height. This isn't a sprawling manor or a castle. It's a functional structure meant to house a whole clan in one space.
But here's the thing: the roof is everything.
A bad roof ruins the whole vibe. A good roof? That's what makes passersby stop and actually look. We'll get to technique later, but understand that the roof is where the build lives or dies.
Materials You'll Need
Dark oak and spruce are your main wood types. They photograph well together, and they read as "northern" to most players. Stripped versions work too if you want some visual variation. And yeah, you're going to need a lot. I've built three of these on different servers, and the material count always surprises me. Budget high on logs.
For the base and foundations, go dark. Blackstone, deepslate, cobblestone, or even dirt. The contrast between the dark foundation and the lighter wooden structure is key visually. It grounds the build and gives it presence.
You'll want accent materials. Wool for interior details, trapdoors and doors for entrances, lanterns for lighting. If you want small window areas, dark stained glass works. Historically these buildings didn't have much natural light, which is both accurate and moody.
What separates good builds from "I just stacked wood" builds is detail work.
Stairs, slabs, and walls create texture. Spruce stairs and slabs break up large flat surfaces. If you're decorating with signs and want thematic text, the Minecraft Text Generator makes it easy to create custom signs. Mark different sections, add builder credits, or create narrative signs that fit the Norse theme.
Building the Frame and Walls
Start with your foundation. Mark out your rectangle with dark blocks. Go deep enough that you feel the weight of it. Three to four blocks down feels right. This is a structure with real footprint, not a wall floating on grass.
Your outer walls should be built double-thick for that timber-frame appearance. Use a mix of logs and planks. Vertical logs on the outside, then layer horizontal planks or logs behind them. This creates that woven timber-frame look that reads immediately as "sturdy."
The walls don't need to be perfectly flat. Add subtle variation. Offset some logs, create depth with slabs and stairs. Real timber warps and settles. Your walls should feel like they have history.
Aim for about 10-12 blocks of walls before your roof starts. This gives you good interior space without the structure looking stocky. Interior ceiling height is crucial. People need to feel like they can move around, but not so high that it feels empty.
Don't skip the door openings. Most had at least two entrances (front and back). Frame these with logs and add large wooden doors. And here's a detail that matters: offset your doors. Put one closer to the front, one closer to the back. Asymmetry actually feels more authentic than perfect symmetry.
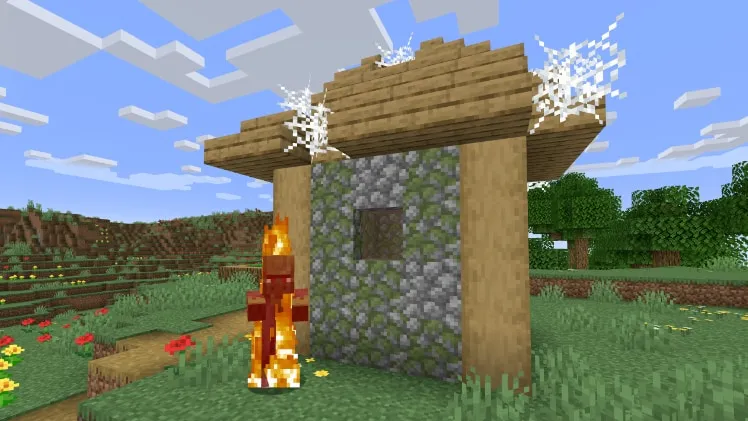
Add a small covered entry structure on at least one side.
A simple overhang supported by logs gives character and breaks up the long wall line.
Creating an Impressive Roof
This is where builds succeed or fail. You want a steep pitched roof. Think 45-50 degrees if you're mentally visualizing it. In Minecraft terms, that's typically stairs placed to create a smooth slope, or slabs creating that angle. The key is making it look intentional and strong.
Start with a ridgepole: a strong central beam running the length of the structure. This can be a double or triple line of logs running down the center at the apex. From there, slope your roof outward and downward using stairs. They should extend well beyond your walls. That overhang is essential. It's not just pretty. It's functional.
Texture your roof. Don't make it one flat color. Spruce slabs and stairs create variation. Mix in darker blocks on the lower sections. You could use stripped wood in places. Variation makes it look aged and real.
The roof overhangs should extend 2-3 blocks beyond your walls. And this seems exaggerated in a still image, but when someone walks up to the building, it looks right. It gives the structure presence.
Add support beams visible underneath the overhang. Small log columns or just decorative log placement underneath. This reads as structural support and looks authentically longhouse.
Interior Layout and Details
Inside, you've got a long open space. Historically, the entire interior was often one main room with maybe some sleeping areas partitioned off. Minecraft gives you lots of options for how you handle this.
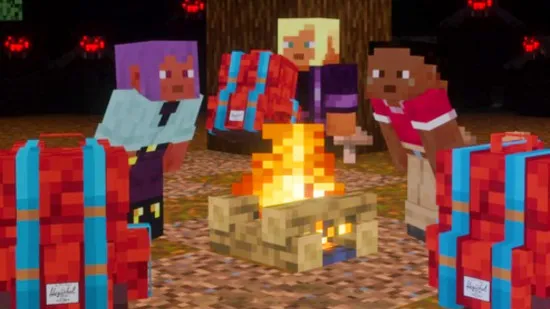
A central hearth is basically mandatory. Build a raised stone platform in the center with lanterns on top or campfires for actual flames. Arrange tables and seating around this. The hearth becomes the social center, which matches the historical function of these buildings.
Sleeping areas can be simple. Raised wooden platforms with trapdoors forming alcoves along the walls. Add wool carpets inside for coziness. Chests work for storage, maybe disguised with surrounding decoration.
The walls inside should have vertical interest. Tall wooden posts every few blocks. Crossbeams overhead. This is what makes the interior feel like a real building and not just an empty box. If you use logs and beams to create visual sections, the space feels more intentional.
Lighting matters a lot. Hanging lanterns from ceiling beams. Wall-mounted torches in sconces using armor stands or clever placement. In a longhouse, you'd have a smoky firelit atmosphere. Darker lighting with strategically placed light sources creates that mood way better than bright fluorescent everything.
The final polish separates nice builds from memorable ones.
Add small details. Barrels in corners. Weapon racks using item frames with swords. Books on shelves. A crafting area set up as a smithy. Ale barrels. Small tables with place settings. These don't take tons of time, but they transform the space from "here's a big wooden room" to "here is where Vikings actually live."
Running Events and Community Building
If you're running this on a server and want to make announcements about events happening in your longhouse (feasts, gatherings, raids, competitions), the Minecraft MOTD Creator lets you set up a server message. You could announce "Viking Longhouse Festival - Saturday at 7pm" or whatever fits your community. It's a quick way to build engagement around your build.
Building a Viking longhouse isn't actually that complicated once you understand the shape and the priorities. The rectangular proportions, the heavy timber aesthetic, the steep roof, the functional interior. Get these right and the build speaks for itself. And honestly, this is one of those projects that looks harder than it's. Start with the foundation, build the walls with some texture variation, nail the roof, and add details as you go. By the time you're placing the final lanterns and furniture, you'll have something that looks genuinely impressive on your server.
Lead writer at minecraft.how. Long-time Minecraft player running a small SMP server, testing every build, mod, and seed before writing about it.