How to Build a Minecraft Rollercoaster: Complete Guide
Rollercoasters are one of the most satisfying things to build in Minecraft. Whether you're chasing that gut-dropping freefall or engineering a complex track with multiple loops, you've got everything you need with vanilla blocks and redstone. Here's how to construct a working rollercoaster from start to finish.
Planning and Design Concepts
Before you place a single rail block, spend time sketching out your idea. Grab some paper (or open a note app) and think about what you actually want. A simple hill? A wild series of inversions? A themed area like a fantasy castle or space station?
Height matters enormously. Rails on a powered minecart need momentum to work, and that momentum comes from gravity. If your drop isn't steep enough, your minecart will stall halfway through and just sit there looking embarrassed. Aim for at least a 5-10 block vertical drop for any serious section. I've found that starting with a massive climb (using powered rails to push the cart upward) then following with a steep descent gives you the best speed for loops and turns.
Think about track length and passenger experience. Shorter tracks that loop back to the start work well for communal servers. Longer ones that feel like a journey keep solo players entertained for minutes at a time. If you're building on a multiplayer server, you might want to set up a dedicated spawn area and even use tools like the Minecraft Votifier Tester to get community feedback on your design before you spend hours perfecting it.
The path matters too.
Building the Track Structure
Rails are your foundation. You'll need regular rails for curves and straightaways, powered rails to accelerate your minecart, and detector rails to trigger events. Start by deciding where your lift hill goes (usually at the beginning) and where your main drop happens. Powered rails work best in a 3:1 ratio with redstone torches underneath them to activate them. So for every three powered rail blocks, you need one redstone torch underneath. Place a block with a redstone torch under the powered rails, or run redstone dust/wire to power them from a lever or comparator.
Build your track as a complete loop first, even if it's basic. Use regular rails and place them in the path you want. You can click rails against each other and they'll connect automatically. Curves happen naturally if you turn the rail block as you place it.
Height variations are crucial. Mark out the shape you want with wool blocks or scaffolding before you commit to rails. This is especially helpful if you're building something with dramatic elevation changes. I usually build the structural support (columns, beams, whatever) before touching rails, so I've a solid framework to work against.
Minecarts need walls or barriers on tight turns, or they'll shoot off the track mid-curve.
For loops, you'll need to build a circular path using rails. The minecart naturally follows the track if it has enough speed, so don't worry about gravity pulling it down inside the loop. Just make sure your drop before the loop is steep enough. A 5-7 block drop typically gives enough momentum for one full loop.
Testing your track layout is essential. Hop in a minecart and see how it feels. Does it stall? Does it derail? Adjust the powered rail placement or the angle of descent. You're looking for smooth transitions, not jarring stops.
Redstone and Motion Mechanics
This is where most new builders get stuck. The good news: it's simpler than it looks.
Powered rails are blocks that accelerate minecarts when they're powered (receiving redstone signal). Place a redstone torch under a powered rail block to activate it. Put several in a row going up your lift hill, and the minecart will climb even steep angles. This is how you get the initial momentum for everything that follows.
For braking sections (if you want to slow down before the next drop), use unpowered powered rails. A minecart on an unpowered powered rail decelerates. You can mix powered and unpowered in the same section to control speed more precisely. Place a lever next to your powered rails or use a redstone torch under a block beneath the rails to toggle between acceleration and braking.
Detector rails are optional but super useful. They emit a redstone signal when a minecart passes over them. You could trigger sounds, lights, or even secondary mechanisms like doors opening. Place detector rails where you want to trigger events.
Station design keeps passengers safe.
A simple station is just a flat section of track with unpowered powered rails so the minecart slows to a stop. Build walls around it so riders don't accidentally jump out mid-deceleration. An exit ramp or staircase gets passengers back to ground level. Some builders use a pusher mechanism (powered minecarts on separate tracks that give your passenger minecart a nudge) to launch riders back uphill instead of making them walk.
Making It Look Fantastic
A functional rollercoaster is great. A functional rollercoaster that looks amazing is better.
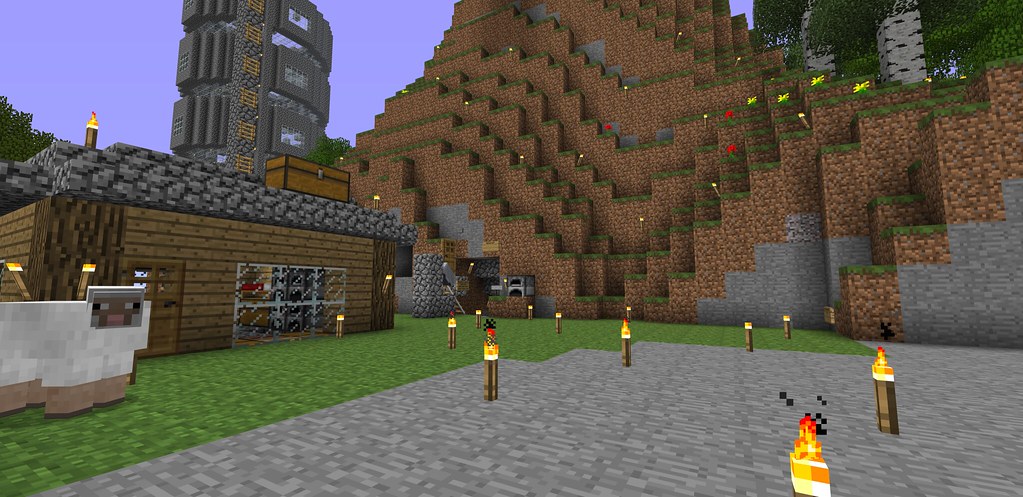
Theme everything around your coaster. Dark oak wood and dark prismarine make a spooky coaster. Copper, polished blackstone, and amethyst blocks create a futuristic vibe. Bright colors, wool, and concrete work for a candy-themed nightmare. The blocks you build the structure from matter more than the rails themselves.
Lighting transforms the experience. Put glow berries or lanterns underneath elevated sections. Use amethyst blocks and copper for a modern aesthetic. Neon-colored wool with internal lighting creates a genuine theme park feel. Honestly, half the enjoyment of riding someone else's coaster comes from the atmosphere, not just the speed.
Consider adding themed areas around the track. A queue area where people wait (decorated nicely, obviously). A gift shop or viewing area where spectators watch riders zoom past. A photo spot where builders customize their character appearance before boarding. If you haven't already customized your own look, the Minecraft Skin Creator is a fun way to dress up before a big build showcase.
Build decorative supports under elevated sections instead of leaving it floating.
Sound design matters too. Some builders add note blocks that play as the minecart passes, creating a musical experience. It's overdone in some communities, but when it's done right (not every block plays a sound) it's genuinely cool.
Testing and Refinement
Ride your own coaster multiple times. Every. Single. Time. You'll spot issues during testing that your planning stage missed. Does the minecart stall on the second hill? Add more powered rails. Does it derail on a turn? The curve is too sharp; rebuild it with a wider arc.
Test in both Java Edition 26.1.2 and any other versions you care about. Minecart physics are slightly different between versions, so a coaster that works perfectly in You might have issues in another.
Invite friends to ride it (if it's a multiplayer world). You'll get honest feedback fast. Watch where they crash. Listen to where they complain about speed or jerky transitions. The best coasters feel smooth and never surprise the rider with a sudden halt or unexpected speed change.
Adjust. Rebuild. Refine.
Some sections might need multiple iterations. That loop that looked perfect on paper might be too tight in practice. The straightaway might be too long and boring. Building is iteration. Accept it and enjoy the process of making it better.
From Vision to Reality
Building a working rollercoaster isn't rocket science, but it does require patience and attention to detail. Start simple. Build a basic hill with a drop, add powered rails, test it relentlessly, then expand. Once you've got one working section, adding a second loop or turn becomes much easier because you understand the mechanics. The fancy coasters you see in survival worlds didn't happen overnight; they're the result of dozens of small tweaks and improvements. Your first attempt won't be perfect. That's fine. Build it anyway, learn what works and what doesn't, then build something better next time.
Lead writer at minecraft.how. Long-time Minecraft player running a small SMP server, testing every build, mod, and seed before writing about it.