Free Minecraft Skins: Best Sources and How to Apply Them
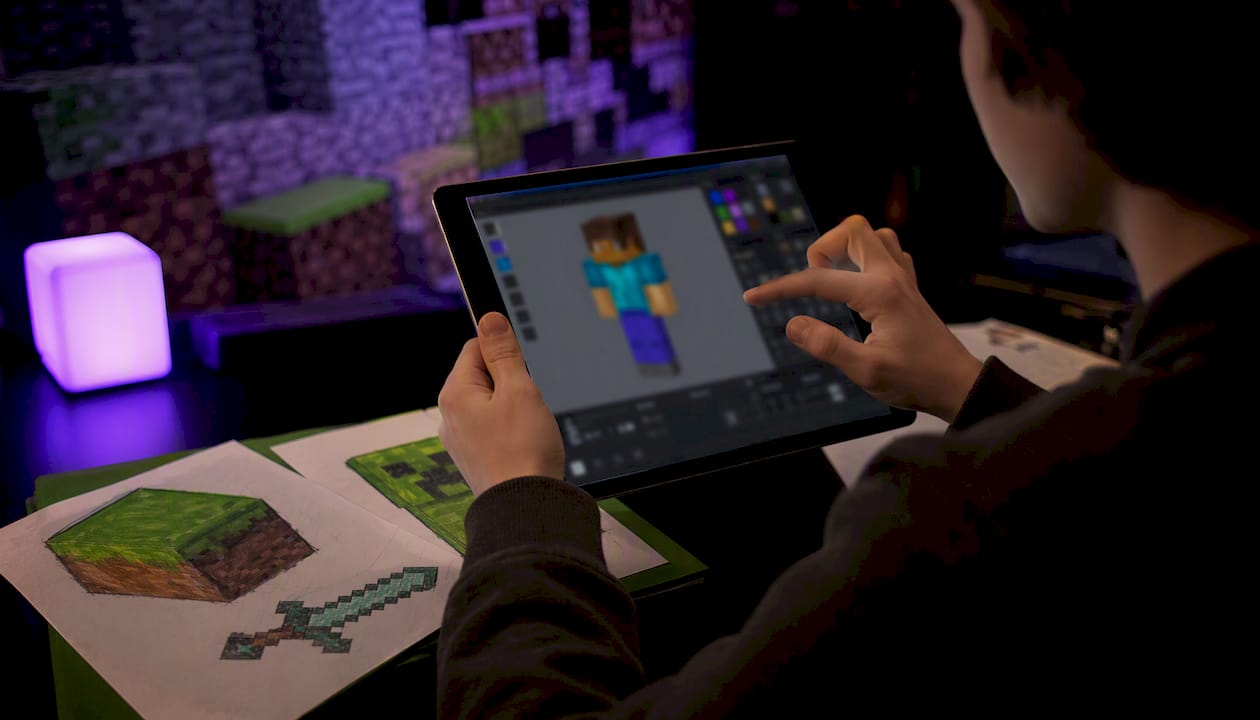
The fastest way to get free Minecraft skins is to visit a community skin repository with a built-in 3D preview and editor. You can browse, preview, and download a skin as a PNG file in under two minutes.
Two steps to get started right now:
- Browse the Minecraft.How skins library, which hosts a very large collection of free player skins with a built-in editor and 3D preview.
- Either download a skin directly as a PNG, or open the skin editor to customize it before saving.
Disclosure: this article is published by Minecraft.How, a community platform for skins, servers, and tools.
Table of Contents
- Where can you find free Minecraft skins online?
- How to download and apply a skin in Java Edition and Bedrock Edition
- How do you create or edit a custom skin?
- Are community skins safe and legal to use?
- What does Minecraft.How offer for skins?
- Key Takeaways
- Why editor-enabled libraries are worth your attention
- Minecraft.How’s skins library is ready when you are
- Useful sources and official links
Where can you find free Minecraft skins online?
Not every skin site is worth your time. The best ones combine a large library, a 3D preview, and an editor so you can see exactly what you’re getting before you download.
Community repositories with editors are the most useful category. Sites like The Skindex host tens of thousands of user-created skins with preview and one-click download. The Skindex is independent from Mojang and Microsoft, so it is not an official product, but it is one of the longest-running community archives around. CraftMC’s skin browser takes a similar approach with 3D preview and category filters, which makes it easy to narrow down by theme, character type, or color palette.
Editor-first platforms put creation before browsing. mcskincraft leads with its editor and a community publishing flow, letting players build a skin from scratch and share it without ads getting in the way. Skins4Minecraft covers both ends: a browsable library and clear download instructions for players who just want a quick PNG.
Educational editors serve a different audience. Tynker wraps skin creation inside a learning framework, making it a solid pick for younger players or parents who want a guided, moderated environment. The Resource Editor on Tynker lets kids draw and deploy skins as resource packs, which is a step beyond what most free sites offer.
Community forums fill the gaps the big libraries miss. The r/minecraftskins subreddit is where players go when they want something specific: a niche character, a fan-art skin, or a creator’s personal library. You won’t always find a polished preview, but you’ll find things the big repositories don’t have.
Three quick selection cues before you commit to a site:
- Does it offer a 3D preview so you can rotate the skin before downloading?
- Is there a built-in editor, or do you have to download and edit locally?
- Does the site show clear attribution or a license statement for each skin?
How to download and apply a skin in Java Edition and Bedrock Edition
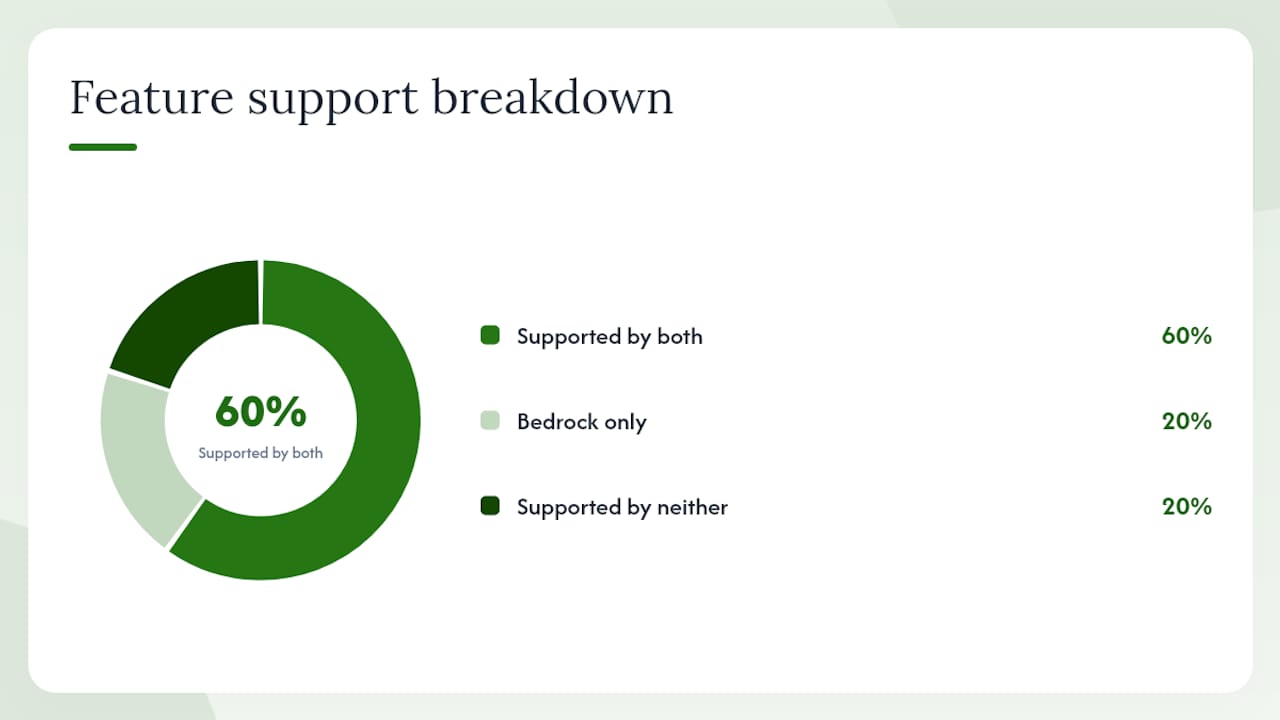
Both editions support custom skins, but the installation process is different. Java Edition uses a web-based upload; Bedrock Edition uses a local file import or the in-game skin picker, depending on your device.
Java Edition (step-by-step)
- Find a skin you like and download it as a PNG file (64x64 pixels).
- Go to minecraft.net/profile/skin and sign in with your Microsoft account.
- Click “Upload” and select the PNG file from your device.
- Choose your model: Steve (classic, broader arms) or Alex (slimmer arms). Pick the one that matches how the skin was designed.
- Save. The skin applies to your account and shows up in-game immediately.
Bedrock Edition (step-by-step)
Bedrock’s process varies by platform. On PC (Windows), save the PNG to your device, then open Minecraft, go to the character creator, select “Classic Skins,” and import the file. On mobile (iOS/Android), download the PNG to your camera roll or files app, then import it through the in-game skin picker. On console, custom PNG imports are not supported natively; you are limited to the in-game character creator and Marketplace content. For a full visual walkthrough of the
, a short video tutorial covers the device-specific steps more clearly than text alone.
Java vs. Bedrock: feature comparison
| Feature | Java Edition | Bedrock Edition |
|---|---|---|
| Custom PNG upload | Yes, via minecraft.net | Yes, on PC and mobile only |
| In-game editor | No | Yes (character creator) |
| Cloud sync | Yes, tied to account | Yes, tied to Microsoft account |
| Local file support | Yes | Yes (PC and mobile) |
| Console custom skins | N/A | Not supported |
Pro Tip: Legacy skins use a 64x32 resolution. If a skin looks stretched or has missing textures, check whether it’s a legacy file. Most modern skins are 64x64. Always match the model type (Steve or Alex) to the skin’s arm width, or you’ll see visual glitches at the shoulders.
How do you create or edit a custom skin?
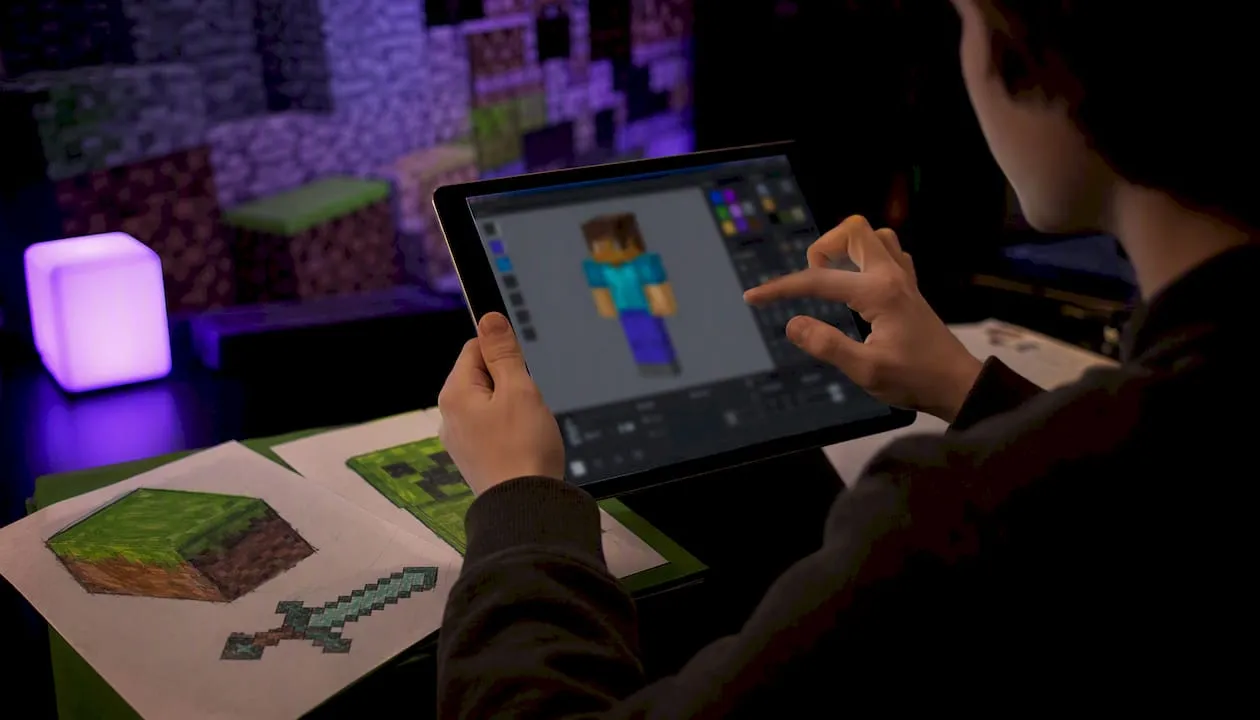
You can build a usable skin in minutes using a browser-based editor with 3D preview. No software installation needed.
Basic workflow:
- Open a browser editor (Minecraft.How’s skin creator, mcskincraft, or CraftMC).
- Choose a base template: Steve or Alex body type.
- Paint pixels using the editor’s color tools. Work on the front, back, and sides.
- Use the 3D preview to rotate and check for gaps or mismatched colors.
- Save a versioned copy locally before exporting (name it something like
skin_v2.pngso you can roll back). - Export the final PNG and upload it using the steps above.
Which tool fits your situation:
Browser editors with 3D preview (Minecraft.How skin creator, CraftMC) are the fastest option for most players. You see changes in real time, and there’s nothing to install.
Learning-focused editors like Tynker work well for kids or beginners who want guided prompts and a more structured canvas. The trade-off is less flexibility for advanced designs.
Local pixel editors like LibreSprite or GIMP give you the most control over individual pixels, but you lose the live 3D preview unless you import the file back into a browser tool to check it.
Pro Tip: Use the symmetry or mirror tool if your editor has one. It cuts painting time in half for faces and body panels. Always preview on the 3D model before exporting — what looks fine on a flat canvas can look completely wrong once it wraps around the character.
Are community skins safe and legal to use?
Most community skins are free for personal play. The key is knowing what to check before you download.
Safety checklist before downloading a skin:
- The site uses HTTPS (look for the padlock in your browser’s address bar).
- Each skin shows clear attribution or a license note (even “free to use” counts).
- A 3D preview is available so you’re downloading exactly what you see.
- The site has community moderation: report buttons, comment sections, or a visible review count.
- You’re downloading a PNG file, not an executable or ZIP with unknown contents.
On copyright: most community skins are original designs or fan art. Using a fan-art skin of a copyrighted character (a superhero, a game character) for personal play is generally tolerated, but redistributing it, selling it, or using it in monetized content is a different matter. If you plan to stream or publish videos, stick to original skins or ones with an explicit free-use license.
For parents: the safest sites for kids combine moderation, no third-party ad redirects, and an editor that keeps players on-site rather than sending them to external download links. Tynker is the clearest example of a moderated, education-first environment. Minecraft.How’s skins library is another option with a clean, ad-light interface and a built-in editor that keeps the experience self-contained.
What does Minecraft.How offer for skins?
Minecraft.How is a community platform that combines a free skins library, a browser-based skin creator, and a server discovery tool in one place.
What you get on the skins side:
- Over 200,000 free player skins, browsable by category, theme, and style.
- A built-in skin creator with 3D preview so you can edit before downloading.
- Search and filter tools to find skins by character type, color, or popularity.
- Support for 14 languages, which makes it accessible to a global player base.
- Server discovery alongside skins, so you can find a server to play on right after customizing your character.
How to get started in two steps:
- Go to minecraft.how/skins and browse or search for a skin.
- Click the editor icon to customize it, or hit download to grab the PNG directly.
The library size and the built-in editor are the two features that set it apart from a basic download-only repository. You don’t need to leave the site to preview, edit, and export.
Key Takeaways
Community skin repositories with 3D preview and a built-in editor are the safest, fastest way to find, customize, and apply free Minecraft skins on both Java and Bedrock.
| Point | Details |
|---|---|
| Best source type | Use repositories with 3D preview and a built-in editor before downloading. |
| Java Edition install | Download a 64x64 PNG and upload it at minecraft.net/profile/skin. |
| Bedrock Edition install | Import a PNG via the in-game skin picker on PC or mobile; consoles don’t support custom PNGs. |
| Safety check | Verify HTTPS, clear attribution, and a PNG-only download before saving any file. |
| Minecraft.How | Offers 200,000+ free skins, a browser skin creator, and server discovery in one place. |
Why editor-enabled libraries are worth your attention
The conventional advice is to just Google “free Minecraft skins” and grab whatever comes up first. That works until it doesn’t. The sites that rank well aren’t always the ones with the best moderation, the cleanest downloads, or a preview that actually matches what you get in-game.
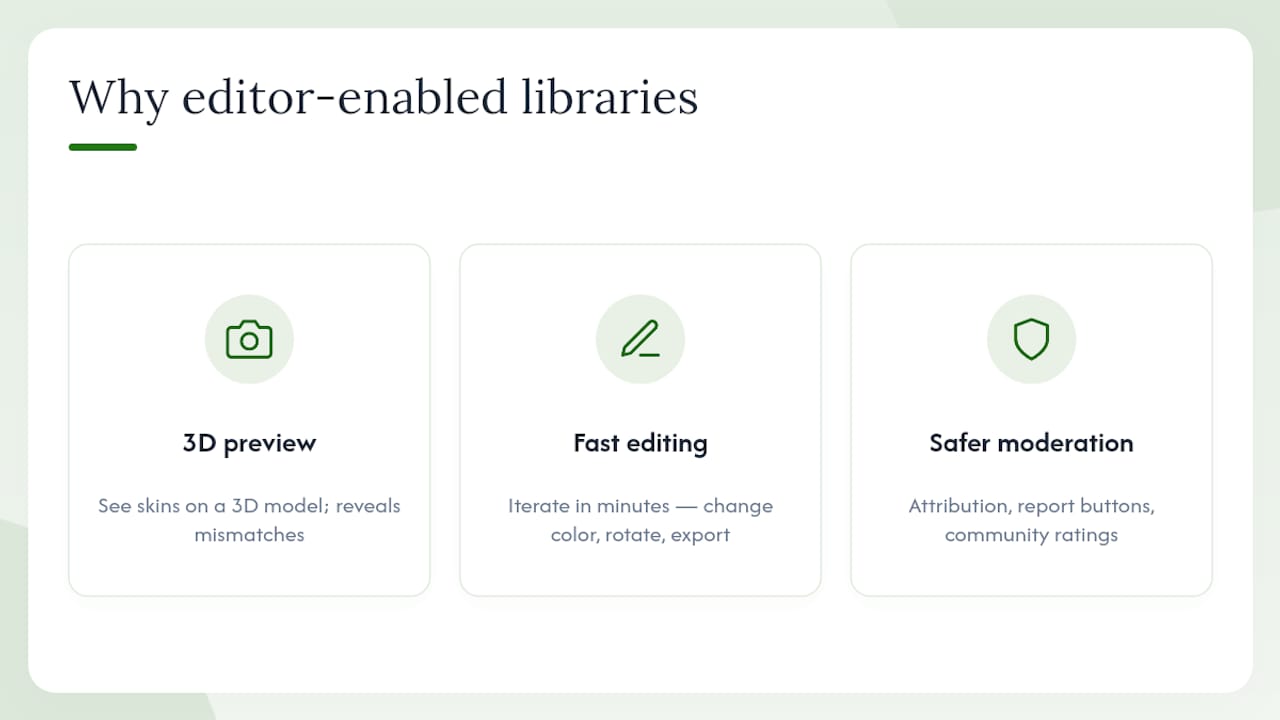
What actually matters is whether you can see the skin on a 3D model before committing to it. A flat sprite view hides a lot: mismatched arm textures, gaps on the back panel, colors that look fine on screen but read as muddy once they’re wrapped around a character. An editor with live 3D preview closes that gap entirely.
For players who want to create rather than just download, the editor is where the real value is. Even a basic browser editor lets you iterate fast: change a color, rotate the preview, adjust, export. That loop takes minutes, not hours. The learning curve for skin creation is genuinely low, and the payoff is a character that looks like yours instead of one shared by thousands of other players.
Curated, editor-enabled libraries also tend to have better moderation. When a site invests in an editor, it usually invests in the surrounding infrastructure too: attribution fields, report buttons, community ratings. That’s not a coincidence.
Minecraft.How’s skins library is ready when you are
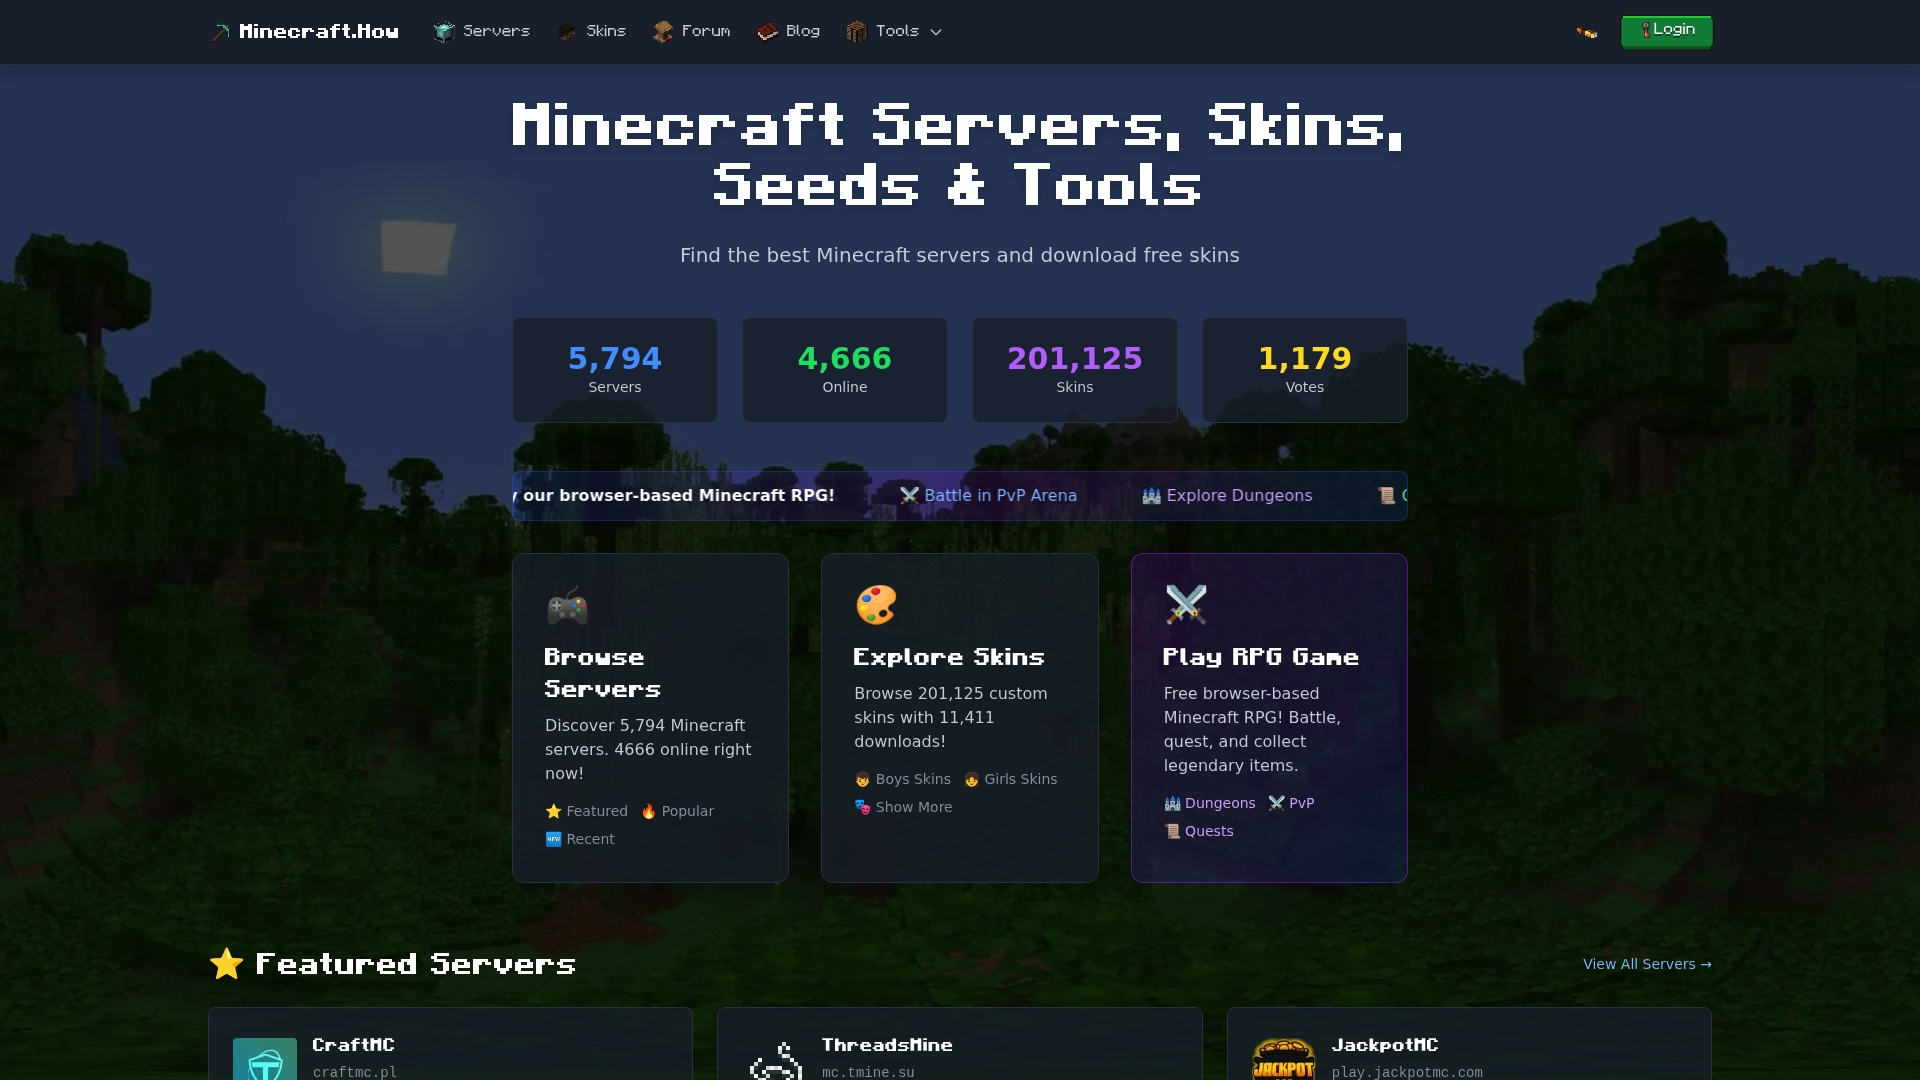
Skip the search and go straight to a library built for this. Minecraft.How hosts a very large collection of free player skins alongside a browser-based skin creator with 3D preview. You can browse by category, open any skin in the editor, tweak it to fit your style, and export a ready-to-upload PNG without leaving the page.
Three steps to get your new skin in-game today:
- Browse the free skins library and pick a skin that fits your style.
- Open it in the skin creator to customize colors, details, or the base design.
- Export the PNG and upload it to your Minecraft account using the platform steps above
Once your skin is set, the server browser is right there if you want to jump into a server and show it off.
This article is published by Minecraft.How.
Useful sources and official links
- minecraft.net
- Minecraft Skins — Browse the Largest Collection of MC Skins | Tynker
- Minecraft Skin Browser | 1000+ Free Minecraft Skins | CraftMC
- Minecraft Skins — Browse, Create & Download | mcskincraft
- How To Get Free Custom Skins In Minecraft Bedrock!
Before applying any skin, confirm the resolution (64x64 for modern skins) and match the model type to the skin’s arm design. A quick 3D preview check takes ten seconds and saves you from a broken-looking character in-game.
Lead writer at minecraft.how. Long-time Minecraft player running a small SMP server, testing every build, mod, and seed before writing about it.