Building Your First Automatic Farm in Minecraft
Automatic farms handle crop harvesting, ore collection, and more while you're off doing something else. The key is redstone mechanics and water flows that push items into collection systems. Once you understand the basics, you can build farms that run forever without touching a thing.
What is an Automatic Farm and Why Build One?
An automatic farm is exactly what it sounds like: a farm that harvests itself. You set up the mechanics once, and the farm keeps producing. No more standing around with a shovel waiting for crops to grow. It's one of those Minecraft concepts that seems complicated until you actually build one, then you realize it's just applied physics.
The real value shows up after 20 minutes of operation.
Most automatic farms rely on three core ideas: water pushing items, hoppers sorting them, and either player proximity or timer-based mechanics triggering the harvest. Crops need water and light to grow, but once they're mature, breaking them and collecting the drops is pure logistics. Redstone handles the logistics. Since Minecraft 1.15 added bees and honeycomb, bee farms became viable too. Actually, that's not quite right for all versions - Bedrock got bees earlier - but the Java edition is what we're focusing on here with version 26.1.2.
You'll save hundreds of hours if you're playing a long survival world.
Types of Farms Worth Building First
Not all automatic farms are created equal. Some are dead simple (wheat or melon), others require understanding observer blocks and piston mechanics. Here's the thing, here's what actually makes sense to start with:

- Crop Farms (Wheat, Carrots, Potatoes): Water flows down, mature crops break, water carries items to a collection point. These teach you the fundamental concept without headaches.
- Melon and Pumpkin Farms: Similar water-based collection, but the items spawn beside the stem instead of where you break it. Slightly trickier positioning.
- Sugarcane Farms: Probably the simplest setup for sheer item throughput. Pistons push mature sugarcane into water channels.
- Mob Farms: These require spawning mechanics knowledge and dark rooms. Save these for when you understand redstone timing.
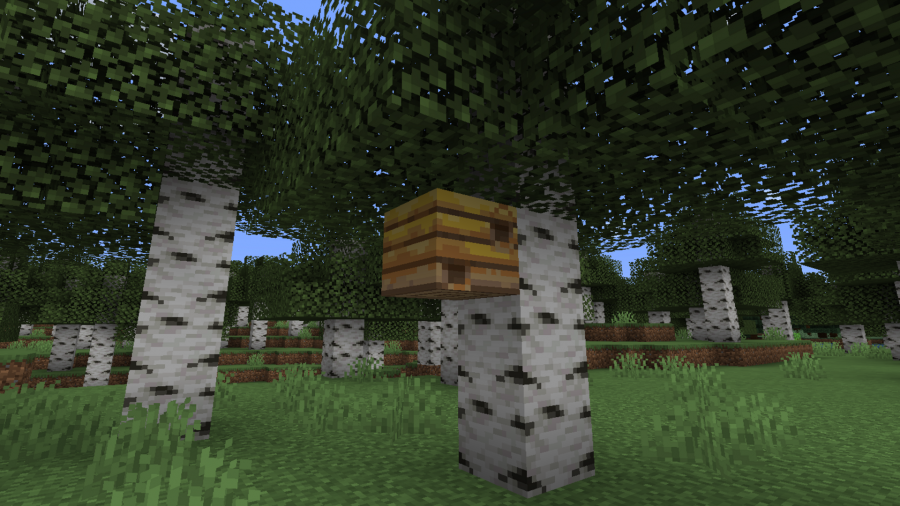
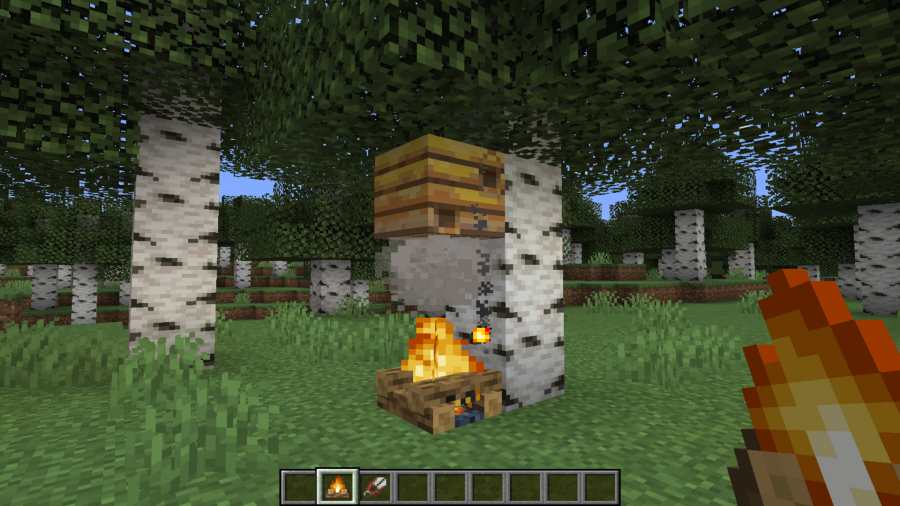
- Bee Farms: You need to keep bees calm and collect honeycomb or honey bottles. Not particularly efficient compared to crops, but satisfying to set up.
Start with wheat. Seriously.
Essential Materials and Layout Basics
Before you start digging, gather these materials. Most are straightforward to obtain on your first day:

- Water buckets (for the farm mechanism)
- Hoppers (item collection - you'll need about 10 to start)
- Chests (storage for collected items)
- Redstone repeaters (for timing if you want automation)
- Observer blocks (detect when crops mature)
- Pistons (push items into water)
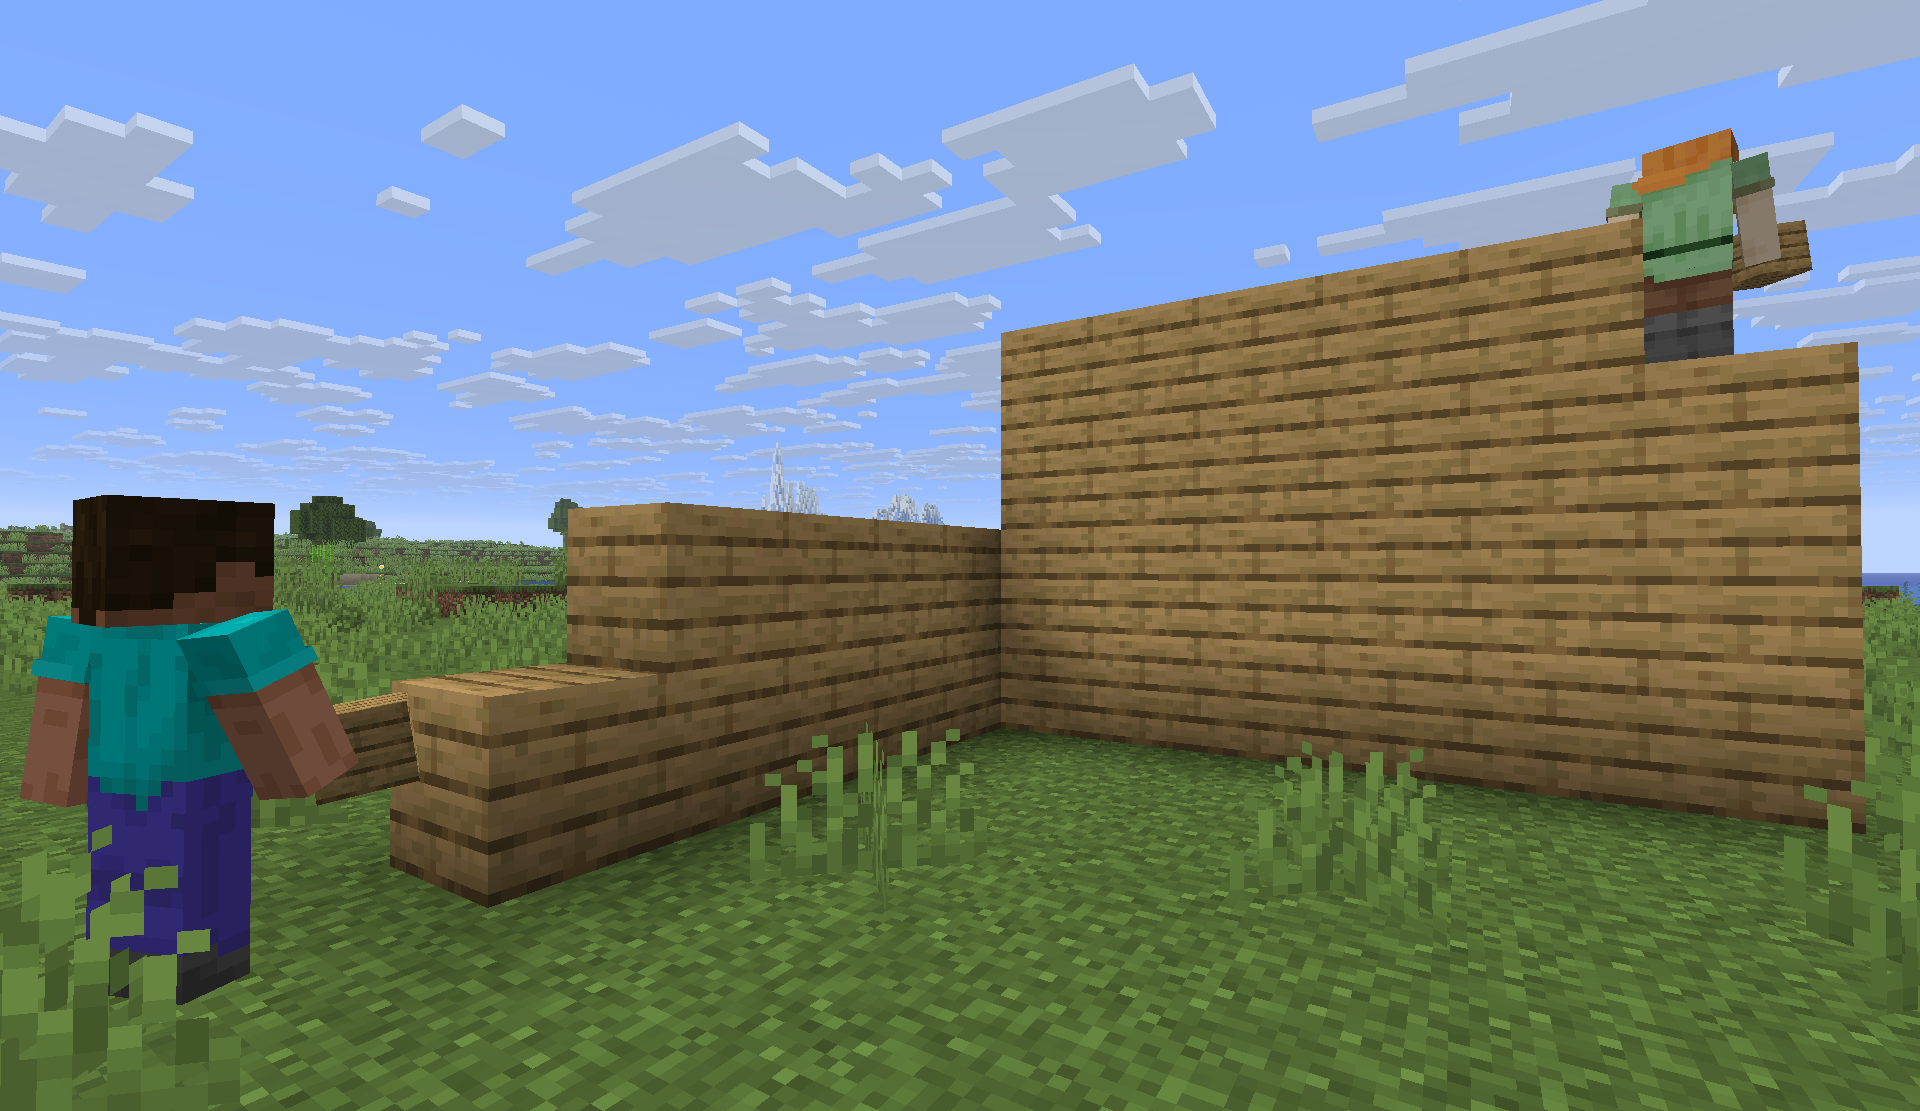
- Building blocks (whatever you want - dirt, stone, wood)
The basic layout is this: grow crops in rows, place water channels between rows to collect drops, funnel that water toward hoppers leading into chests. Everything flows downhill from there.
Hoppers are the bottleneck early on, not materials.
Building Your First Wheat Farm Step by Step
Here's the easiest automatic farm to start with. This design uses gravity and water, zero redstone required.
Step 1: Choose Your Location and Dig
Find a flat area, or flatten one yourself. Mark out a rectangle about 30 blocks long and 16 blocks wide - adjustable, but this size is comfortable to manage. Dig down about 3 blocks deep. You need room for the farm above and the collection channel below.
Step 2: Build the Growing Area
Fill your dug-out area with farmland. Plant wheat in rows separated by one block. The one-block gaps between rows will become your water channels. You can also use alternate rows if you prefer: row of wheat, row of water, row of wheat, row of water. Either way works.
Light is essential. Add torches every 12 blocks or use a roofed structure with lighting recessed into the ceiling.
Step 3: Add Water for Growth
Water needs to reach farmland within 4 blocks horizontally (or 1 block down) for crops to hydrate. Place water every 4 blocks in your gaps. Don't let it flow toward your collection channel yet - just let it sit.
Step 4: Build the Collection Channel Below
Below your wheat farm, dig out another channel that runs the length of the farm. This should be 1 block wide and slope toward a single collection point. At the far end, place hoppers in a staircase pattern leading into a chest or double chest.
Step 5: Connect Water to the Collection
Now comes the clever part. In your growth areas, dig down at one end and let the water flow downward into your collection channel. When you break the wheat manually or use pistons to break it, the water carries every drop down into the collection system. Items flow to your chest automatically.
Test it: break one block of wheat by hand. Watch the items float toward your chest.
Step 6: Add Automation (Optional but Worthwhile)
For true automation, you need the crops to break themselves. Place pistons above alternating rows of wheat with the piston heads facing down. Connect those pistons to an observer block above the crops - the observer detects when wheat reaches maturity (by age 7), and triggers the pistons to push the wheat plants down. The plants break, items flow down, everything gets collected. One timing element: add a redstone repeater set to 2-3 ticks between the observer and the pistons so the items have time to separate before collection.
If redstone timing feels overwhelming right now, just break crops manually at first. You'll learn the redstone patterns fast enough.
Understanding Redstone for Farm Automation
Redstone is the glue holding automatic farms together. You don't need to be a redstone genius, but a few concepts matter:
Observer Blocks detect state changes. When wheat grows from age 6 to age 7, the observer sees that change and sends out a one-tick pulse. That pulse can trigger pistons, droppers, whatever you want.
Repeaters delay signals and lock them in. If you set a repeater to 4 ticks, the signal travels slower. This prevents pistons from firing too fast and items jamming up. A 2-3 tick delay is usually enough for crops.
Timing is everything. Too fast and items back up. Too slow and you're not harvesting efficiently. Test it out.
Comparators read container fullness. If you want your farm to pause when chests are full, a comparator can detect that and lock the redstone circuit off. This prevents item loss.
Most farms don't actually need all this complexity at first.
The key insight: redstone is just electricity in block form. Signals travel down wire, trigger mechanisms, and repeat as needed. You're not inventing anything new - you're just arranging known patterns. Every farm design is a remix of observer-repeater-piston loops.
Scaling and Optimization
Width Over Length: If you've one farm 30 blocks long, building another one 30 blocks long is often better than stretching the first to 60 blocks. Multiple independent farms mean you can upgrade one without breaking others.
Storage Planning: A single double chest fills fast. Plan your storage based on how long you'll leave the farm running. Sugarcane farms produce insane item stacks - you might want four double chests just to keep up.
Lighting Efficiency: Recessed lights (torches on the underside of blocks) save space and look better. You can also use soul lanterns or sea pickles if you want the look.
One more practical tip: label your farms. If you're running multiple designs, you'll forget which one does what. Use a text generator tool to create custom signs with fancy fonts naming each farm by type and output. It saves you from standing there trying to remember if this wheat farm or that one is hooked up to your smelter.
The difference between a functional farm and a well-organized farm system comes down to documentation and backup storage.
If you're running a multiplayer server and want to showcase these farms to visitors, build them somewhere accessible. Some servers use votifier systems to highlight player builds - a carefully designed automatic farm setup looks impressive in those showcases. Build with visibility in mind, and consider using the Minecraft Votifier Tester to ensure your server's visibility is maximized if you're hosting.
Automatic farms are worth the setup time. You'll run them for years in a single world, and the time investment pays back in hours saved.
Lead writer at minecraft.how. Long-time Minecraft player running a small SMP server, testing every build, mod, and seed before writing about it.