Create Your Own Minecraft Skins: The 2026 Guide
Creating a Minecraft skin doesn't require being an artist. You've got options ranging from the super simple official editor to full desktop tools with 3D previews. Whether you're making a knight, a cozy fantasy character, or just sprucing up default Steve, there's a workflow that fits your skill level.
How Minecraft Skins Work
A Minecraft skin is literally just texture mapping. It's a 2D image that wraps around your 3D player model. Java Edition uses either 64x32 or 64x64 pixel dimensions. Bedrock uses different sizing depending on the client, but the concept is identical. Your skin shows everyone else how you appear in multiplayer. That's it.
The small resolution is both a limitation and a feature, actually. But it forces you to work with bold shapes and clear colors instead of getting lost in ultra-fine details.
The Simplest Option: Built-in Editor
Let's start with what you've already got. The official Minecraft launcher includes a skin editor right there. Open it, you see your character model as a flat grid, and you paint directly onto each section: head, body, arms, legs. Even the second layer if you're working with 64x64 skins (that's the outer clothing layer, perfect for armor looks).
This method takes about 15 minutes if you're just throwing something together. No downloads. No weird learning curve. Real talk, just click colors and paint.
The tradeoff is obvious though. You're working within serious pixel limits. The head is maybe 30x30 pixels once you account for front, sides, and top. Your arms are thin. Detail gets compressed. But that doesn't mean it looks bad - it just means you need to work smart.
Online Skin Editors for Real-Time Preview
If you want a real-time 3D preview while you're painting, online editors are your move. Nova Skin has been around forever and it works well. You get a live preview on one side, your pixel grid on the other, and you can see instantly how colors read on the 3D model. Since you're designing pixel art here, the preview really matters.
Mineskin and similar tools let you upload existing images and convert them into skin format automatically. Upload a portrait of your cat? Boom, cat skin. It's weird and it doesn't always look perfect, but sometimes it works surprisingly well.
Zero installation. Boot them up, design, download the PNG file, upload to your account. Done in like 20 minutes.
Getting Serious: Blockbench and Desktop Tools
Once you get past the "just messing around" phase, Blockbench becomes worth learning. It's primarily a voxel model editor for mod making, but the skin editing tool is genuinely powerful. You get layer support, undo history that actually helps, a 2D skin template view plus live 3D preview, proper color management.
Yeah, the interface is more complex. There's definitely a learning curve compared to Nova Skin's simplicity. But once you've spent 30 minutes poking around, it clicks. And if you ever want to make texture packs or custom models, you're already in the right tool.
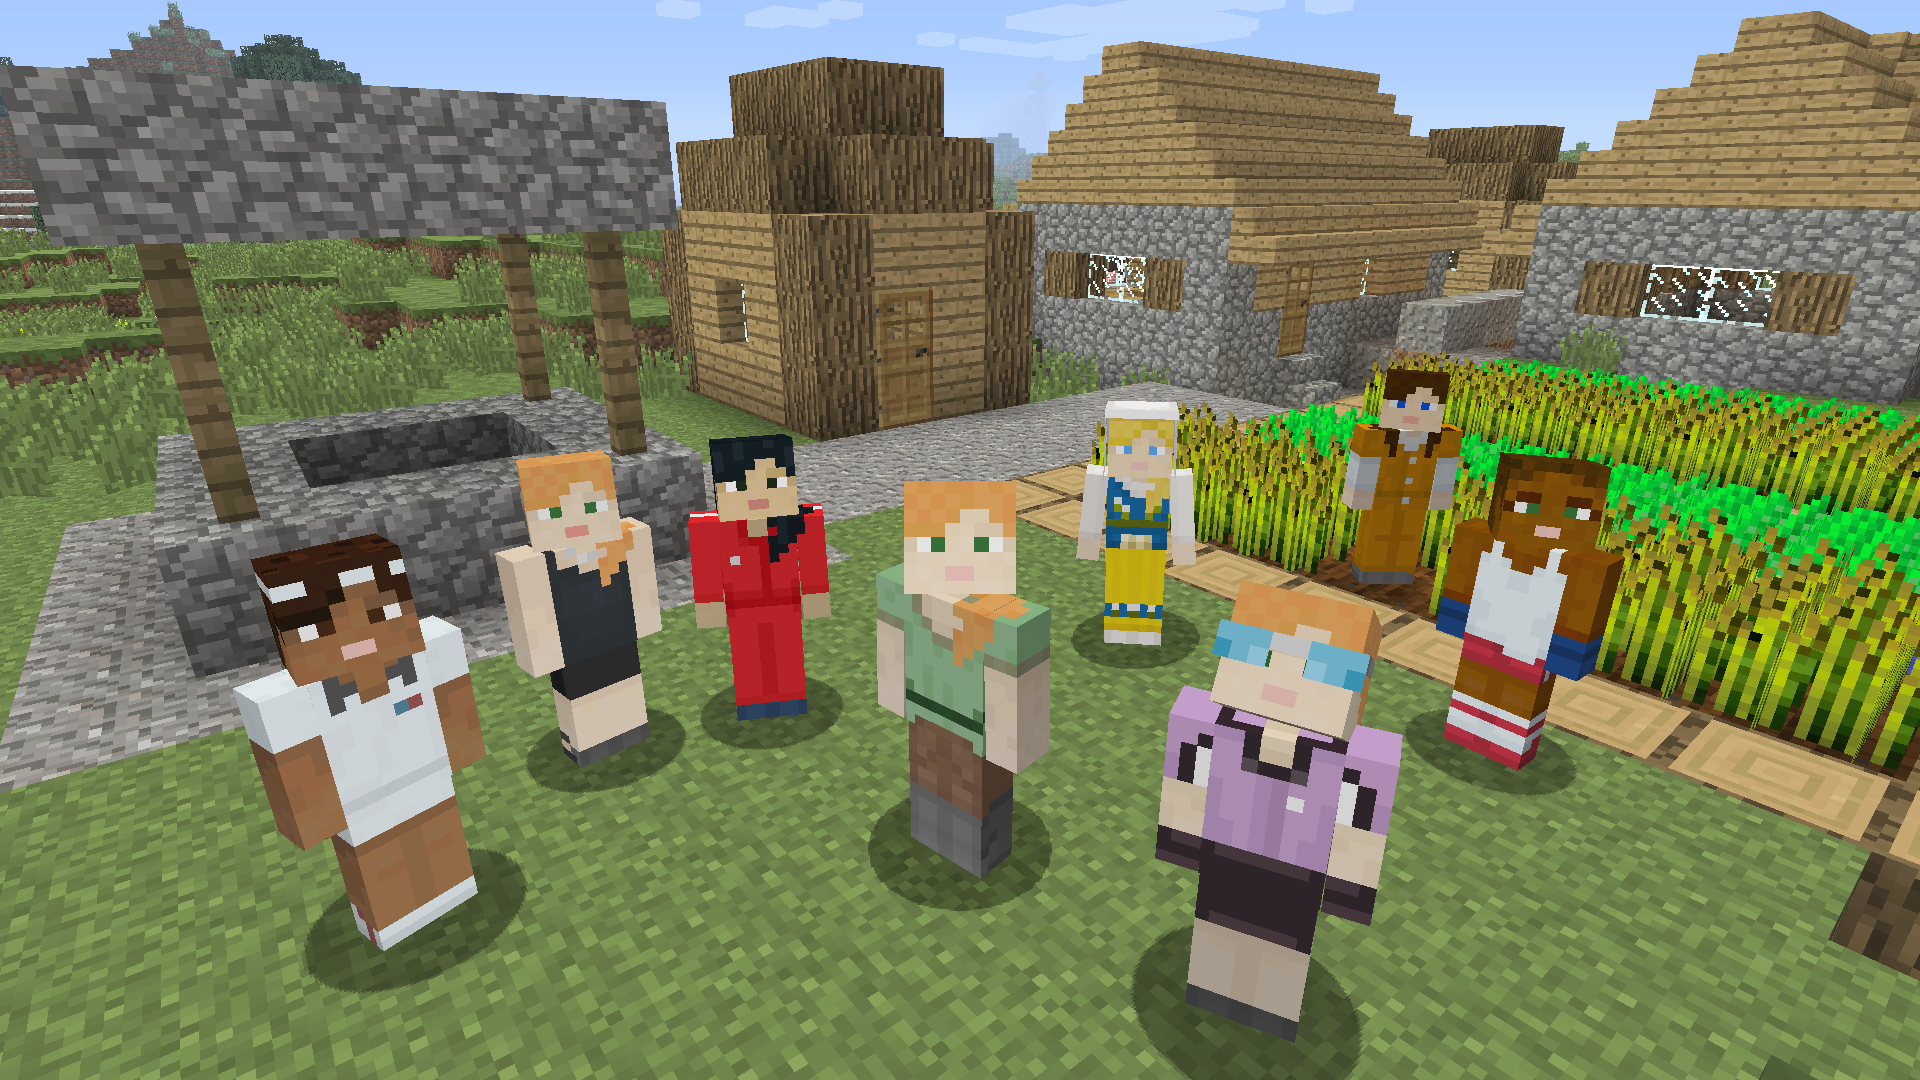
The Remix Approach: Editing Existing Skins
Here's a smart move: you don't have to start from zero. Browse our skin gallery with over 124,000 community skins you can download. Find one you love about 70%, download the PNG file, open it in literally any image editor, and modify it.
Change the colors. Tweak the clothing. Add details. Usually this is way faster than painting a full character from scratch. This is also a low-risk way to figure out if skin designing is something you want to do more of.
Most image editors work - even Windows Paint if you're patient. GIMP or Aseprite if you're serious about pixel art. Just make sure you're working with the PNG file so transparency doesn't mess up your layers.
Design Tips That Matter
Symmetry reads differently than you'd expect. Your character doesn't need perfect bilateral symmetry, but some asymmetry looks intentional (a scarred face, one eye closed) while other asymmetry just looks like a mistake. Your brain knows the difference.
Color contrast is the thing most new skin makers get wrong. You need visual separation between different parts of your outfit. Dark skin against light clothing. Light skin against dark armor. Otherwise everything mudges together into one visual blob.
Details get lost. Seriously. Your character is maybe 50-60 pixels tall on screen during normal gameplay. That intricate face you spent 20 minutes on becomes unreadable mush at distance.
Most good skins are actually pretty simple when you look closely. You notice this fast once you start playing with your own creation.
Getting Your Skin Into the Game
This part changes based on which edition you're playing. Java Edition is straightforward: upload the PNG file to your Minecraft.net profile. It syncs automatically to your game and launcher. Takes 30 seconds.
Bedrock Edition varies by platform. Console players use the in-game customization menu. PC players can usually add custom skins through the settings menu. The process works but it's less unified than Java.
Some servers restrict custom skins or disable them entirely. Most good community servers support them just fine. But if you're joining smaller or restricted servers, double-check first.
Where to Share Your Work
Once you make something you're proud of, you might want to share it. Our community skin gallery lets you browse what exists and get inspired. If you want to contribute your own, there are collection sites that accept submissions.
Make sure you're uploading the right format. Java skins are PNG files only. Bedrock can get more flexible but still prefers PNG. Check file size limits and resolution expectations.
Also read the upload terms. Most places have basic rules about not uploading hateful or inappropriate content, which is just common sense for a community platform.
Common Beginner Mistakes
Too much detail in too small a space. That's probably the number one beginner mistake. Fighting the medium doesn't work. The resolution is what it's. Embrace constraints instead of battling them. Actually, that's not quite right for some of the more advanced tools - but for browser-based editors, yeah, constraints are your friend.
Transparency layers (on 64x64 skins especially) confuse people sometimes. The "second layer" is meant to be a clothing or armor layer. If you're not planning for it, you get weird visual bugs.
Also forgetting to test your skin in actual gameplay before sharing it. Your painting program shows it one way. The game displays it different under different lighting. Spend 5 minutes in a test world. You'll catch problems early.
When selecting a server to show off your skin, check out our server list for communities that support custom skins well.
Why Custom Skins Matter
Default Steve and Alex are fine. They work. But every tenth player on a server looks the same. Having your own skin - something that reflects your taste or style - is just a nice personal touch.
Plus the process itself is useful. Forces you to think about design constraints, color theory, composition. It's a tiny creative project with actual output. People see it. It matters.
And once you make the first one, the second one takes half the time. You stop being afraid of the tools. Folks who try this figure out what actually looks good at this resolution. But it becomes a skill.
Lead writer at minecraft.how. Long-time Minecraft player running a small SMP server, testing every build, mod, and seed before writing about it.