Building Bridges in Minecraft: Design and Construction Tips
Building a bridge in Minecraft is straightforward: gather your blocks, pick a style, then span from one point to another. Start with flat wooden bridges for simplicity, progress to stone arches for elegance, and experiment with railings and detail work to make it yours. Most bridges take just a few minutes to complete.
Bridge Basics: Materials You'll Need
The good news is you don't need rare or exotic blocks to build a solid bridge. Start with the basics: wood planks, stone, or cobblestone are your foundation (literally). If you want something with more character, grab some darker wood varieties, stair blocks, or slab blocks to layer in some depth. Walls and fences work great for railings too.
The real question isn't "what blocks can I use" but "what blocks do I want to use." Want a rustic medieval vibe? Oak and dark oak work brilliantly. Going for something modern? Blackstone and deepslate give clean lines. If you're browsing for inspiration or trying to decide between block textures, the Minecraft Block Search tool lets you filter by material type and see exactly how each block looks in different lighting.
Stock up on a few stacks of your chosen block. A simple 3-block-wide, 10-block-long bridge needs maybe 30 blocks for the deck alone, plus railings. Better to have extras than run short halfway across.
The Flat Bridge Approach
Flat bridges are your starting point, and honestly, they're easier than they look.
Pick your two endpoints. If you're crossing water, stand on the shoreline or on blocks you've placed temporarily. If crossing a gap, step up to the edge. Measure the distance roughly. You don't need to be exact, but knowing if it's 15 blocks or 50 helps you pace your build.
Now build out. Place your blocks in a line. For a simple look, make it 3 blocks wide to give yourself decent walking space. If this is your first bridge, don't overthink it. Just place blocks horizontally until you reach the other side. Done.
Want to add minimal detail? Swap out every other block for a different wood tone, or drop some stairs along the edges for a slight slope. Mix oak and spruce, or stone and stone bricks. These tiny changes make a flat bridge feel intentional rather than rushed.
I tested this on my own SMP server, and a 15-block flat bridge takes maybe two minutes if you've already gathered blocks. For newer players, it's genuinely satisfying to complete something functional so quickly.
Arched Bridges for Style
Arches are where bridges stop being utilitarian and start being builds you're actually proud of.
Here's the theory: you're making a curve upward, then back down. The center of your bridge is higher than the endpoints, creating that classic arch shape. It takes a few more blocks and a bit more planning, but it's not rocket science.
Start by deciding your arch height. A subtle arch might go up 3-4 blocks at the center. A dramatic one could go up 8 or even 10. Pick your span length too. Let's say 20 blocks across for a comfortable challenge.
Place blocks at the halfway point, going up vertically. Then build outward and downward at an angle, reducing height as you move toward each endpoint. The trick is keeping it symmetrical. Build the first half, count your blocks, then mirror it on the return side. Stairs and slabs help smooth the curves if you want them less blocky.
After you've got the arch shape, fill in the center with your deck blocks. Here's the thing, use a lighter color on top to contrast with the arch stones beneath. Stone brick with dark oak stairs creates contrast. Deepslate with light stone works too.
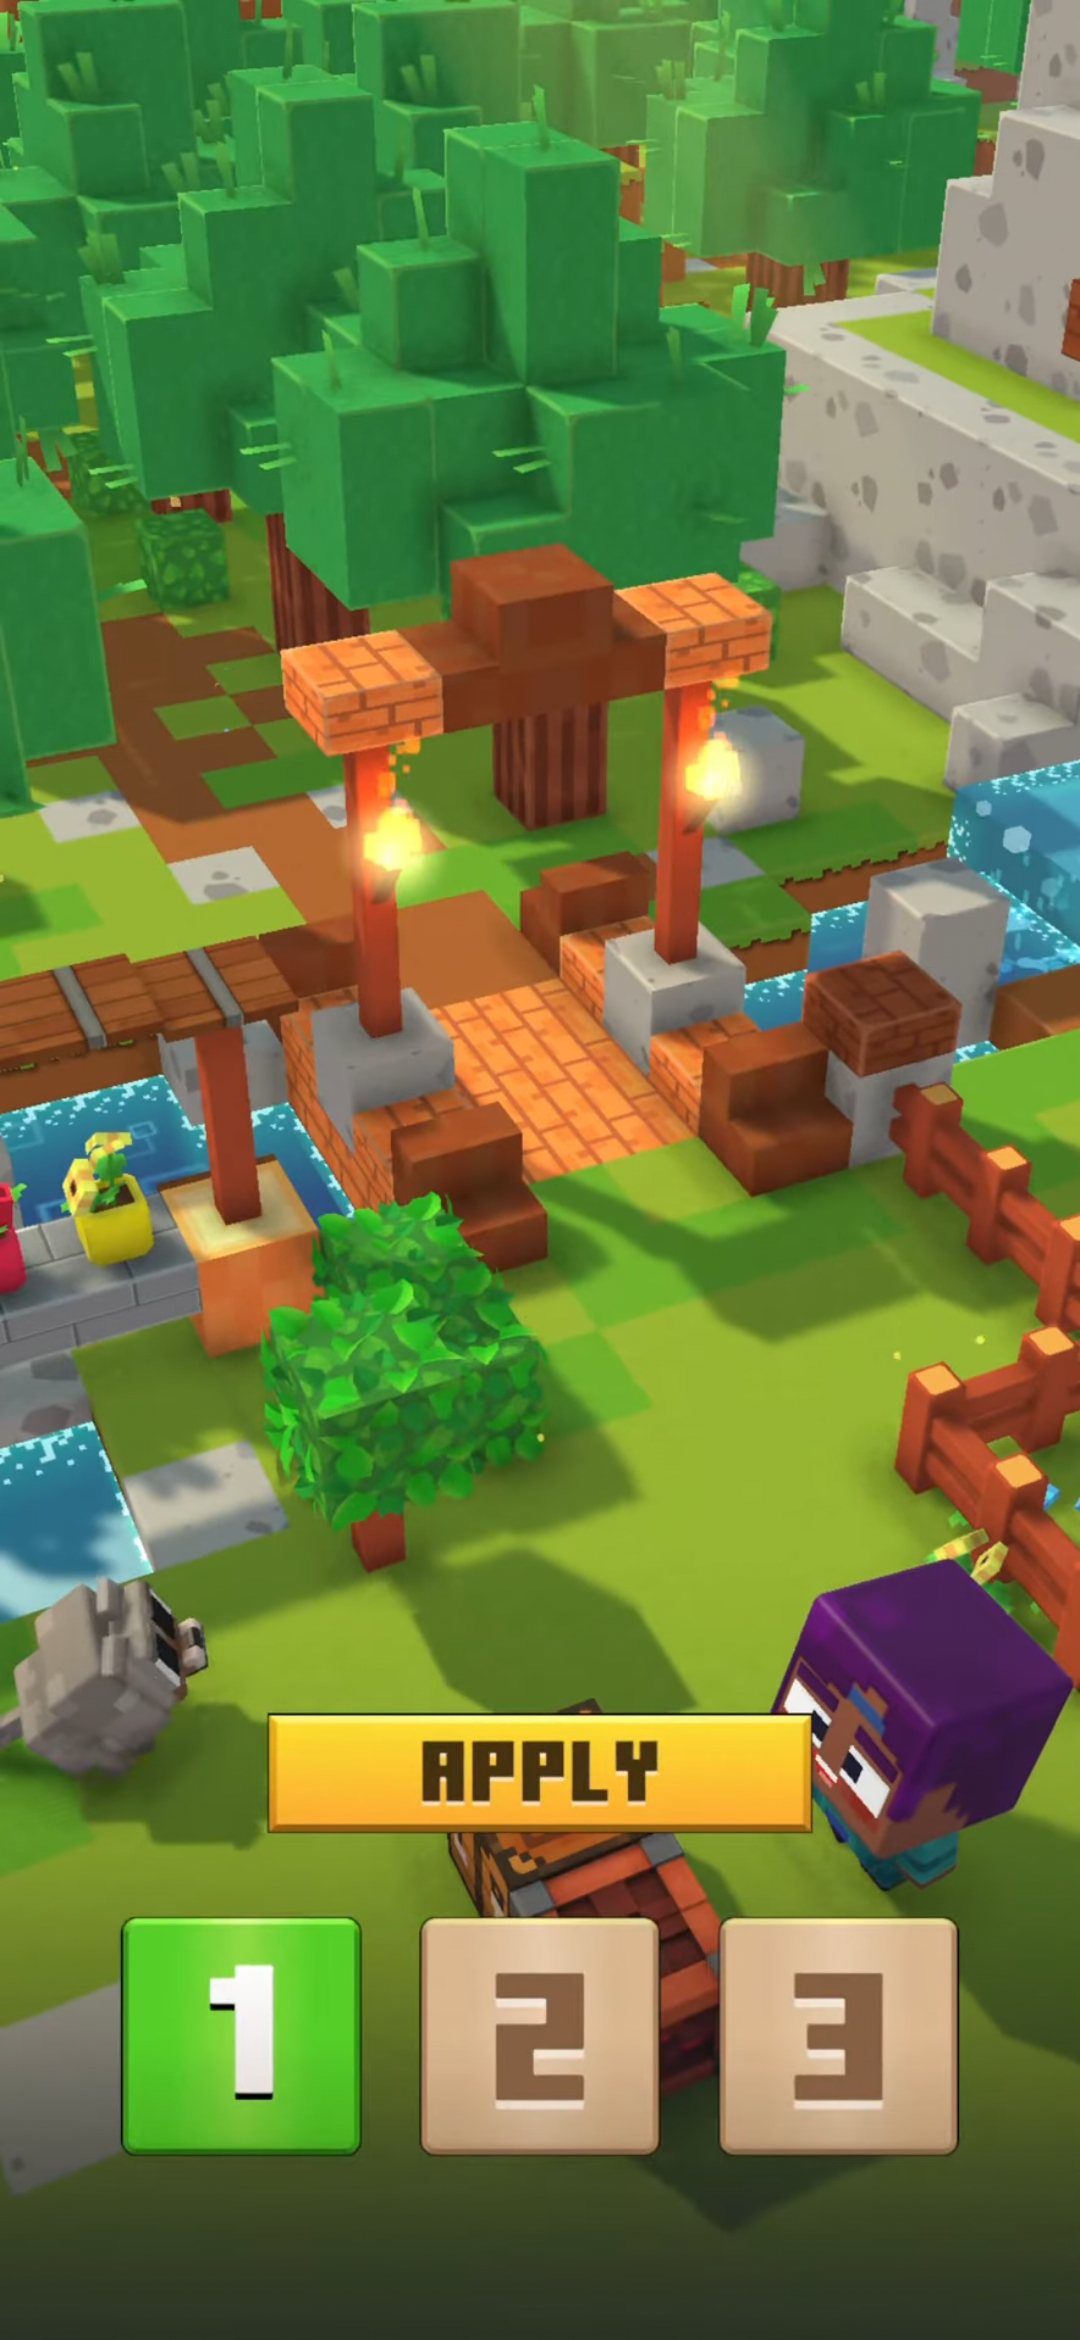
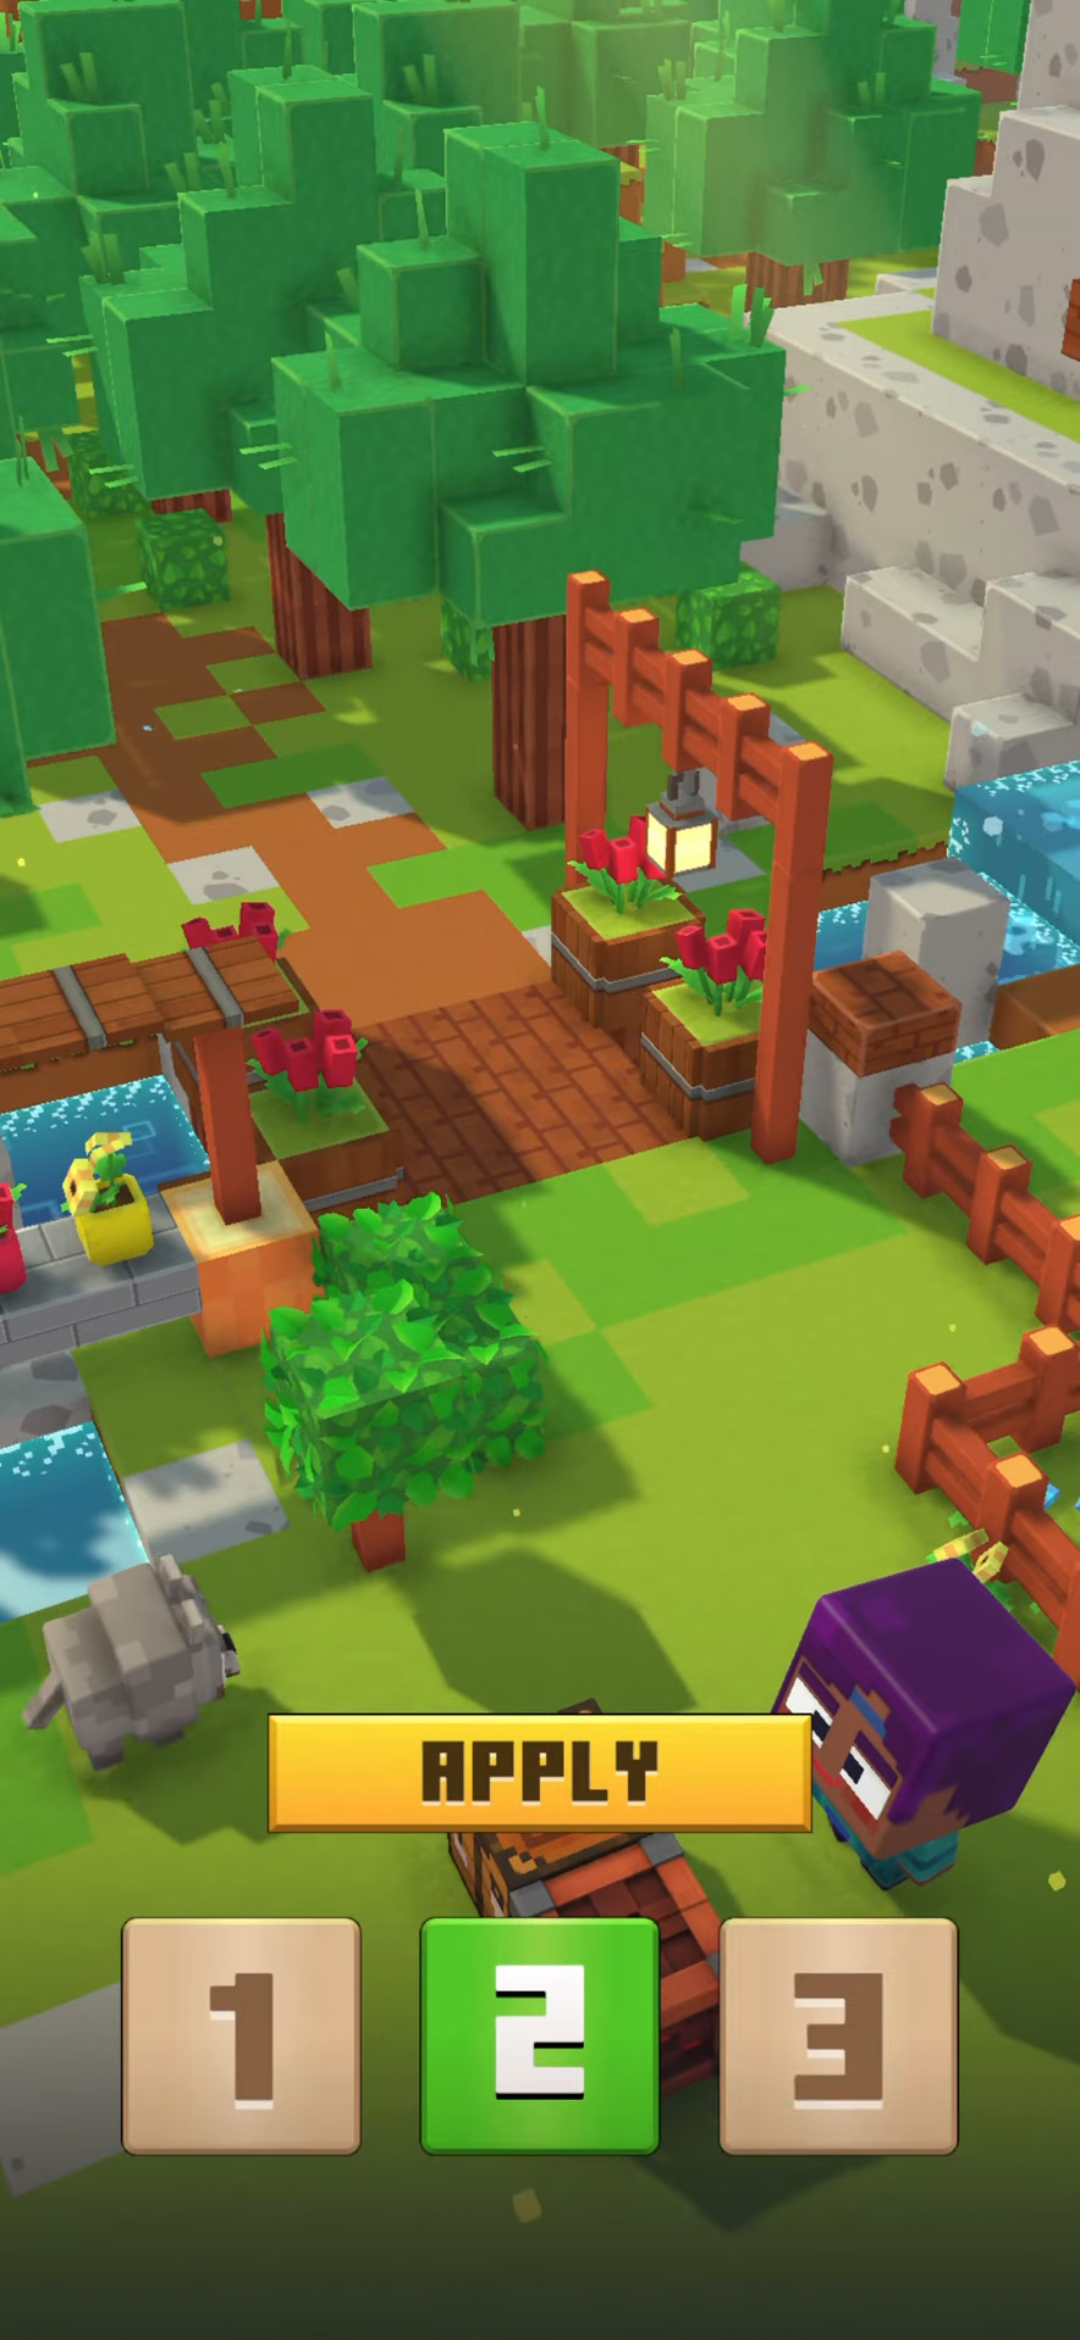
Adding Railings and Details
A bridge without railings is one you might accidentally walk off. Let's fix that.
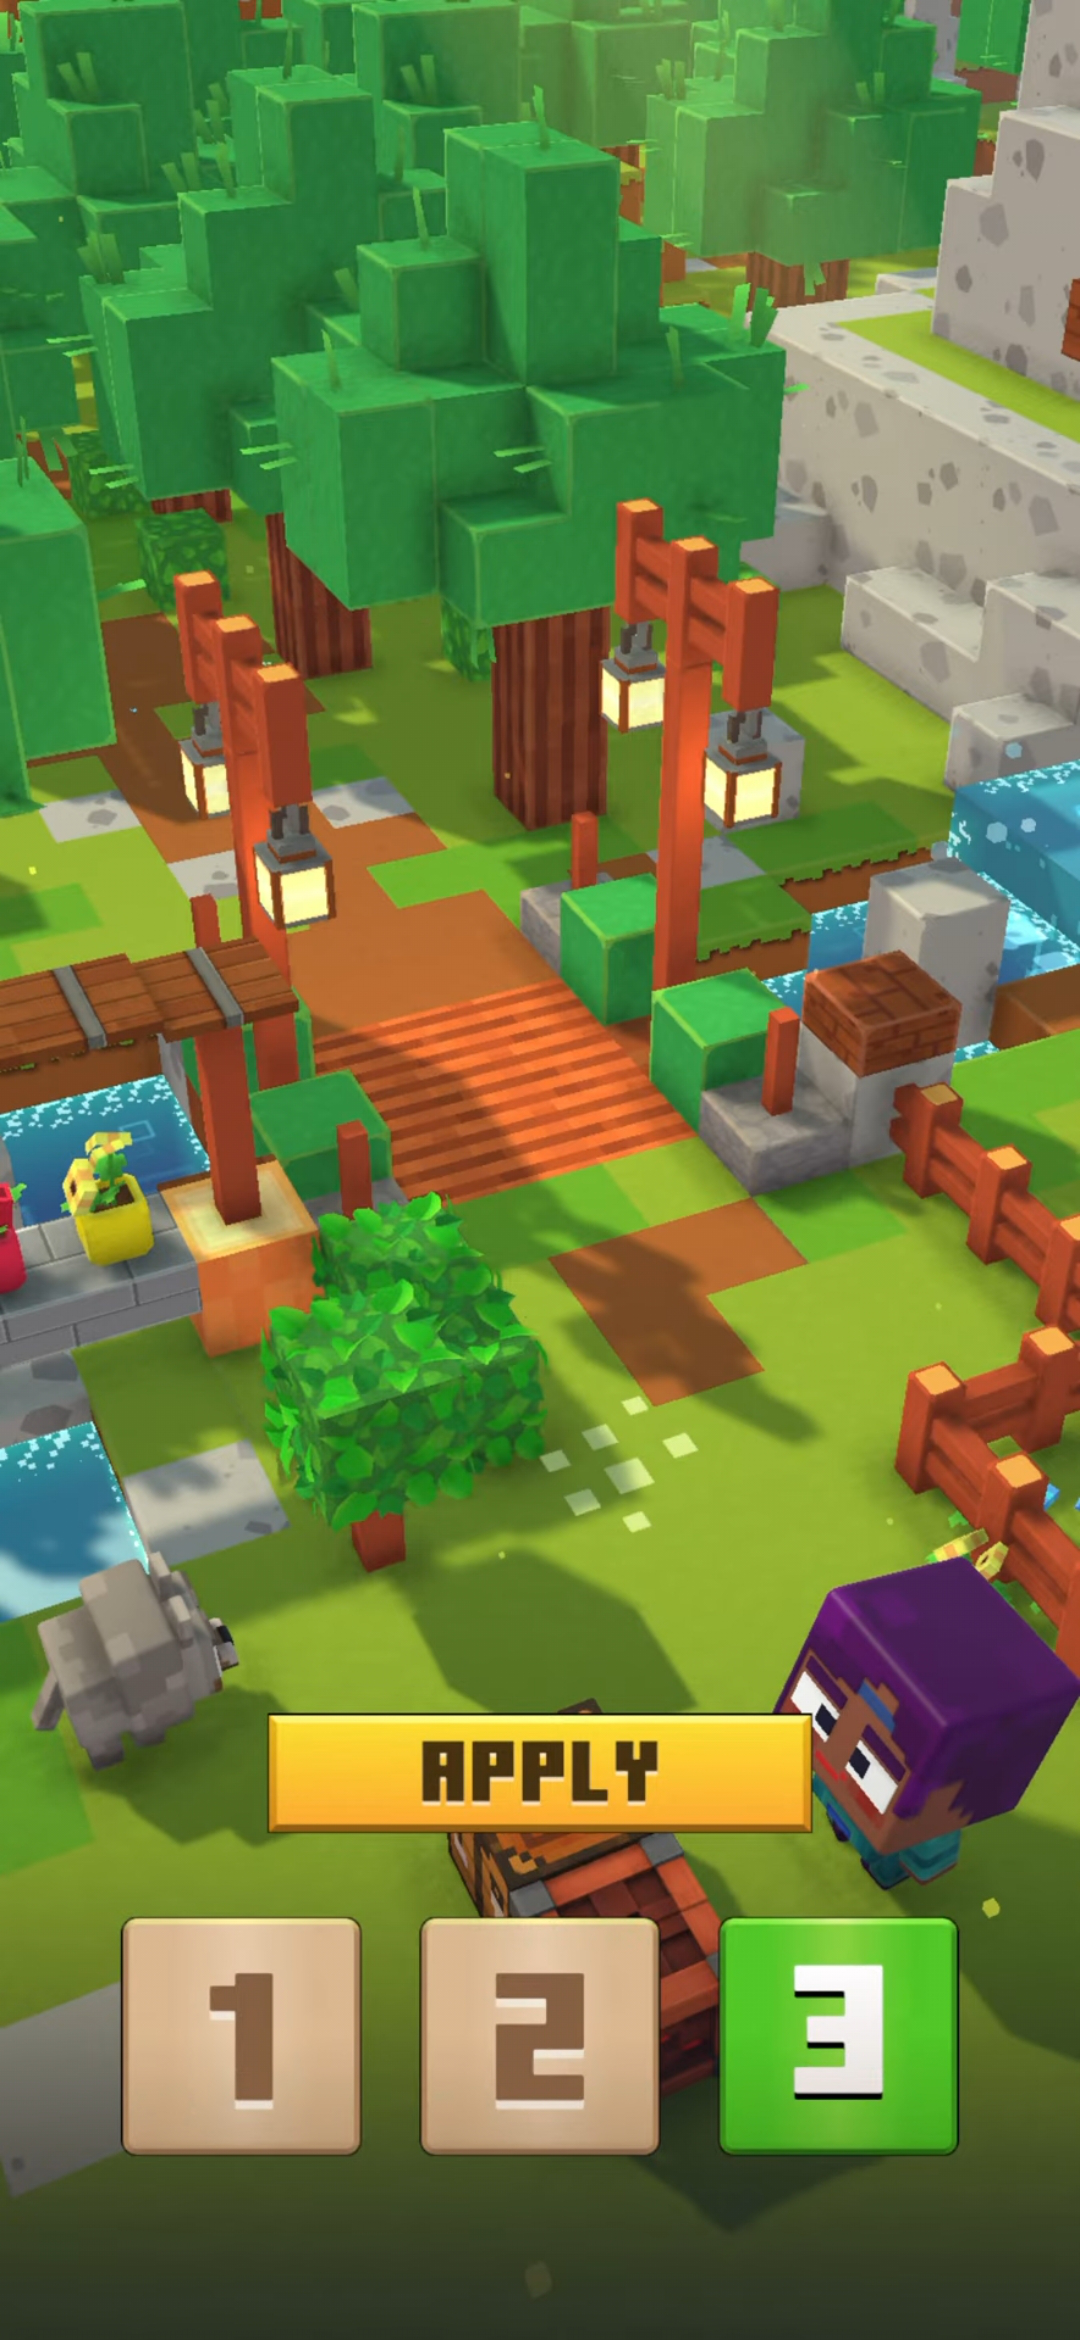
Fences are the standard. Place them along both long edges, one or two blocks high depending on your aesthetic. Walls are another option and give a more modern look. Iron bars are fantastic if you want something industrial, and they're see-through so they won't block your view while crossing.
Think about your bridge's period or style. A medieval bridge might have thick wooden posts with chain wrapped around them (chains hang from blocks and look cool, even if they don't do anything mechanical). A modern bridge could've sleek glass or dark bars. A fantasy bridge could use purple wood and glowing berries strung as lighting.
Details are what elevate a bridge from functional to noteworthy. Lanterns underneath add warmth. Flower pots on posts add life. A small roofed shelter at the midpoint? Why not. The more details you add, the more personality your bridge gains.
The important thing: details serve the overall look. If you're unsure, start minimal and add as you test it in-game.
Common Bridge-Building Mistakes
Most bridge failures happen for one of a few reasons.
Making your bridge too narrow is the classic rookie error. A 1-block-wide bridge works technically, but it's horrible to walk on, and it looks cheap. Aim for 3 blocks minimum. Four or five if you want space for decoration.
Ignoring the landscape around your bridge is another big one. A beautiful bridge that dumps you directly onto a muddy, featureless shore looks awkward. Add some terraforming. Create landing areas with paths leading away. Plant trees or flowers. Make the endpoints feel like intentional destinations, not just somewhere the bridge happens to end.
Forgetting railings is genuinely dangerous if you're building high. I've lost count of how many times I've watched a player (not me, absolutely not me) walk straight off an unreailed arch bridge and plummet 20 blocks into water. Railings save lives. Minecraft lives, at least.
And here's the thing nobody tells you: bridges often look weird the first time you cross them. The perspective from player-level is different from the building perspective. If your arch looks too steep or too subtle after you've crossed it once, you can always rebuild. Building material is cheap.
Making Your Bridge Stand Out
Most players build the same bridge twice and move on. You don't have to be most players.
Think about what makes a bridge memorable in real life. Is it the material? The shape? This surroundings? Now steal that. If you love stone bridges, go all-in on stone. Vary the stone type. Use stone, stone bricks, cobblestone, deepslate, and blackstone in layers. The texture variety alone makes it interesting.
Lighting changes everything. Lanterns aren't just pretty, they actually make a bridge feel established and cared-for. Glow berries or amethyst blocks create an ethereal vibe if your bridge is in a darker area. Soul lanterns cast spooky purple light. Experiment.
Build something adjacent to the bridge that justifies its existence. A bridge to nowhere is just a bridge. A bridge to a tower, a village, or a secluded island feels like it belongs in the world. Even something small, like a monument or a lookout point, gives context.
If you're building on a multiplayer server or planning to expand your gaming infrastructure, smooth connections matter as much as solid builds. The Free Minecraft DNS tool can help optimize your server's reliability so your friends experience your bridge-building masterpiece without lag.
You've got the foundation now. Next time you need to cross a gap, you're not just building a bridge. You're creating a landmark.
Lead writer at minecraft.how. Long-time Minecraft player running a small SMP server, testing every build, mod, and seed before writing about it.