Minecraft 아머 트림 마스터하기: 완벽한 커스터마이징
Armor trims are decorative patterns you apply to helmets, chestplates, leggings, and boots in Minecraft 26.2, giving you complete control over how your gear looks. They combine patterns with materials to create millions of color combinations, letting you express your style no matter your survival mode progress.
What Are Armor Trims, Really?
If you've been playing survival mode for a while but haven't touched armor trims yet, you're missing out on one of the coolest customization systems Minecraft has to offer. These aren't just functional upgrades like enchantments. They're purely visual, which honestly makes them even more appealing for players who care about looking the part.
An armor trim is a pattern that gets applied to your gear using two ingredients: a trim template and a trim material. The template decides the design (things like wavy lines, crosses, or geometric shapes), and the material determines the color and metallic finish. You can't get both wrong because you apply them together in a single crafting recipe.
The thing that gets people excited is the sheer variety. There are 16 trim patterns and way more material options than most players realize. Combine those and you're looking at hundreds of distinct looks, all stackable on the same four pieces of gear.
Finding Templates and Materials in Survival
Here's where it gets practical. Trim templates don't spawn as items you can pick up. You need to find them in structures across your world, and different templates come from different places. The Smithing trim, for example, shows up in blacksmith chests. Want the Shaper trim? Check mineshafts. Netherite material is obviously going to cost you more effort than copper, but that's where the depth comes in.
Materials themselves are easier. Some are ores you already mine regularly (iron, gold, copper, diamond). Others you craft or find in unusual places. Diamond and nemerald trims come from their respective ore materials. Redstone? You can get that from anywhere. Lapis shows up in caves. If you're running a multiplayer server, you might have certain materials more available than others depending on what your team has mined.
If you're looking to coordinate trims across multiple players on a server, check your server status to make sure everyone's got the same version. Older servers running earlier snapshots won't have the full trim material set.
How to Apply Armor Trims
The mechanics are straightforward once you know them.
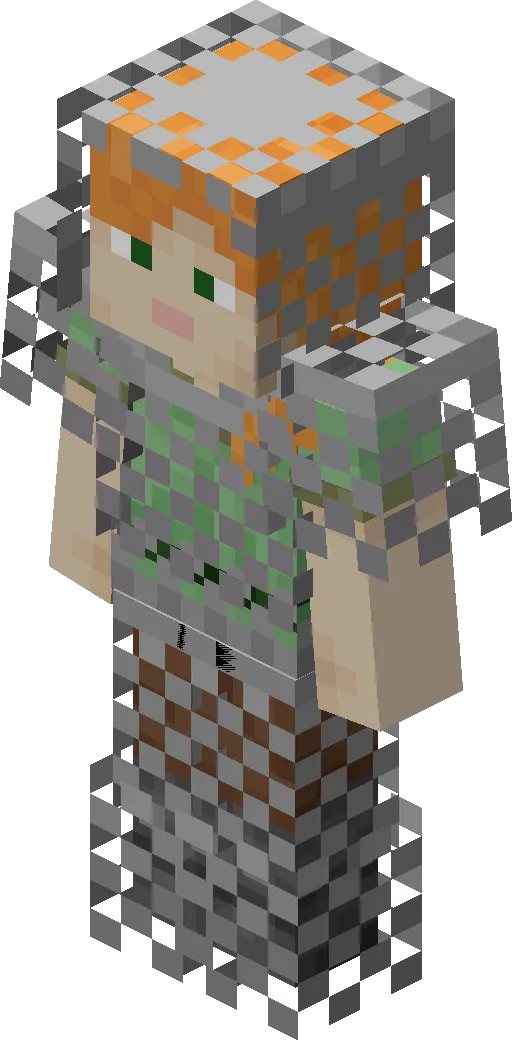
You need a smithing table, the armor piece you want to customize, a trim template, and a trim material. Drop all three into the smithing table and out comes your trimmed gear. No levels, no random outcomes. The trim applies instantly and you're done. Want to change it later? Just apply a different trim on top. The old one vanishes but you lose nothing otherwise.
This is better than enchanting in one specific way: if you don't like the look, there's zero penalty for swapping it out. I've tested this across several different servers and the simplicity is why players actually do it. There's no decision paralysis about "wasting" a template.
- Place smithing table
- Insert armor piece, template, and material
- Collect your trimmed gear
- Repeat for other pieces or different looks
Every Trim Pattern Breakdown
There are 16 patterns total and they each read completely differently depending on which material you pair them with. But the pattern itself stays recognizable.
Spire and Bolt are angular and sharp. Spire has a tall, pointed look. Bolt is jagged like lightning, and it genuinely looks aggressive on your armor. Wavy is exactly what it sounds like - flowing lines that work great for water-themed builds. Real talk, Shaper has blocky, geometric sections that feel very Minecraft-native.
Then there's Host and Raiser, which have this almost ceremonial feel. Host has intricate patterns. Raiser looks like stairs or layers stacked on top of each other. Silence is minimal and understated, perfect if you want barely-there customization. Tide flows like water across your armor piece, which is why it looks fantastic in blue or cyan materials.
The others - Eye, Ward, Wild, Coast, Dune, Rib, and Sentry - all bring their own vibe. Eye looks like a targeting reticle. Dune is sandy and desert-appropriate. Sentry is angular and structural. I'd honestly recommend just grabbing a template and testing it with whatever materials you've nearby before committing to a full set.
Trim Materials and Their Color Effects
Materials are where the real customization happens because every single one shifts the trim's color and finish.
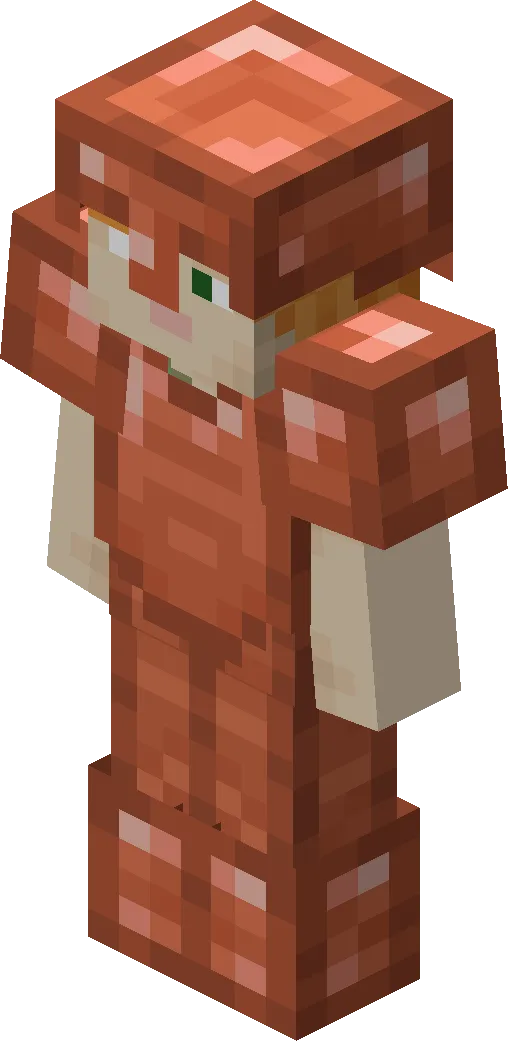
Iron gives you silver. It's neutral, works with almost everything, and it's the easiest to farm. Copper starts out orange and eventually oxidizes to blue-green if you leave it exposed to the elements. That's a weird advantage if you're okay with the trim slowly changing color on your gear. Gold is yellow-gold and has that premium feel. Diamond and Emerald are blue and green respectively.
Netherite is dark metallic, almost black. Redstone is red, obviously. Lapis is deep blue. Quartz gives you white. Amethyst is purple. If you're on a server where specific materials are rare, that becomes part of your flex. Actually, before you join a new server, check the server list to see what kind of community you're joining and whether they're focused on vanilla or modded gameplay.
Freshly mined copper trims start orange and gradually fade to verdigris over time through oxidization. This is the one material that actually changes on you. That means your perfectly coordinated look won't stay perfectly coordinated unless you're in an area where weather doesn't happen (like the Nether).
Building Your Coordinated Look
Here's the thing about armor trims that separates "applying them" from "styling yourself".
Matching all four pieces with the same pattern and material is the obvious choice but also kind of boring. I've found that mixing patterns while keeping the material the same works better visually. Say you use Wavy on the chestplate and Bolt on the helmet with the same Lapis material - it feels intentional instead of accidental. The material tie keeps it cohesive.
Color coordination matters more than pattern matching. If you're going for a fire-themed look, use Netherite material across everything. For an ocean base, Aqua-colored trims (from oxidized copper or Lapis) on all pieces. This is where creativity actually lives in the trim system.
The constraint that makes it work is that you only have four pieces and 16 patterns. You're not drowning in options like you would be if there were 200 patterns. You can actually think about combinations.
One more thing: if you're showing off your gear on a multiplayer server, make sure the server's actually running the current version. Version mismatches mean other players might see your trims as missing or glitched. Server admins usually keep things updated but it's worth confirming if you're planning a big cosmetic flex.
Worth the Effort?
Yeah, absolutely. Armor trims don't affect gameplay performance or stats, but they're some of the most visible customization in Minecraft. You're wearing them constantly. The small investment of finding templates and grabbing materials pays off every time you see yourself in first-person or every time someone else sees you in multiplayer mode. It's one of those features that feels like it shouldn't matter as much as it does, then you realize half your fun in survival mode now is coordinating trim combinations.
Lead writer at minecraft.how. Long-time Minecraft player running a small SMP server, testing every build, mod, and seed before writing about it.
Have a Question or Tip about this Guide?Community Q&A
Ask a question or help other players below. Join the discussion and share your Minecraft tips!
댓글
아직 댓글이 없습니다. 첫 번째로 의견을 남겨보세요!