Create Your Own Minecraft Texture Pack
Getting Started with Texture Pack Creation
Making a Minecraft texture pack sounds complicated, but it's actually pretty straightforward once you understand the basic file structure. Whether you want realistic visuals, a cozy cottagecore aesthetic, or something completely wild, you can build it. Here's everything you need to know to get started.
You don't need expensive software or years of experience to make a texture pack. A text editor (like Notepad++ or VS Code), an image editor (Photoshop, GIMP, or even Aseprite if you want to get fancy), and Java installed on your computer are your main requirements. Grab the vanilla Minecraft resource pack from your.minecraft folder or download it from the official Minecraft launcher. And this is your baseline - you'll modify these files to create your pack, so having the original textures as reference is essential.
That's it. Seriously.
Everything else is just patience and some basic file knowledge. Honestly, if you already have these tools lying around, you can start right now.
Understanding the File Structure
Texture packs follow a strict folder hierarchy that Minecraft expects. If your pack doesn't have this structure, the game won't recognize it at all. The folder layout is simpler than most people think though.
Your pack folder needs these essentials: an assets folder containing a minecraft subfolder, which contains textures (where all your image files go), plus a pack.mcmeta file that tells Minecraft what you're doing. Inside the textures folder, you'll find categories like block, item, entity, and gui. This mirrors how Minecraft organizes everything internally.
Block textures affect dirt, stone, wood, and every other buildable material. Item textures are what you see in your inventory. Entity textures are skins for mobs and players. GUI textures handle buttons, containers, and interface elements.
Getting this wrong is the number-one reason new creators end up frustrated.
The paths must match exactly, or textures simply won't appear in-game. You can't just throw images in a folder and hope for the best. Minecraft is picky about organization, and honestly, that's a good thing. It keeps things standardized.
Working With Textures and Design
Open any texture file from the vanilla pack and you'll see they're small image files, usually 16x16, 32x32, or 64x64 pixels depending on your pack's resolution. This is where the actual creative work happens. Some creators prefer starting from scratch. Others tweak the vanilla textures, making them grittier, smoother, or more colorful depending on their vision. Both approaches work equally well.
I've seen incredible packs built on subtle vanilla tweaks and equally incredible packs that completely reimagined Minecraft's look.
When you're designing signs, buttons, or UI elements with custom text, check out the Minecraft Text Generator to see how different fonts render in-game before you build them yourself. It'll save you endless testing cycles and help you avoid fonts that look great in your editor but terrible at actual in-game resolution.
If you're modifying entity textures like armor or mob skins, consistency matters. Make sure your color palette stays coherent across all your designs. A bright neon zombie next to a muted, realistic creeper looks jarring and breaks immersion immediately.
Your color grading matters way more than people realize. A photorealistic pack uses muted earth tones and realistic shadows. A cartoon pack might use bright, saturated colors with thick black outlines. A dark or horror pack uses desaturated colors and harsh lighting. Pick your direction early and stick to it, because halfway through switching styles is exhausting.
Resolution and Performance
16x16 is vanilla resolution. 32x32 and 64x64 look more detailed but tank performance on older systems. I usually recommend 16x16 or 32x32 for most players unless you're specifically targeting newer machines.
Higher resolution doesn't automatically mean better.
A well-designed 16x16 pack beats a messy 64x64 pack every single time. Resolution is a tool, not a requirement.
Lighting and Shadow Direction
One thing I see beginners struggle with is lighting consistency. If your textures all have light coming from the top-left, but a few blocks have top-right lighting, the pack looks wrong even if players can't immediately say why. Spend time getting your light direction right from the start, and your entire pack will feel more cohesive.
Pay attention to how shadows fall across connected blocks, slopes, and corner details. This unified lighting approach is what separates professional-looking packs from amateur ones.
Testing Your Pack In-Game
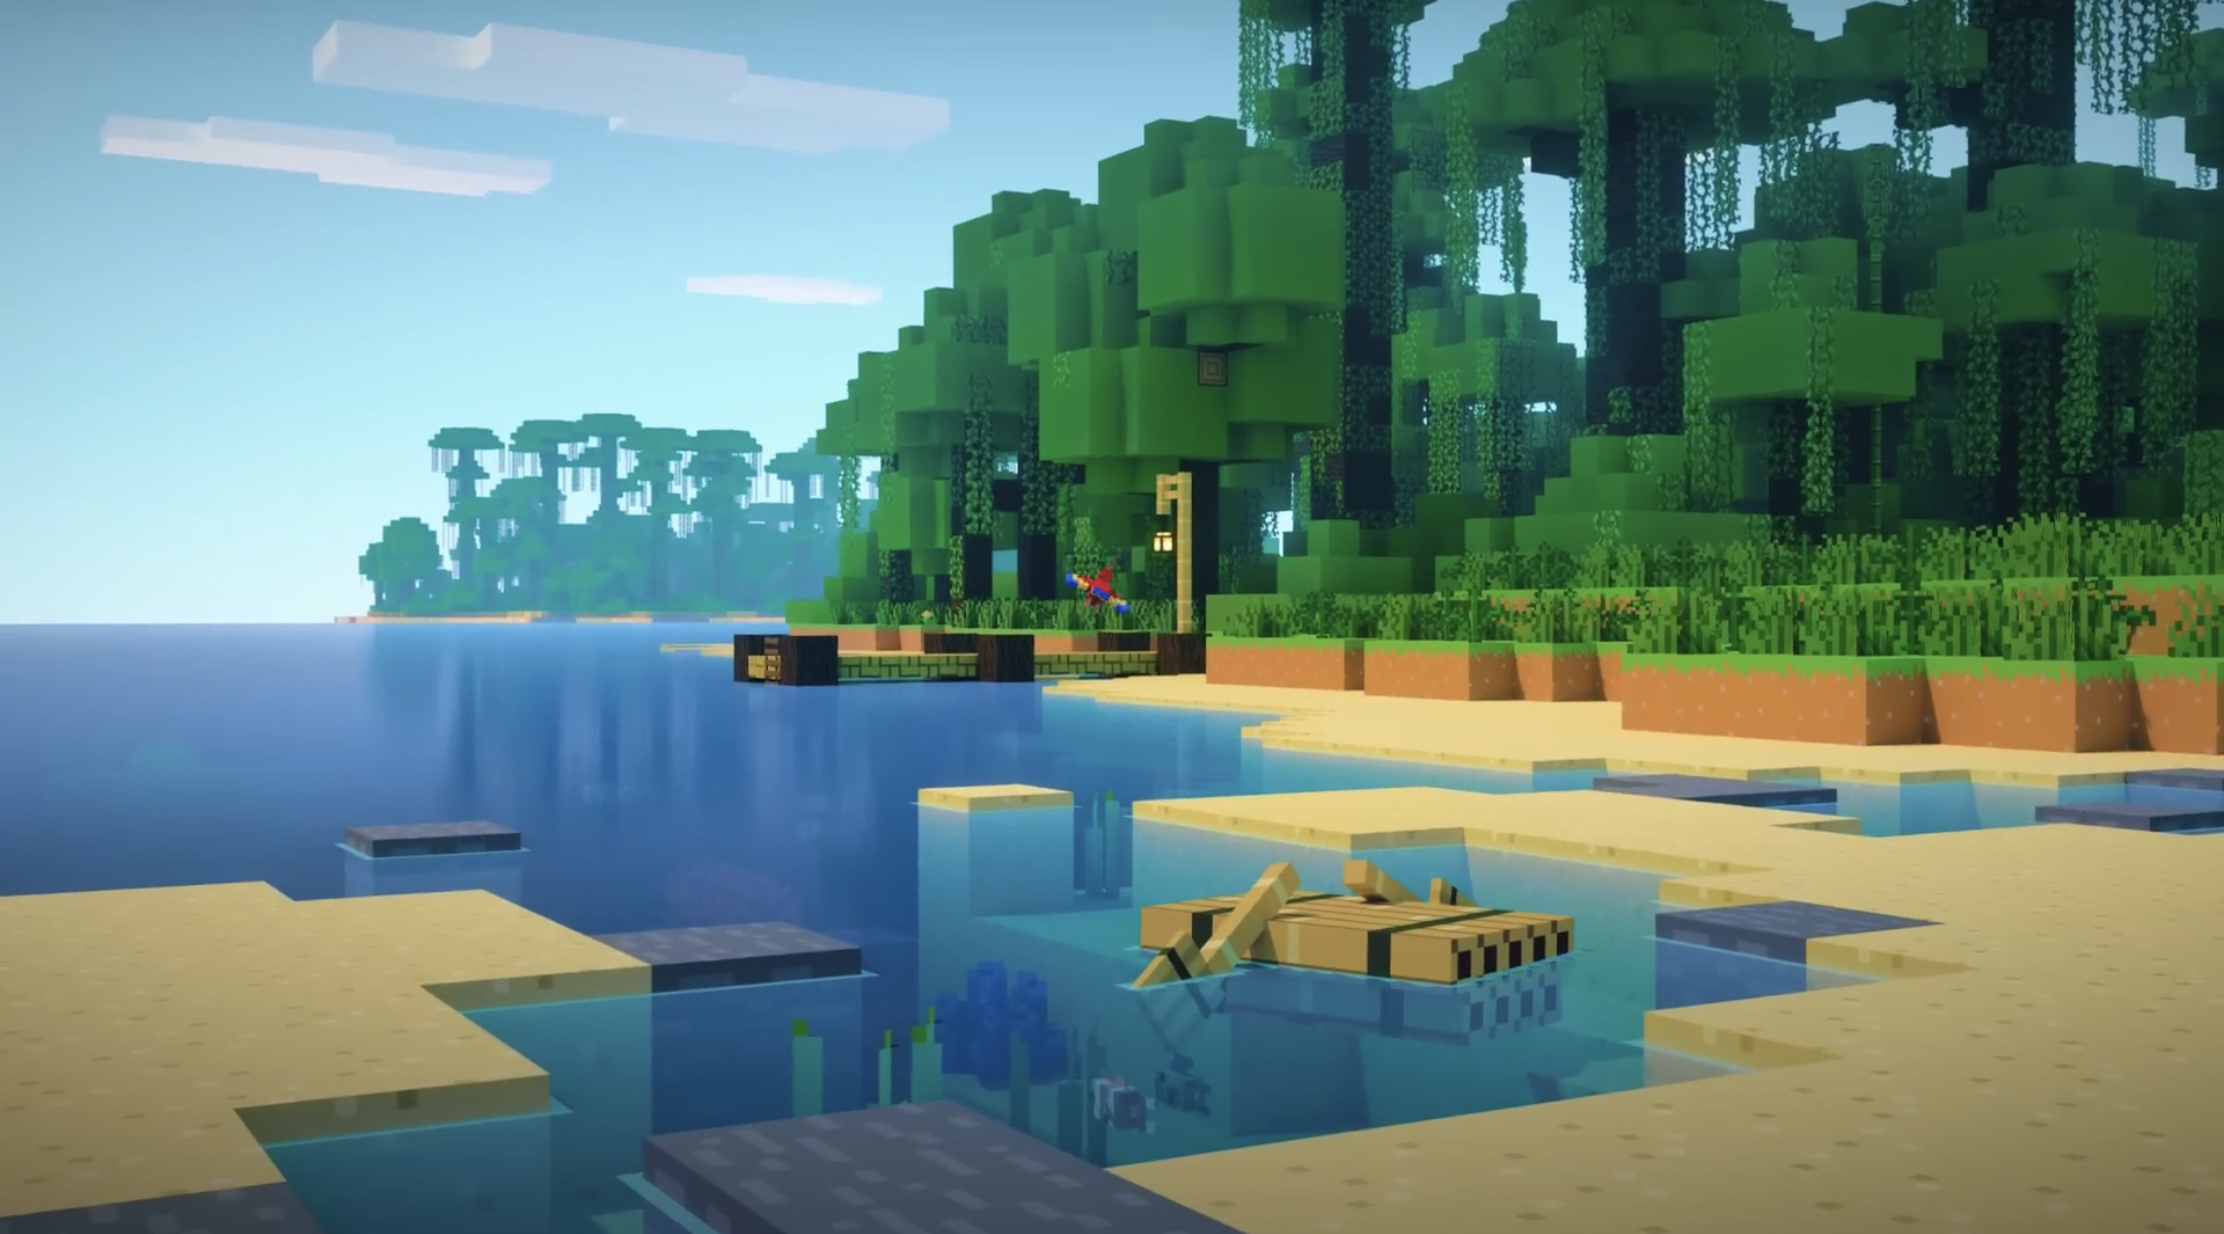
Before you consider your pack done, test it in actual Minecraft with real lighting conditions, different times of day, and various biomes. How does your desert texture look next to sand in a snowy biome? How do connected textures, like grass sides, look when they meet other terrain types? These questions matter.
The easiest way to test is dropping your pack folder into .minecraft/resourcepacks/, then selecting it in your world settings. Load a world with different terrain types and walk around. Spend a solid hour just observing your work.
You'll catch mistakes this way that seem invisible in your editor window.
Pay special attention to transitions between textures. Look at how your custom grass meets your custom dirt. Walk through caves and watch how your stone looks under low light. Jump into the Nether and see if your obsidian and netherrack work together. Visit the End and make sure your custom purple blocks don't clash.
Test with different graphics settings too. What looks great on fancy mode might look weird on fast mode, and vice versa.
Adding Polish and Preparing for Release
Once you're happy with how your pack plays in-game, it's time to polish everything up. Create a .zip file, not a folder, containing everything. Name it something descriptive and clear. Include a pack.png image, usually 64x64 pixels, that shows what your pack looks like in-game. This preview image is what people see when browsing texture packs.
Update your pack.mcmeta file with a solid description. Be honest about what you've done. Does it change blocks, entities, or both? Does it need Optifine to look right? Let people know upfront.
If you run a Minecraft server and want your custom textures to really stand out, pair them with a memorable MOTD. Our Minecraft MOTD Creator makes it dead simple to design an eye-catching server message that gives players their first impression of what you've built.
Test compatibility across multiple Minecraft versions. Versions 26.1.2 and newer handle most packs fine, but older versions might have issues depending on what you've changed. Clearly state which versions your pack supports.
Where to Share Your Work
Upload to CurseForge, Modrinth, or Planet Minecraft. Write a clear description of what you've created and include plenty of screenshots. Be specific about features and changes.
The community feedback you get is invaluable.
Some people will use your pack exactly as you intended. Others will modify it further and create something new. That's what's great about texture packs. You're contributing to an ecosystem where people build on each other's work and push the entire community forward. Your first pack might have rough edges, but every creator starts there.
Lead writer at minecraft.how. Long-time Minecraft player running a small SMP server, testing every build, mod, and seed before writing about it.