Beginner's Guide to Minecraft Survival Mode 2026
What You're Getting Into
Survival mode is Minecraft with the training wheels off. You spawn in a world with nothing but your fists and a whole lot of decisions to make within the next hour. Unlike Creative mode where blocks fall from the sky, here you gather, craft, mine, build, and fight mobs that spawn in darkness specifically to ruin your day. But here's the thing: survival mode is actually less intimidating once you know the first 10 hours matter infinitely more than the next 100.
The First Five Minutes: The Wood Rush
Punch trees. I know it sounds absurd, but this is it.
Walk up to any tree, hold down left-click on a wooden log, and wait. Your fist is hilariously ineffective, taking about 10 seconds per log, but after you've collected 12-15 logs you'll open your inventory (E key) and convert them into planks. Each log becomes four planks. This is the most important moment in your survival experience, so don't skip it.
With your planks, craft a crafting table. Place it on the ground in front of you. Now interact with it. Inside, craft wooden tools: a pickaxe first (three planks in a T-shape), then an axe, shovel, and sword. The pickaxe is everything. Without it, you cannot access stone ore. Without stone ore, you'll never reach iron. The progression is locked.
Still holding nothing but stone age tools? Good. You're actually ahead of most beginners.
Minutes 5 to 30: Build or Die
Find flat ground, preferably near water. Using your wooden pickaxe, mine stone blocks (the gray speckled ones). Your goal is a minimum 4x4 room with a door, interior torches, and a roof. This isn't a masterpiece. It's a panic box. It's ugly. It's functional. That's all that matters when the sun is setting.
While mining stone, look for coal ore (black speckles on stone). If you find any, grab it. If you don't find coal before dark, you have a backup: craft a furnace from stone, throw some wood planks in it as fuel, and burn a wooden pickaxe to get charcoal. Charcoal works identically to coal for crafting torches, though it sounds deeply wrong.
Place your crafting table and furnace inside your box. Make torches from coal (or charcoal) plus sticks. Place torches everywhere inside - on walls, on the floor, above the door. Mobs spawn in darkness, not in lit areas. An interior bristling with torches is safe.
Find or craft a bed. Wool comes from sheep (break it by hand), combine it with planks in a crafting table, and boom: bed. Place the bed somewhere inside. When it's night, right-click the bed and you'll skip the entire dark phase. You wake up to daylight and about 6 hours of safety. This single item removes approximately 90% of first-night panic.
If you don't find sheep before nightfall, you're sleeping on the ground like an animal, listening to zombies and skeletons clack around outside. Not ideal, but survivable.
Your First Night: When Everything Tries to Kill You
Night lasts roughly 7 in-game minutes. Stay inside. Seriously.
Creepers (green explosive things) are silent and will end you. Skeletons shoot arrows through walls sometimes. Zombies are weak but come in groups. Spiders are fast and terrifying the first time you see one. None of this matters if you've four walls, a door, and torches inside.
The worst part about night isn't the danger - it's the boredom. You're trapped inside listening to ambient cave sounds and mob groans. This is when most beginners either panic-mine straight down (fatal mistake), build weird holes in their walls, or make desperate runs outside. Don't. You're safe. The mobs vanish at sunrise. Just wait.
Day Two: Mining Starts Here
You now have stone tools. Stone pickaxes can mine iron ore. Here's the target: get 12-15 iron ore, smelt it, craft iron tools. Iron tools open the mid-game.
Mining strategy: dig down in a staircase pattern at a 45-degree angle. Every 10 blocks you descend, place a torch on your right-hand side. This creates a light-breadcrumb trail back to the surface. When you need to escape fast (lava, unexpected creeper), just look for torches on your right and follow them up.
Ignore ore below you. Ever. Straight-down mining leads to lava pools underneath that fall on your head. Angle-mining (digging ahead and below) lets you see the danger before it kills you.
Once you've smelted iron ore (charcoal in furnace, ore on top, wait ~10 seconds), craft an iron pickaxe. Now you can mine diamonds.
Diamond Mining: The Right Way
Diamonds are the gateway to serious endgame progression. PCGamesN's ore research confirms that in Minecraft 26.1.2, diamonds spawn increasingly commonly the deeper you go below Y-level 16, with the sweet spot around Y-level -53. But this keeps you away from the worst lava pools that form specifically at Y-level -54.
To check your Y-level in-game, open your debug screen (F3 on Java, or check your coordinates in the top-left). Dig down to Y-level around -30 to -50, then mine horizontally, checking stone for blue diamond ore.
Bring supplies: wood (to craft emergency items), a crafting table, a furnace, charcoal, and food. Do not bring everything - your inventory will fill instantly. Mine, collect diamonds, and return to the surface. Smelting and crafting happen later in your base, not underground in a panic.
A single diamond pickaxe opens gates to obsidian, the Nether, and everything beyond. Most new players view diamonds as the "win" point. They're not. They're just the beginning.
Food Before You Starve
Hunger depletes as you move, sprint, and take damage. Three visual options exist early-game:
- Kill animals. Cows and pigs drop raw meat. Cook the meat in a furnace (charcoal as fuel) and eat it. Each cooked meat restores 4 hunger points.
- Break tall grass in grassland biomes. Grass drops seeds. Plant seeds on farmland (dirt block with a hoe, next to water) and wait. Mature wheat crops drop seeds and wheat. Seeds fill hunger minimally, but wheat is renewable.
- Find chickens and breed them. Two chickens fed seeds will produce baby chickens. Adults drop raw chicken and feathers. Cooked chicken restores 6 hunger points.
Farming sounds tedious, but renewable food means never starving again. Set up a small farm near your base with a water channel running through planted rows. It's not glamorous, but it works.
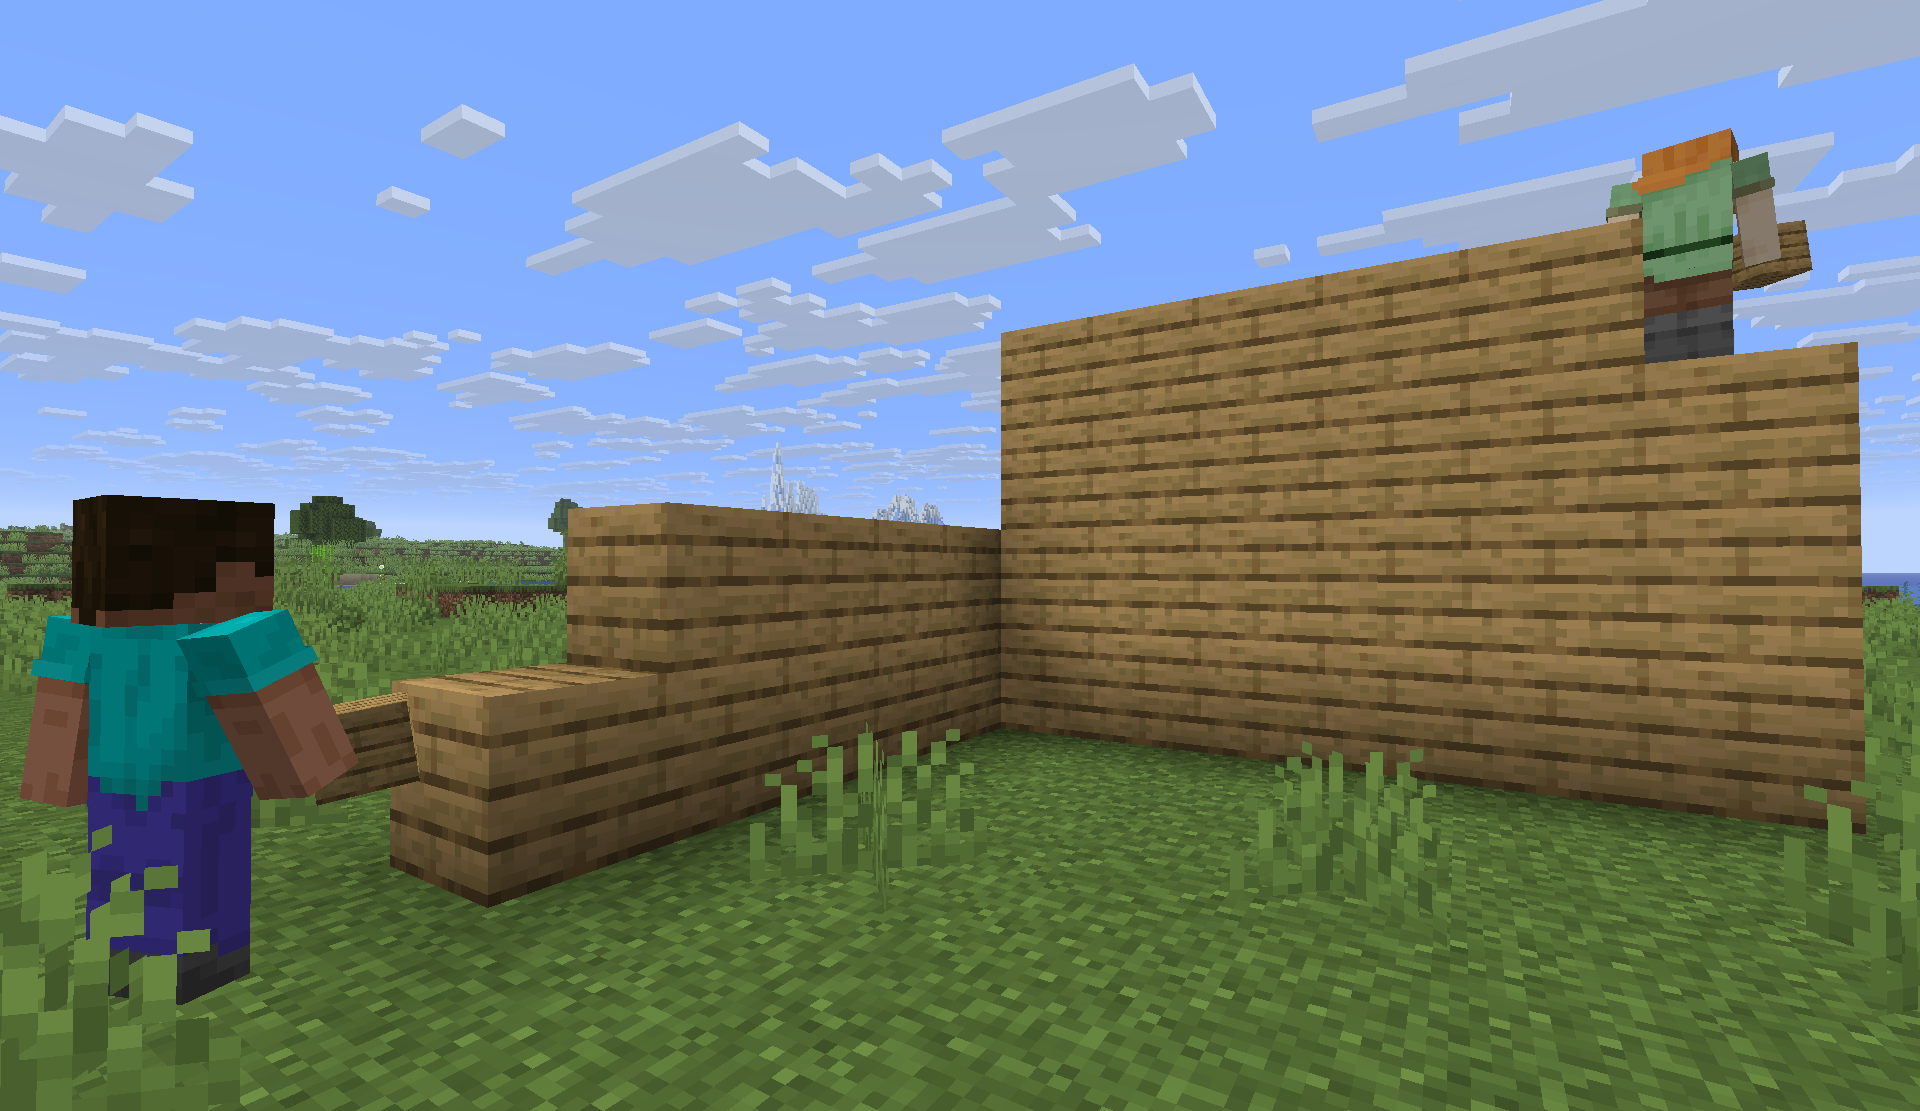
Building Beyond the Panic Box
Once you've got food, water, a bed, and basic tools, you've breathing room. Your panic box served its purpose. Now rebuild something you actually want to log into.
Think cottage. Central room for crafting/smelting, side rooms for storage and sleeping, a loft for additional storage. Use varied blocks: stone, wood, dirt, gravel. Add windows. A roof that's not flat. Something with a tiny bit of personality. New players often skip this because they're worried about the next threat, but your base becomes your anchor - the place you're excited to return to after mining.
After you've got a solid base, the path splits completely. Some players hunt multiplayer survival servers to experience community gameplay. Others go deep into mining for Netherite (the true endgame ore, found in the Nether dimension). Some focus on building massive projects - castles, farms, entire cities. Survival mode doesn't have a goal; it has directions.
First 10 Hours: Quick Checklist
Hours 0-0.5: Collect 12-15 logs, craft table, wooden tools, find coal.
Hours 0.5-1: Build basic shelter, craft torches, secure interior, locate sheep for bed.
Hour 1-2: Sleep through first night, wake to daylight, begin stone mining.
Hours 2-4: Gather stone, craft stone tools, begin mining down for iron ore, establish basic farm.
Hours 4-6: Smelt iron, craft iron tools and armor, begin safer deeper mining.
Hours 6-10: Locate diamonds at proper Y-levels, gather resources for mid-game progression.
Common Early Mistakes (Don't Do These)
- Mining straight down: Lava pools lurk beneath. Angle-mine instead.
- Ignoring darkness: Mobs spawn in unlit areas. Torches are free sanity.
- Playing on Hard mode: You're new. Play Normal. Hard mode is for people who want to experience despair.
- Hoarding useless items: Your inventory fills fast. Keep tools, food, torches. Drop dirt and gravel later.
- Building near water at night: Mobs swim. Build on elevated ground or surround with walls.
- Exploring caves unprepared: Caves are dark, confusing, and full of mobs. Wait until you've iron armor and a clear head.
Next Steps: Server Experimentation
Once you're comfortable with solo survival, multiplayer completely changes the game. Playing on a server with other people brings cooperation, competition, trading, and usually someone doing something hilarious that becomes server legend within hours.
Check out the Minecraft Server List to find communities ranging from vanilla purist servers (no mods, pure Minecraft) to heavily modded survival experiences. If you're curious about eventually hosting your own server, the Server Properties Generator makes configuration painless.
Survival mode sounds overwhelming in abstract, but broken into the first 10 hours, it's a series of simple tasks: get wood, build shelter, get food, get tools, mine carefully, repeat. Your first base will be hideous. Your second will be better. By your tenth, you'll wonder why you spent 50 hours building dirt paths to nowhere.
That's survival mode. Get started.
Lead writer at minecraft.how. Long-time Minecraft player running a small SMP server, testing every build, mod, and seed before writing about it.