Guia de Sobrevivência do Minecraft - Dominando Sua Primeira
Introdução
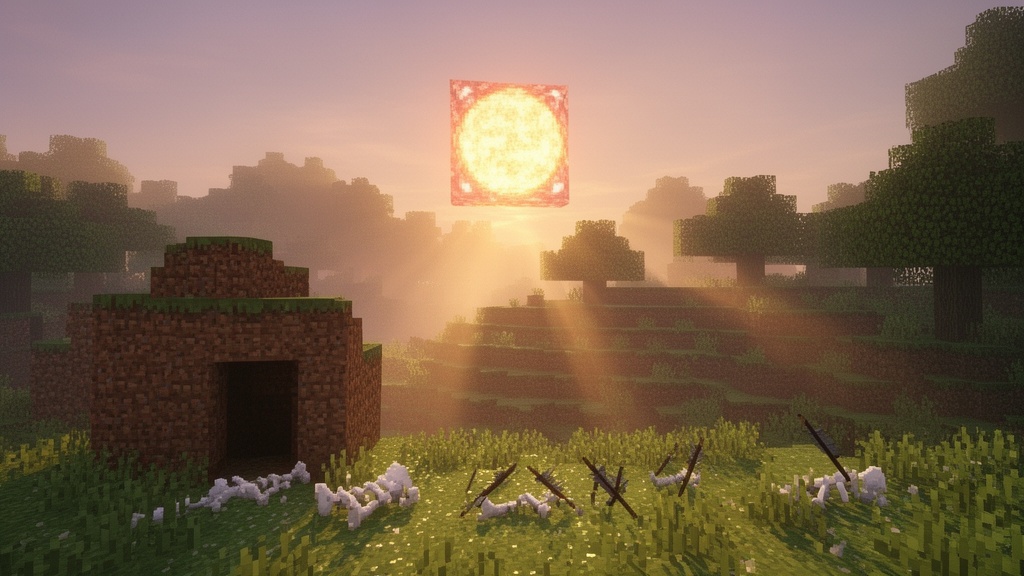
O sol quadrado está desaparecendo, o céu muda de azul para laranja, e um leve sibilo soa atrás de você. Sem armadura, sem casa, uma picareta de madeira quase quebrada. Para muitos de nós, aquela primeira noite é quando Minecraft deixa de ser calmo e de repente fica assustador.
Esse medo é o motivo pelo qual este guia de sobrevivência do Minecraft para sua primeira noite em 2026 importa. A primeira noite é o primeiro grande teste de quão bem gerenciamos tempo, recursos e perigo. Se lidarmos com esse primeiro pôr do sol, tudo o que vem depois fica bem mais tranquilo.
Neste guia, caminhamos do nascimento até o amanhecer. Analisamos o ciclo dia-noite, coleta rápida de madeira, ferramentas de pedra, abrigo, tochas, alimentos, e o que fazer quando se esconder falha.
"Os primeiros dez minutos de um mundo decidem as próximas dez horas." - Conselho comum de sobrevivência do Minecraft
Principais Aprendizados
Antes de mergulharmos nos detalhes, aqui está um plano rápido para a primeira noite:
- Use a luz do dia bem: derrube árvores, pegue 10-15 toras, e converta algumas em pranchas, paus e uma bancada de trabalho.
- Corra para ferramentas de pedra: use uma picareta de madeira apenas o tempo suficiente para minerar pedra bruta, depois mude para pedra.
- Construa qualquer abrigo antes de escurecer: uma escavação, uma cabana de terra, ou um pilar alto funcionam na primeira noite.
- Crie tochas se possível: carvão ou carvão vegetal mais paus impedem que criaturas apareçam em sua base.
- Arrume alimentos cedo: caçe alguns animais e cozinhe a carne deles para que sua saúde se regenere.
- Trate a noite como tempo de trabalho: cozinhe, crie, mine de dentro de seu abrigo, e planeje para o segundo dia.
Entendendo Seu Primeiro Dia: A Corrida de 10 Minutos Contra o Tempo
Do momento que aparecemos, um contador invisível começa. Um dia completo no Nether é cerca de 20 minutos reais: aproximadamente 10 minutos de luz do dia e 10 minutos de noite. A luz do dia é quando a superfície é principalmente segura. A noite é quando criaturas hostis aparecem onde há pouca luz.
O primeiro dia não é tempo livre para explorar. Se passarmos apenas "olhando ao redor", chegaremos ao pôr do sol sem ferramentas, sem abrigo, e sem alimentos. É assim que o pânico começa. Se tratarmos o primeiro dia como uma missão curta com objetivos claros, a mesma noite fica calma.
Duas barras rastreiam silenciosamente quão bem estamos indo:
- A barra de coração (saúde): diminui com quedas, afogamento, lava e golpes de criaturas.
- A barra de fome: diminui quando corremos, pulamos e lutamos. Pouca fome significa sem regeneração de saúde.
Gerenciar essas barras começa no primeiro dia: colha madeira, pegue pedra, evite dano de queda, e pegue pelo menos um pouco de alimento antes de escurecer.
"Sobrevivência é simples: proteja seus corações e sua fome." - Jogadores de sobrevivência, em todos os lugares
Os Perigos Que Emergem Após Escurecer
Para se preparar bem, precisamos saber o que aparece após o pôr do sol. No Minecraft, toda criatura é uma "criatura". Algumas são passivas, como vacas. Outras são hostis e atacam à vista quando está escuro o suficiente.
Os principais inimigos da primeira noite são:
- Zumbis: Lentos, barulhentos e de curto alcance. Um é fácil; vários podem sobrecarregar um jogador novo. Queimam à luz solar.
- Esqueletos: Atacantes à distância com arcos. Batem com força de longe quando não temos armadura. Eles também queimam à luz solar.
- Creepers: Silenciosos até ficarem perto, depois um sibilo curto e uma explosão. Podem terminar uma corrida instantaneamente. Eles não queimam à luz solar, então permanecem perigosos pela manhã.
- Aranhas: Rápidas, conseguem escalar paredes, e pulam na nossa direção. À noite são hostis; durante o dia geralmente ficam neutras.
Saber como cada criatura se move e se comporta transforma medo em planejamento. O objetivo na primeira noite é simples: impedir que essas criaturas nos alcancem.
Suas Primeiras Ações: Coletando Recursos Essenciais Antes do Pôr do Sol
Nosso primeiro objetivo à luz do dia é claro: pegue madeira e pedra suficientes para ferramentas, uma bancada de trabalho, um fornalha, e um abrigo básico.
- Caminhe até a árvore mais próxima.
- Mantenha o botão de minerar em uma tora até ela quebrar.
- Repita até termos pelo menos 10-15 toras.
Madeira é a base de quase tudo no início, então não devemos nos preocupar em pegar demais.
Próximo passo:
- Abra o inventário e use a grade 2×2 para criar toras em pranchas de madeira (1 tora = 4 pranchas).
- Mantenha algumas toras não processadas para fazer carvão vegetal depois se carvão for difícil de encontrar.
Pranchas de madeira são nosso primeiro material de construção e criação. Delas conseguimos paus, nossa bancada de trabalho, e ferramentas iniciais que nos levam direto para a idade da pedra.
Criando Suas Primeiras Ferramentas: Das Mãos Nuas Para a Idade da Pedra
Quando temos pranchas, criamos os itens principais:
- Bancada de Trabalho: Coloque uma prancha em cada slot da grade 2×2 (quadrado completo).
- Paus: Empilhe duas pranchas em uma coluna para obter quatro paus. Faça 8-12 paus.
Agora podemos fazer ferramentas:
- Picareta de Madeira: Primeira linha 3 pranchas, meio pau no centro, pau inferior no centro.
Essa picareta fraca é apenas para nossa primeira pedra bruta.
Encontre pedra exposta em uma colina ou cave alguns blocos, depois mine pelo menos 20 blocos de pedra bruta com a picareta de madeira.
De volta à bancada de trabalho, atualize tudo para pedra:
- Picareta de Pedra: mesmo padrão que madeira, mas com pedra bruta.
- Machado de Pedra: três blocos de pedra bruta em forma de "L" + dois paus.
- Espada de Pedra: dois blocos de pedra bruta empilhados sobre um pau.
- Opcional Pá de Pedra: 1 bloco de pedra bruta sobre 2 paus.
Ferramentas de pedra quebram blocos mais rápido, batem mais forte, e duram mais tempo. Essa velocidade é o que torna possível terminar abrigo, fornalha, e mineração antes de escurecer.
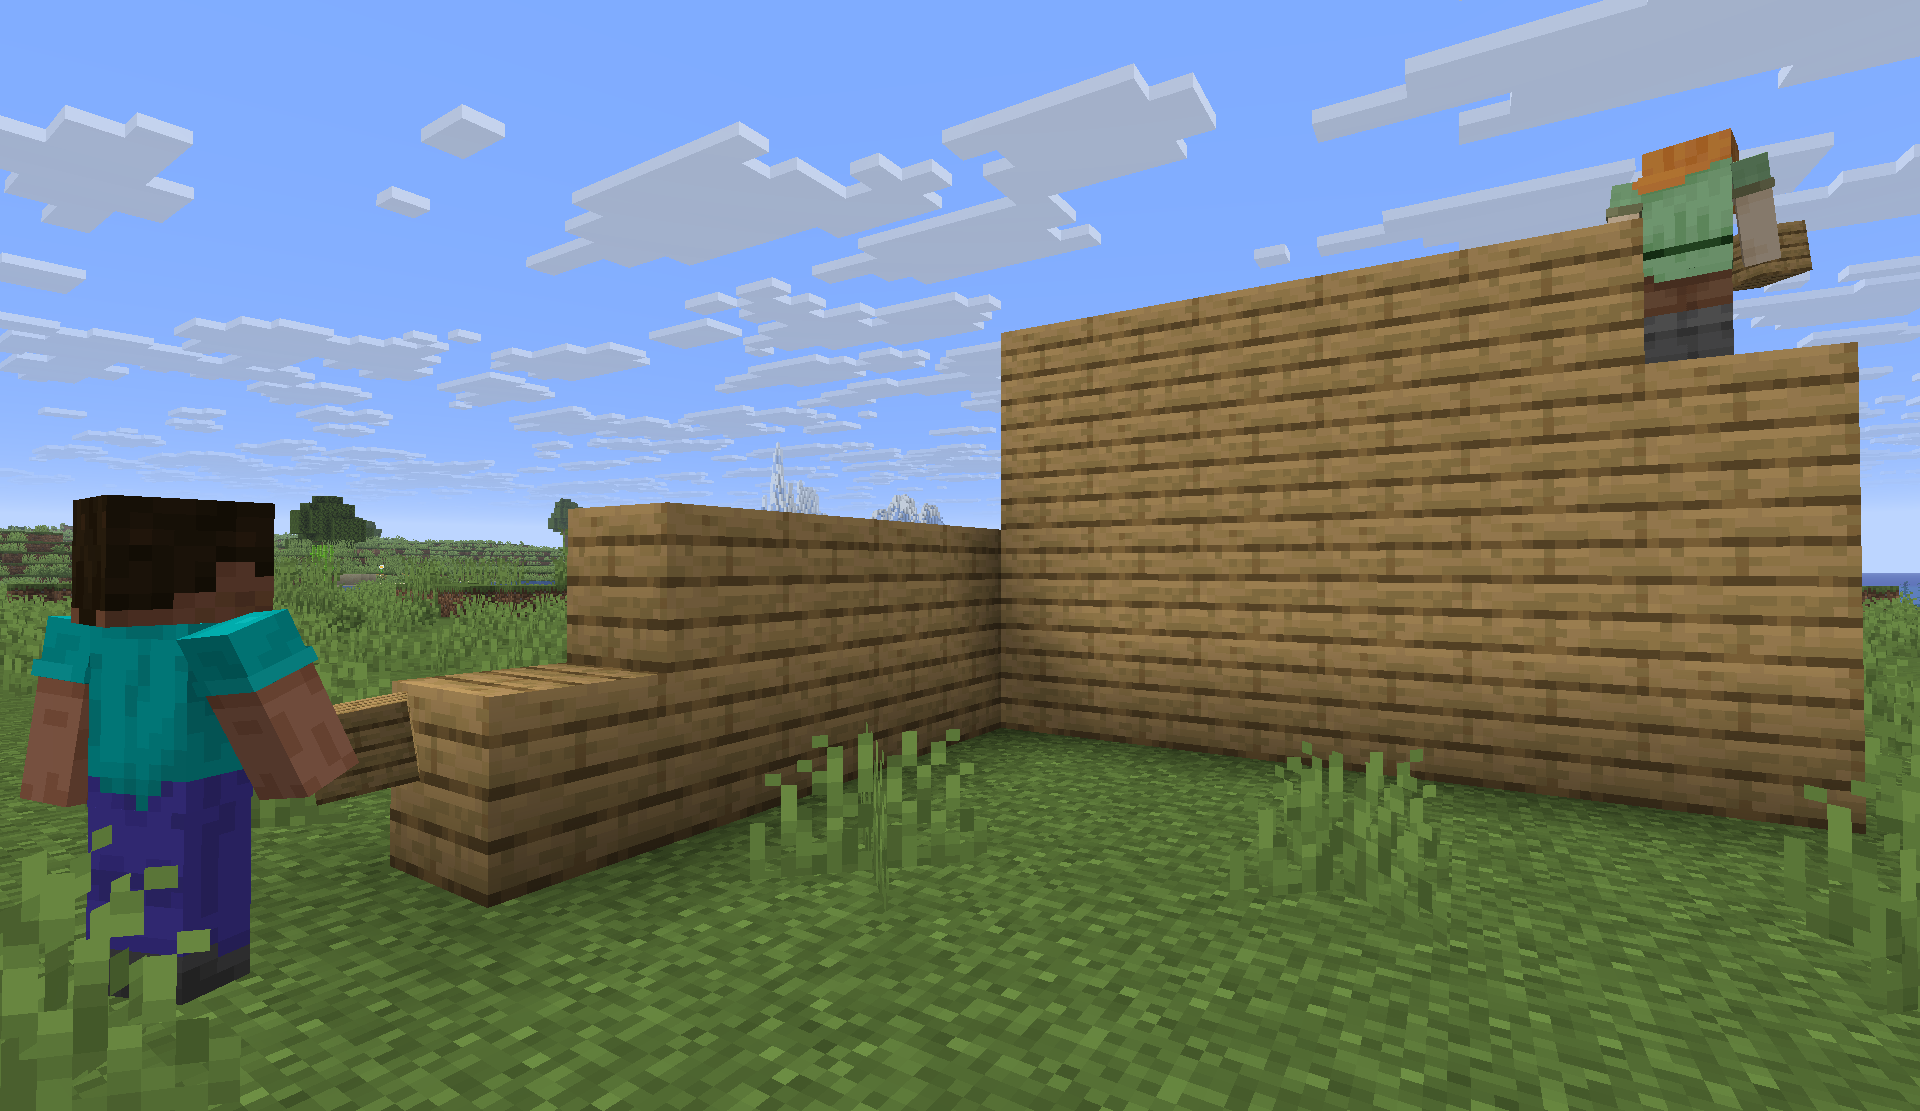
Construindo Seu Primeiro Abrigo: Três Estratégias Simples Que Funcionam
Com ferramentas prontas, a segurança da noite vem de uma coisa: blocos entre nós e as criaturas.
Básicos de abrigo:
- Quebre a linha de visão. Se criaturas hostis não podem nos ver ou nos alcançar, nos ignoram.
- Adicione um teto e paredes. Blocos de terra ou pedra de uma espessura é suficiente na primeira noite.
- Adicione luz dentro quando possível. Tochas impedem que criaturas apareçam na sala.
Nossa base inicial não precisa parecer boa. Trate o abrigo da primeira noite como um esconderijo temporário que podemos melhorar depois. Três opções simples funcionam em quase todo lugar.
Estratégia 1: A Escavação (Método Hobbit)
Melhor perto de colinas, penhascos, ou até pequenas saliências no terreno:
- Escolha uma face de colina.
- Use pá e picareta para cavar uma sala de aproximadamente 3×3×3 blocos.
- Certifique-se de que o fundo da sala esteja alguns blocos dentro da colina.
- Deixe uma pequena entrada que você possa fechar com terra ou pedra bruta antes de escurecer.
De fora, parece apenas uma colina sólida. O terreno natural atua como armadura: criaturas não cavam através dele. Depois, essa pequena escavação pode virar uma base subterrânea completa.
Estratégia 2: A Cabana de Superfície (Construção de Emergência)
Melhor em planícies planas sem colinas por perto:
- Escolha um local perto de sua bancada de trabalho.
- Construa um quadrado de 4×4 ou 5×5 blocos de terra, pedra bruta, ou pranchas.
- Levante as paredes pelo menos três blocos de altura.
- Adicione um teto sólido.
- Deixe uma entrada de um bloco para passar, depois bloqueie de dentro.
Pode parecer uma caixa de terra simples, mas mantém zumbis, esqueletos, aranhas e creepers fora. Depois podemos substituir blocos por melhores e cortar uma porta para uma porta de verdade.
Estratégia 3: A Fuga de Pilar (Tática de Último Recurso)
Se o sol já está se pondo e não temos abrigo:
- Coloque um bloco sob nossos pés.
- Pule e coloque rapidamente outro bloco abaixo enquanto estamos no ar.
- Repita até estarmos 15-20 blocos acima.
A maioria das criaturas terrestres não consegue nos alcançar. Ainda devemos ficar atento a flechas de esqueleto se estiverem próximos, mas um pilar é muito melhor que ficar preso no chão sem cobertura.
Pela manhã, cavamos o pilar de cima para baixo ou usamos água se tivermos um balde.
Iluminando Seu Mundo: Criando e Usando Tochas Efetivamente
Uma parede sólida mantém criaturas fora; luz as impede de aparecerem perto de nós. Criaturas hostis aparecem apenas onde a luz é muito baixa (efetivamente nível 0 no bloco).
Tochas são nossa fonte de luz mais fácil:
- Barata para criar.
- Brilho suficiente para proteger uma base iniciante.
- Reutilizável e empilhável.
No primeiro dia, até algumas tochas ajudam:
- Dentro: para criaturas não aparecerem em nossa sala.
- Fora: para menos criaturas aparecerem bem ao lado de nosso abrigo.
- Subterrâneo: para que possamos minerar com segurança à noite.
Ficar em uma caixa selada e escura por dez minutos se sente miserável. Uma ou duas tochas podem transformar essa mesma caixa em uma base pequena e aconchegante.
Encontrando Carvão Ou Fazendo Carvão Vegetal
Para criar tochas precisamos de:
- Paus (de pranchas)
- Carvão ou carvão vegetal
Formas de obtê-los:
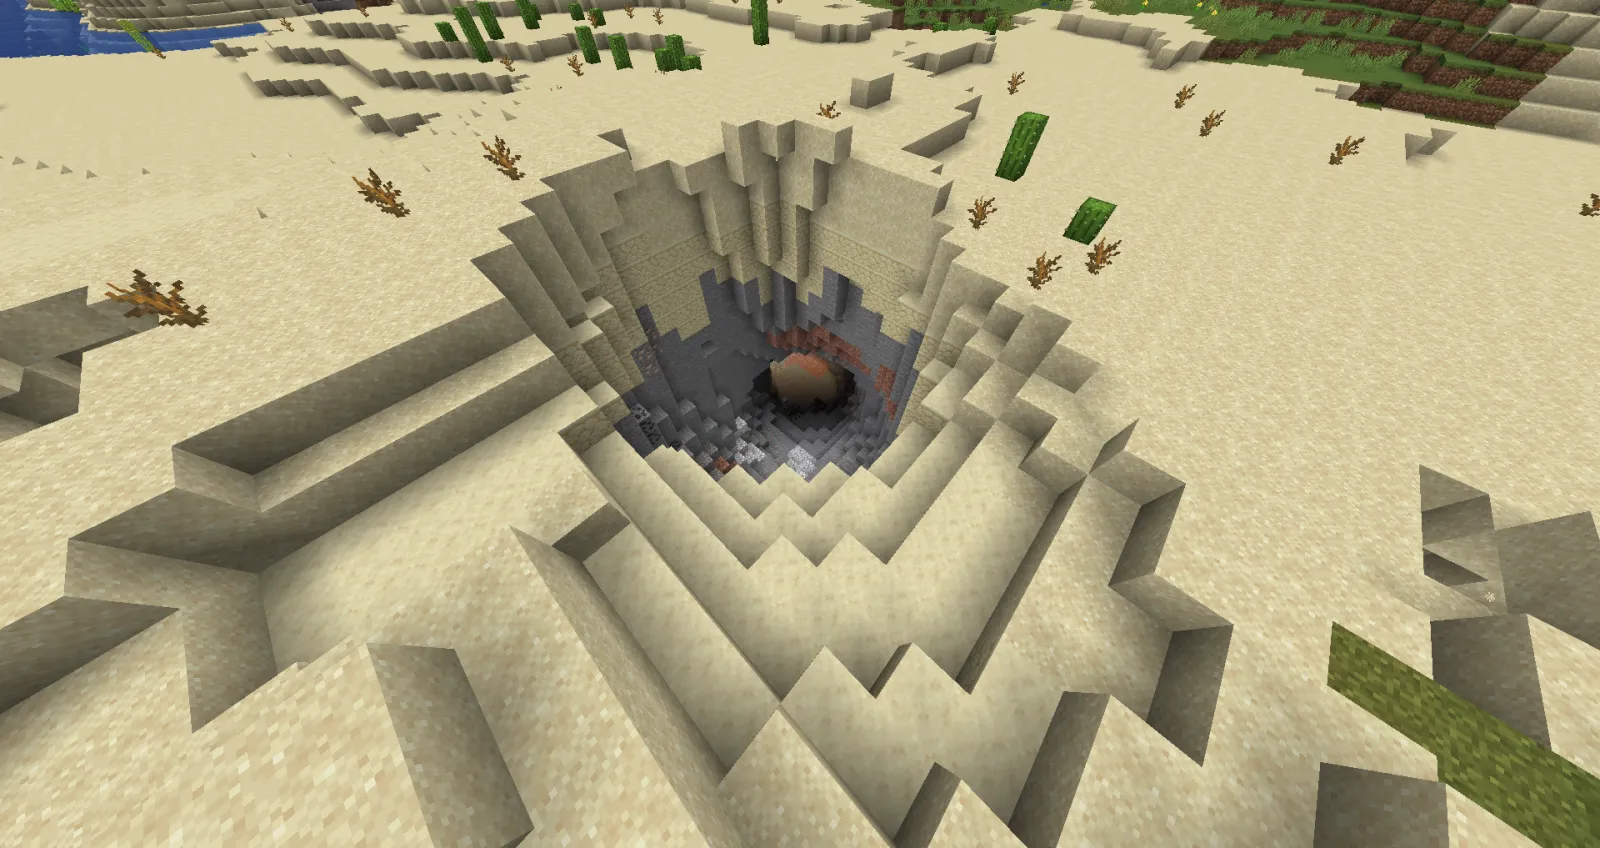
- Minério de Carvão: Procure blocos de pedra com manchas pretas em encostas, cavernas, ou ravinas. Mine com picareta de madeira ou pedra para obter carvão.
- Carvão Vegetal (Plano de Reserva): Crie um fornalha (8 blocos de pedra bruta em forma de anel), coloque toras no slot superior da fornalha, use pranchas ou toras como combustível no slot inferior. Cada tora vira carvão vegetal, que funciona exatamente como carvão para tochas.
Posicionamento Estratégico de Tochas Para Máxima Segurança
A receita de toca é simples: 1 carvão ou carvão vegetal + 1 pau = quatro tochas.
Use-as assim:
- Dentro do abrigo: Em uma sala pequena, uma tocha na parede pode iluminar tudo. Em uma escavação maior, coloque 2-3 tochas ao redor das paredes.
- Anel externo de segurança: Afaste-se alguns passos de suas paredes e coloque tochas aproximadamente a 10-15 blocos de distância. Esse anel evita que novas criaturas apareçam bem ao lado de sua base.
- Minas e cavernas: Leve uma pilha de tochas. Coloque uma a cada poucos blocos para evitar que criaturas apareçam atrás de você e para marcar seu caminho.
Garantindo Alimentos e Definindo Seu Ponto de Reaparição: Tarefas Essenciais da Primeira Noite
Saúde não se regenera de graça. Depende de como gerenciamos a fome:
- Muita fome: regeneração de saúde lenta.
- Muito pouca fome: sem corridas e, em dificuldades maiores, perda de saúde.
Alimento é quase tão importante quanto armas na primeira noite. Um jogador com saúde cheia e alimento cozido pode se recuperar de erros; um jogador com meia vida e sem alimento está a uma flecha de distância da morte.
Definir um ponto de reaparição é a outra grande melhoria inicial. Por padrão, reaparecemos no ponto de reaparição original do mundo. Depois que dormimos em uma cama, reaparecemos ao lado dessa cama.
Caçando Sua Primeira Refeição
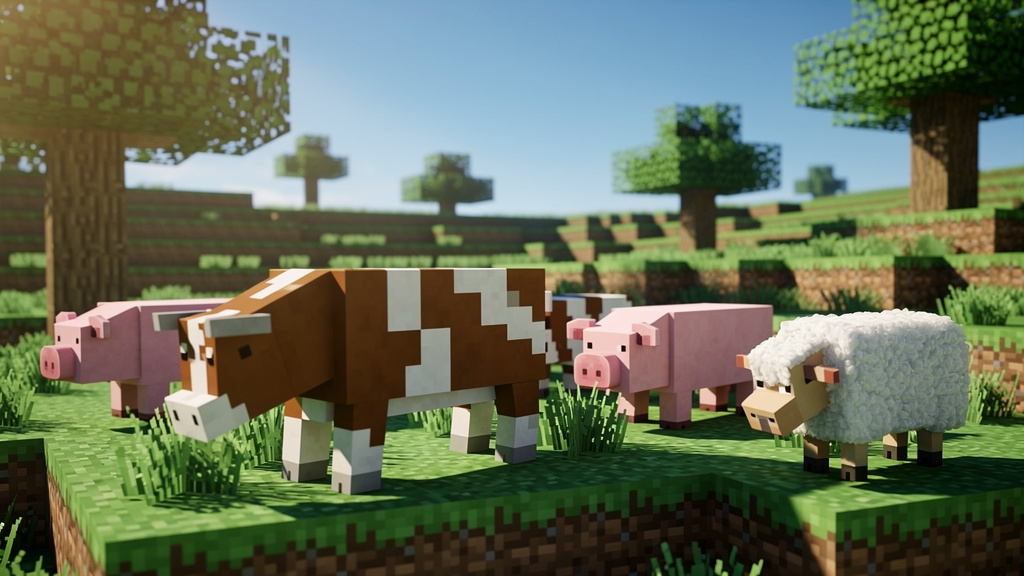
Quando temos ferramentas de pedra, fazemos um rápido passeio ao redor de nossa área de reaparição procurando por vacas, porcos, ovelhas, galinhas.
Todos eles deixam carne:
- Use uma espada de pedra ou machado de pedra para derrotá-los rapidamente.
- Alvo pelo menos 3-6 animais antes do pôr do sol.
De volta em nosso abrigo:
- Coloque uma fornalha (se ainda não tiver).
- Coloque carne crua no slot superior.
- Coloque combustível (carvão, carvão vegetal, ou madeira) no slot inferior.
Carne cozida restaura mais fome e nos mantém satisfeitos por mais tempo que carne crua.
Ovelhas são extra valiosas porque deixam carneiro e lã, fornecendo alimento e materiais de cama.
Criando uma Cama: Sua Primeira Mudança de Jogo da Noite
Uma cama faz duas coisas principais:
- Nos permite pular a noite quando dormimos nela.
- Define nosso ponto de reaparição para aquela cama.
Para criar uma cama precisamos de:
- 3 blocos de lã da mesma cor
- 3 pranchas de madeira
Na bancada de trabalho: Primeira linha 3 lã, segunda linha 3 pranchas.
Conseguimos lã derrotando ovelhas (1 lã por ovelha, normalmente) ou, depois, tosquiando-as com tesoura (2 lingotes de ferro em padrão diagonal).
No primeiro dia normalmente não temos ferro, então simplesmente caçamos três ovelhas da mesma cor. Se conseguirmos fazer uma cama antes de escurecer, a colocamos em nosso abrigo e dormimos assim que o jogo permitir. Se não conseguirmos encontrar ovelhas, dependemos de nossa base selada, tochas, e alimento, depois fazemos uma cama prioridade para o segundo dia.
O Que Fazer Dentro de Seu Abrigo: Atividades Produtivas da Primeira Noite
Uma vez selados dentro com luz, enfrentamos cerca de dez minutos reais de noite. Podemos esperar ou usar esse tempo bem.
Se já temos uma cama:
- Durma e pule direto para o amanhecer.
- Nosso ponto de reaparição se move para a cama, e acordamos seguros.
Se não temos cama, ainda podemos ser produtivos:
- Cozinhe todo alimento cru na fornalha.
- Expanda a sala um pouco para ser mais fácil se mover e construir.
- Crie um baú (8 pranchas em forma de anel) para armazenar ferramentas extras, blocos, e valores.
Esse também é um ótimo momento para iniciar uma mina em escada de dentro da base.
Começando Sua Mina: Exploração Subterrânea Segura
Minerar é uma forma inteligente de passar a noite. Enquanto a superfície se enche de inimigos, o espaço sob nossa base pode ser calmo e cheio de minério.
Uma mina segura inicial:
- Do piso do abrigo, cave um bloco para frente e um para baixo.
- Entre na lacuna.
- Repita, criando uma escada em vez de um drop reto.
Conforme avançamos:
- Coloque tochas a cada alguns blocos.
- Mantenha a escada larga o suficiente para caminhar confortavelmente.
- Ouça sons de criaturas através das paredes para evitar entradas de caverna repentinas.
Objetivos iniciais de mineração:
- Carvão para tochas e combustível.
- Ferro para ferramentas mais fortes, armadura, e depois um escudo e tesoura.
Técnicas de Mineração Seguras Para Iniciantes
Alguns hábitos simples previnem a maioria dos desastres subterrâneos:
- Mantenha tudo iluminado: Coloque uma toca a cada 10-12 blocos.
- Não cave reto para baixo ou reto para cima: Use escadas ou uma inclinação suave.
- Ouça com cuidado: Gemidos altos de zumbi ou chocalhos de esqueleto significam uma caverna próxima.
- Proteja a entrada: Coloque uma porta ou blocos no topo da escada para que criaturas da superfície não entrem.
"Nunca cave reto para baixo." - Todas as listas de dicas do Minecraft, sempre
Básicos de Combate: Se Defendendo Quando Não Há Opção de Se Esconder
Na primeira noite, evitar combate é geralmente melhor. Um abrigo seguro e iluminado bate esqueletos com sem armadura. Ainda assim, erros acontecem. Saímos no momento errado ou abrimos uma parede de caverna e olhamos direto para um creeper.
Combate é outra ferramenta, não um concurso de bravura. O objetivo é vencer em nossos termos e correr quando as coisas ficam ruins.
Entendendo Combate Corpo a Corpo Básico
- Use uma arma: Mãos nuas fazem muito pouco dano. Uma espada de pedra ou machado de pedra bate muito mais forte.
- Observe o tempo de ataque: Depois de cada balanço, um pequeno medidor se enche. Esperar um momento entre balanços torna cada golpe contar mais.
- Use movimento: Avance para golpear, depois recue para evitar contraataques.
- Golpes críticos: Pular e golpear enquanto caímos pode causar dano extra.
Estratégias de Combate Específicas por Criatura
- Zumbis: Aproxime-se, faça um golpe com tempo de espera completo, depois recue. Fique atento a mais zumbis atrás do primeiro.
- Esqueletos: Não corra direto para eles. Zigzague e use árvores ou blocos como cobertura. Uma vez em alcance corpo a corpo, mantenha-se perto para que não conseguissem disparar livremente.
- Creepers: Se um começar a sibilar, corra, dê um golpe, depois corra 3-4 blocos de volta. Se está prestes a explodir e estamos muito perto, fuja.
- Aranhas: Lutar com elas de um bloco acima do terreno ajuda. Círcule para os lados enquanto elas pulam e golpeie quando aterrissam.
Se uma luta se sente ruim - saúde baixa, muitas criaturas, ou um creeper surpresa - corra para o abrigo, anel de tochas, ou uma colina próxima. Fechar uma porta é jogada inteligente.
O Que Acontece no Amanhecer: Transição Para o Segundo Dia
O amanhecer é nossa recompensa por uma boa noite:
- O céu brilha.
- Zumbis e esqueletos queimam à luz solar direta e desaparecem.
- Alguns deixam carne podre, ossos, ou flechas que podemos coletar.
Mas a manhã não é perfeitamente segura:
- Creepers não queimam e ainda podem estar espreita perto de nossa porta.
- Aranhas geralmente ficam neutras à luz do dia mas podem bloquear caminhos.
Quando primeiro abrimos nosso abrigo:
- Olhe para fora em vez de sair correndo.
- Procure por creepers próximos.
- Elimine ameaças na soleira.
- Colete qualquer queda de criaturas queimadas.
Os objetivos do segundo dia geralmente incluem:
- Conseguir três lã para uma cama se ainda não temos.
- Minerar mais ferro para ferramentas, armadura, e um escudo.
- Melhorar nossa base com portas, janelas, e talvez uma pequena fazenda.
Uma vez que sobrevivemos uma noite, as próximas ficam mais fáceis. Cada dia adiciona mais equipamento, luz, e paredes.
Conclusão
Dominar a primeira noite no Minecraft é um grande passo. É onde nos movemos de "O que está acontecendo" para "Sabemos o que fazer."
Caminhamos pelo ciclo completo:
- Apareça e pegue madeira.
- Crie uma bancada de trabalho, paus, e ferramentas de pedra.
- Construa algum tipo de abrigo antes de escurecer.
- Faça tochas se possível.
- Caçe e cozinhe alimento para manter a saúde se regenerando.
- Use o tempo da noite para crafting, mineração, e organização.
- Almeje uma cama para pular noites futuras e mover nosso ponto de reaparição.
Todo especialista em Minecraft com uma base gigante uma vez derrubou sua primeira árvore e se escondeu de seu primeiro esqueleto como fazemos. A diferença é prática, hábitos, e um plano claro.
Procurando servidores do Minecraft para jogar? Ou confira nossas ferramentas do Minecraft para ajudar em seu mundo de sobrevivência. Quer personalizar sua aparência? Navegue nossa coleção de skins do Minecraft.
Perguntas Frequentes
O Que Acontece Se Eu Morrer na Minha Primeira Noite?
Quando morremos, reaparecemos em nosso ponto de reaparição: o ponto de reaparição original do mundo se nunca dormimos em uma cama, ou naquela cama se temos. Nossos itens caem onde morremos. Temos cerca de cinco minutos reais para correr de volta e pegá-los antes de desaparecerem.
Posso Pular Construir um Abrigo Se Apenas Ficar em um Buraco no Chão?
Sim. Um simples buraco selado no chão conta como abrigo. Cave alguns blocos para baixo e feche o topo com terra ou pedra para que não haja lacunas. O jogo não se importa se vivemos em uma caixa de terra, uma caverna, ou uma casa legal.
E Se Eu Não Conseguir Encontrar Carvão Antes de Escurecer?
Se carvão é difícil de encontrar: crie uma fornalha com 8 blocos de pedra bruta, asse toras de madeira com pranchas ou toras como combustível, e o resultado é carvão vegetal que funciona como carvão para tochas.
Como Eu Sei Quando a Noite Está Prestes a Começar?
Observe o sol: ele nasce de um lado do céu, se move acima, depois desce do outro lado. Quando o sol está aproximadamente na metade descendo em direção ao horizonte, é hora de voltar para nosso abrigo.
É Melhor Lutar Contra Criaturas ou Se Esconder na Primeira Noite?
Para jogadores novos, se esconder é geralmente melhor que lutar. Sem armadura e com armas básicas, combate é arriscado. Até jogadores hábeis ainda construem abrigos e dormem em camas. Sobreviver é estratégia inteligente, não covardia.
O Que Eu Faço Se Aparecer em um Local Ruim Sem Árvores Próximas?
Escolha uma direção e corra em linha reta até vermos árvores. Não vague em círculos; madeira é muito importante. Se apareçamos em um oceano gigante ou deserto infinito sem árvores visíveis, recomeçar o mundo pode ser mais rápido que lutar.
Lead writer at minecraft.how. Long-time Minecraft player running a small SMP server, testing every build, mod, and seed before writing about it.


