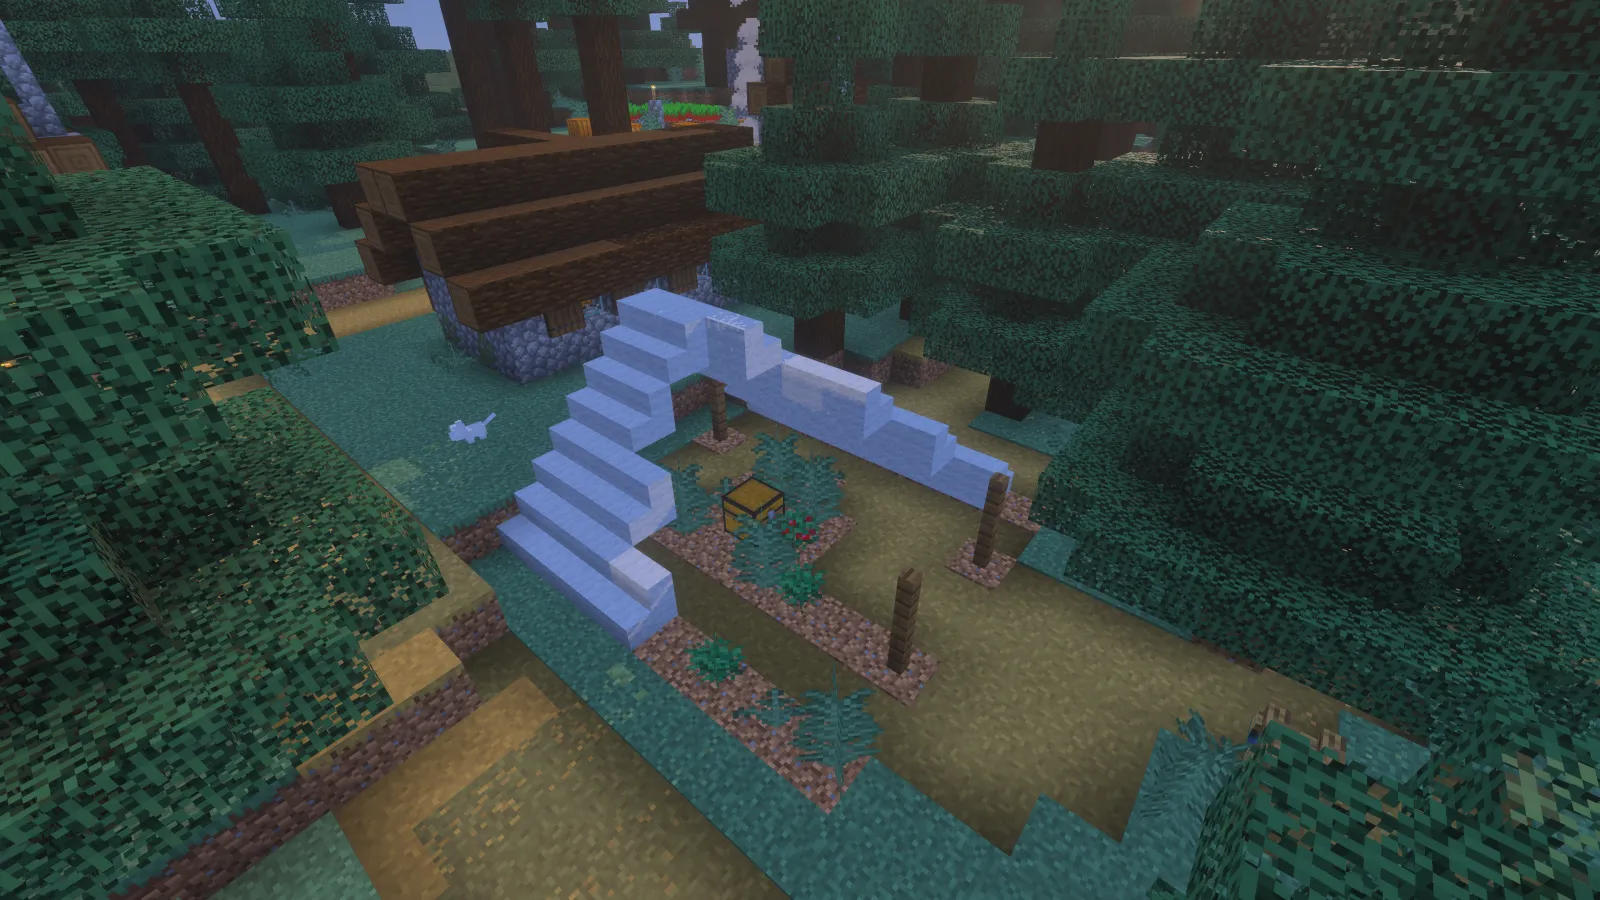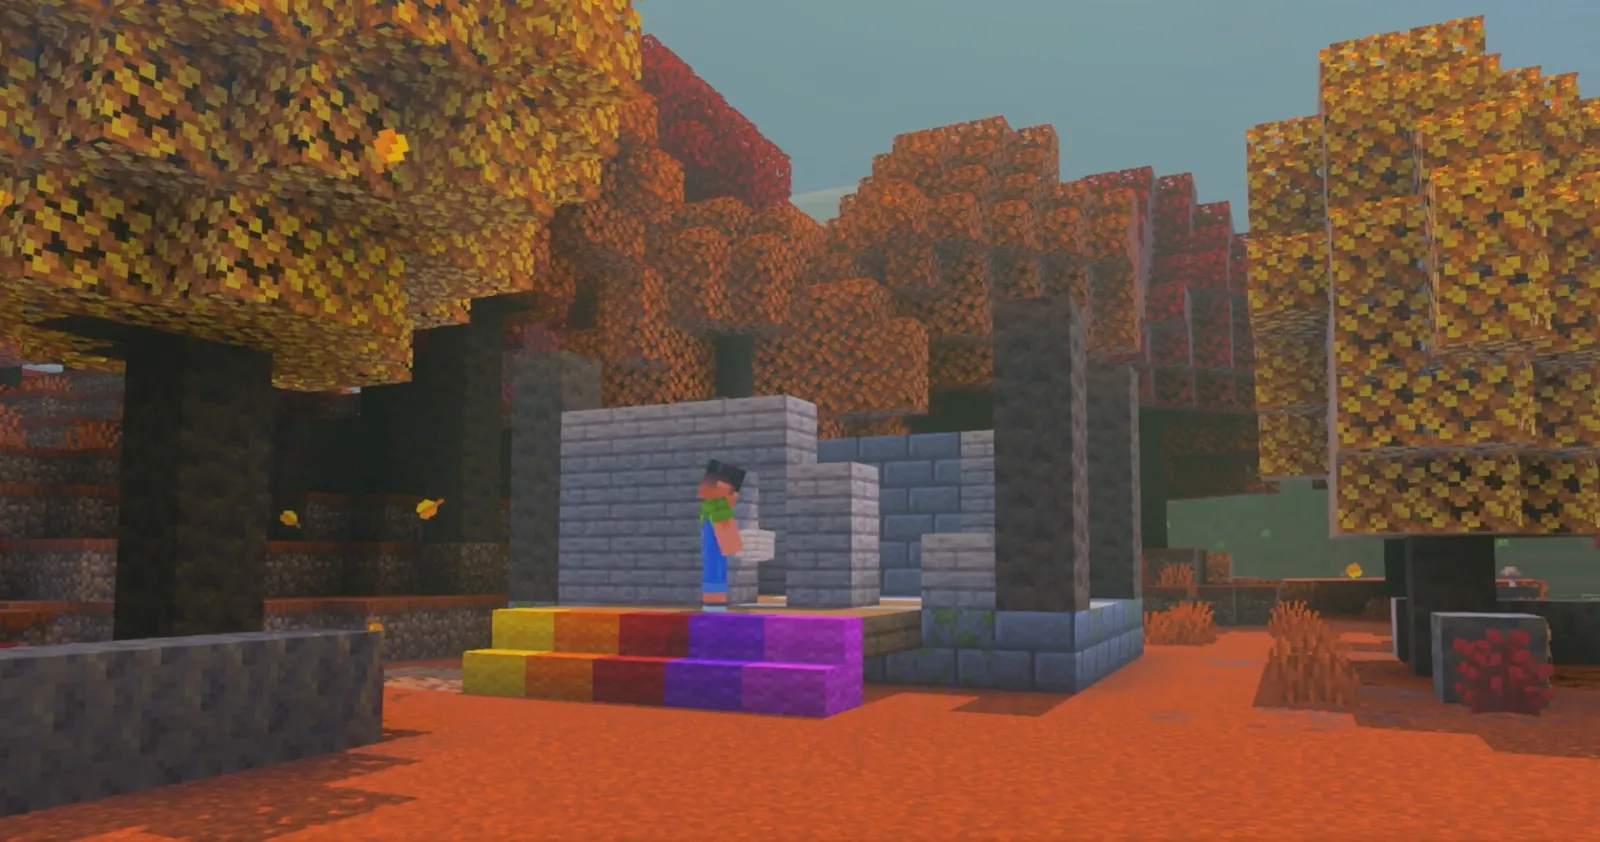

The Dappled Forest is a visually distinctive new biome in Java 26.3. Its Poplar Trees, fallen trunks, Shelf Mushrooms and Red Shrubs make it tempting to clear a large area for a base, but a smaller build can preserve the landscape's character.
The best approach is to plan around the terrain instead of treating the biome as an empty plot. Walk the area first, identify natural clearings and keep existing Poplar Trees, fallen trunks and Shelf Mushrooms where they help the landscape feel intact.
What Makes the Dappled Forest Worth Preserving
The Dappled Forest is a distinct forest biome that can generate near cold biomes. Its Poplar Trees, fallen Poplar Trees, Shelf Mushrooms and Red Shrubs give the area a recognisable woodland character. Large clearings and broad terraces can remove that character, so plan the base around the existing vegetation.
Java 26.3 introduced the Dappled Forest together with Poplar Trees, Shelf Mushrooms and Red Shrubs. The update also added a Poplar wood set and Wool Stairs and Slabs. Concrete Stairs and Slabs arrived later in 26.3 Snapshot 7. These are 26.3 features, not Java 26.2 additions.
Use the new materials as options for a consistent palette, not as instructions that every build must use them.
Building Around the Trees, Not Over Them
This is where most people go wrong. They see a nice flat area and immediately think "base here, trees gone." What actually works is the opposite direction.
Start by walking the biome without mining anything. Seriously. Just explore. Look for natural clearings that already exist. You'll find spots between trees, small meadows, areas where the terrain creates alcoves. These are your real estate.
If you find the perfect spot but there's one tree in the way, fine. Take that tree. But if your ideal base location requires removing many trees, pick a different spot. Your future self will appreciate it when you're actually living there and not looking at a scarred landscape.
Use existing tree clusters as natural privacy walls and visual boundaries. Keep the trees that frame the entrance or provide a useful canopy, and place the building in a nearby clearing.
New Blocks That Fit
Here's where the Java 26.3 update becomes useful beyond just "new stuff to craft."

Poplar wood gives you a new material family for cabins, bridges and accent walls. Use it as the main structure or as trim, then compare the result with existing stone, glass and other wood blocks in the actual biome before committing to a large build.
Wool Stairs and Slabs provide matching shapes for all wool colours. They can soften rooflines and create layered paths or seating areas. Wool also dampens vibrations like other wool blocks, so it can be useful in builds where sculk or vibration-sensitive mechanics matter.
Shelf Mushrooms are weird and wonderful. Okay, they're technically bouncy blocks, but functionally they work as visual breaks. Build a mushroom garden between your base and the forest edge. It's decorative and it creates a natural buffer zone.
Layout Strategy Without Clearing
The key to preservation is vertical thinking. Taller isn't always better, but it is smarter. Your base footprint should be smaller than you think is necessary.
Build upward. Build into hillsides. Use the terrain itself as part of your structure. If there's a slope, use it. Stone and wood can blend with height in ways that flat sprawling bases can't. A two-story cottage tucked into a gentle hill reads as "part of the biome" rather than "somebody's fort planted here."
One more thing: consider splitting your base into smaller buildings rather than one large structure. A main house, a workshop, storage building scattered through the clearing. This breaks up the visual impact and you can position each building to work around existing trees rather than against them.
A Specific Example
For example, a compact cottage can sit in an existing clearing, with a separate workshop and storage shed placed along the edge of the trees. Keep enough space between buildings for paths and natural vegetation.
The important measure is not a fixed number of cleared blocks. Keep the footprint as small as your build allows, preserve the vegetation that gives the site its character and avoid flattening terrain just to create a perfectly level platform.
Practical Details That Make a Difference
Use fencing strategically. Fences use planks and sticks, but they define space without requiring a solid wall. A fence line around your property edge keeps it feeling intentional without requiring mass deforestation.


Plant intentionally. Use existing Red Shrubs, Shelf Mushrooms, Poplar Leaves and ground vegetation as part of the landscaping. Add other plants only where they fit the local palette, and leave some sections untouched so the built area contrasts with the forest.
Consider leaving some areas totally wild. You don't need to develop every part of your property. A small grove of untouched forest right next to your house actually makes your build look better by contrast. It proves you could've cleared it but didn't.
The rules on your server matter. If you're playing multiplayer, make sure your guidelines protect the biome. On a multiplayer server, agree on clear rules for claims, tree removal and public paths before players start building. Document the rules near spawn and apply them consistently so one player's project does not clear another player's area.
The same principle applies to shared projects: agree on a palette and building footprint before several players work in the same area.
Why This Matters
You could absolutely crater the Dappled Forest and build whatever fortress you want. Vanilla Minecraft doesn't punish you for it. But there's something genuinely satisfying about working with the landscape instead of conquering it.
The Dappled Forest is new enough that it still has character. A base that follows the terrain will stand out because it fits the biome instead of dominating it. That's worth the extra planning.