Building Your Own Minecraft Adventure Map: Complete Guide
Adventure maps are custom Minecraft worlds designed to guide players through intentional challenges, objectives, and experiences rather than leaving them to explore randomly. Whether you want to create a puzzle dungeon, a parkour gauntlet, or a story-driven narrative experience, you'll use a mix of vanilla building, command blocks, and redstone logic to pull it off. This guide walks you through the entire process.
Understanding What Makes an Adventure Map Different
The key difference between an adventure map and a regular Minecraft world is intentionality. You're not building a place for open-ended survival, you're building an experience with a defined goal. That goal might be "survive the dungeon," "solve these puzzles to progress," or "help the village recover from a disaster," but it's there.
Some maps focus purely on exploration and discovery, rewarding players for poking around in hidden areas. Others are challenge-heavy: parkour courses, combat gauntlets, or logic puzzles. Here's the thing, a few are narrative-driven, unfolding a story as players complete objectives. Most good adventure maps actually combine multiple elements.
Here's the thing though: not every map needs to be "serious." Some of the most fun maps I've played are deliberately absurd or goofy. I spent hours on a ridiculous parkour map where falling respawns you at a checkpoint, and it was perfect for that specific vibe. The point is to know what you're building.
What separates adventure maps from regular worlds is guided progression. Your players should understand what they're supposed to do and roughly where the content lives. Even if that goal is just "survive for 30 minutes," players know it.
Planning Your Concept Before Building Anything
Most failed adventure map projects fail before the building even starts. They lack direction. Before you place a single block, sit down and answer these questions: What's the genre? How long should it take to play? What's the core mechanic? Who's your audience? Is there a story, and if so, what's the arc?
Your concept document doesn't need to be elaborate. I usually write mine in a text file with basic sections: genre, theme, estimated playtime, target difficulty, key story beats if applicable, and major location names. That's honestly enough to get moving.
Once you've a concept, rough out your layout.
This is where you block out major areas: spawn zone, main progression path, side challenges, treasure locations, final boss arena, safe zones, whatever applies. Don't be precise. A sketch on paper or quick notation in MCEdit to mark regions is fine. The goal is just making sure everything flows logically and you're not building a massive maze without knowing why.
Your world's visual theme should emerge from this planning phase too. Fantasy kingdom? Sci-fi facility? Underground cavern network? Post-apocalyptic ruins? Your terrain style, building materials, and decoration all flow from this choice. Consistency matters way more than complexity for adventure maps feeling cohesive.
Building Terrain and Structures
This is the time-intensive part. Depending on your map's scope and your experience level, terrain and building could take weeks or months.
Start with major landscape work. Use tools like Worldedit to shape mountains, valleys, and biome regions quickly. Paste themed terrain sections, carve out caves, add custom water features. Hand-building everything is possible but exhausting. Save your hands for custom details.
Layer your structures and buildings on top of terrain. Whether you're building fortresses, temples, villages, or abstract structures, get your playable spaces functional first. Pretty decorative details come later when you understand the overall style better.
One recommendation: build your spawn area dead last, even though players see it first. You'll have a clearer sense of your map's personality and aesthetic by the time you finish. Your spawn should be polished and set the tone perfectly. Rushing it early means rebuilding it later.
For landscape texturing, mix block types constantly. Don't build mountains out of pure stone. Layer stone variants, add dirt, grass, gravel, and custom details like fallen trees, boulders, and smaller vegetation. Varied textures make terrain feel natural and lived-in.
Playtest with friends early to catch game-breaking terrain issues.
Adding Interactivity with Commands and Redstone
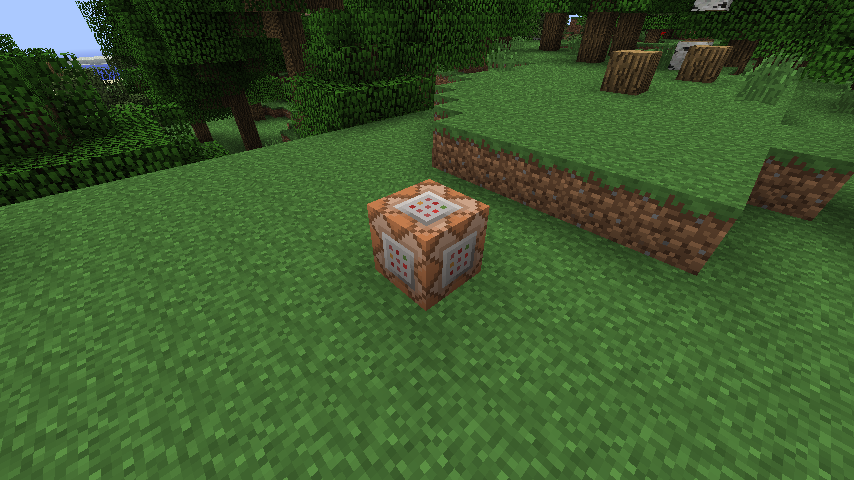
This is where vanilla Minecraft's real power emerges. Command blocks let you trigger events, display messages, teleport players, spawn mobs, check player inventory, and manage progression. Redstone circuits let you build logic without any coding.
Basic command examples: "/give @p diamond_sword" gives the nearest player a sword. "/tp @a 100 64 200" teleports all players to specific coordinates. "/say Adventure complete!" broadcasts a message. You chain these into sequences using command block delays to create cutscenes or progression gates.
In most adventure maps, command blocks handle:
- Triggering doors or gates when objectives complete
- Displaying story dialogue and progress updates
- Spawning mobs or lighting effects for dramatic moments
- Checking if players have specific items before unlocking content
- Teleporting players to checkpoints on death
Redstone circuits add mechanical logic without commands. Pressure plates, tripwires, repeaters, and comparators let you build mechanisms that respond to player actions. A simple example: step on a pressure plate, triggering a piston door to open. Or use a hopper clock to spawn enemies in waves.
Don't overload redstone logic though. Complex redstone farms and command spam cause performance drops, especially on servers running Minecraft 26.1.2.
Actually, here's a practical note: if you're planning to distribute your map for server use, keep commands simple and avoid performance-heavy redstone patterns entirely. Server hosts won't thank you for a laggy map.
Testing, Refinement, and Distribution
Before releasing your map, playtest it thoroughly with people who haven't seen it before. Seriously. Your perspective as the builder is completely biased. You know every puzzle solution, every shortcut, every intended path. Your players won't.
Invite a small group of trusted players to test and gather feedback. Watch where they struggle, where they get confused, where they've fun. Take notes. Don't explain mechanics ahead of time - let them figure it out and observe what's confusing.
Look for these common issues:
- Can players accidentally lock themselves out of progression?
- Are objectives clear, or do players get confused about goals?
- Do difficulty spikes happen at logical points?
- Are there unintended shortcuts that trivialize challenges?
- Does performance hold up throughout?
Refine based on feedback. Clarify unclear objectives, adjust difficulty, fix bugs, tighten pacing. This iteration phase separates good maps from great ones.
When you're ready to release, you'll need a distribution method. Websites like Planet Minecraft or CurseForge work well, or you can host files directly. Make sure you clearly state which Minecraft version your map supports (Java version 26.1.2 or earlier, Bedrock, etc.). Some features don't carry across platforms - command syntax differs between Java and Bedrock, for instance.
For servers hosting your map, consider setting up voting rewards. You can use a votifier tester to verify your voting system works properly. It's a great way to incentivize players discovering your map on server listing sites.
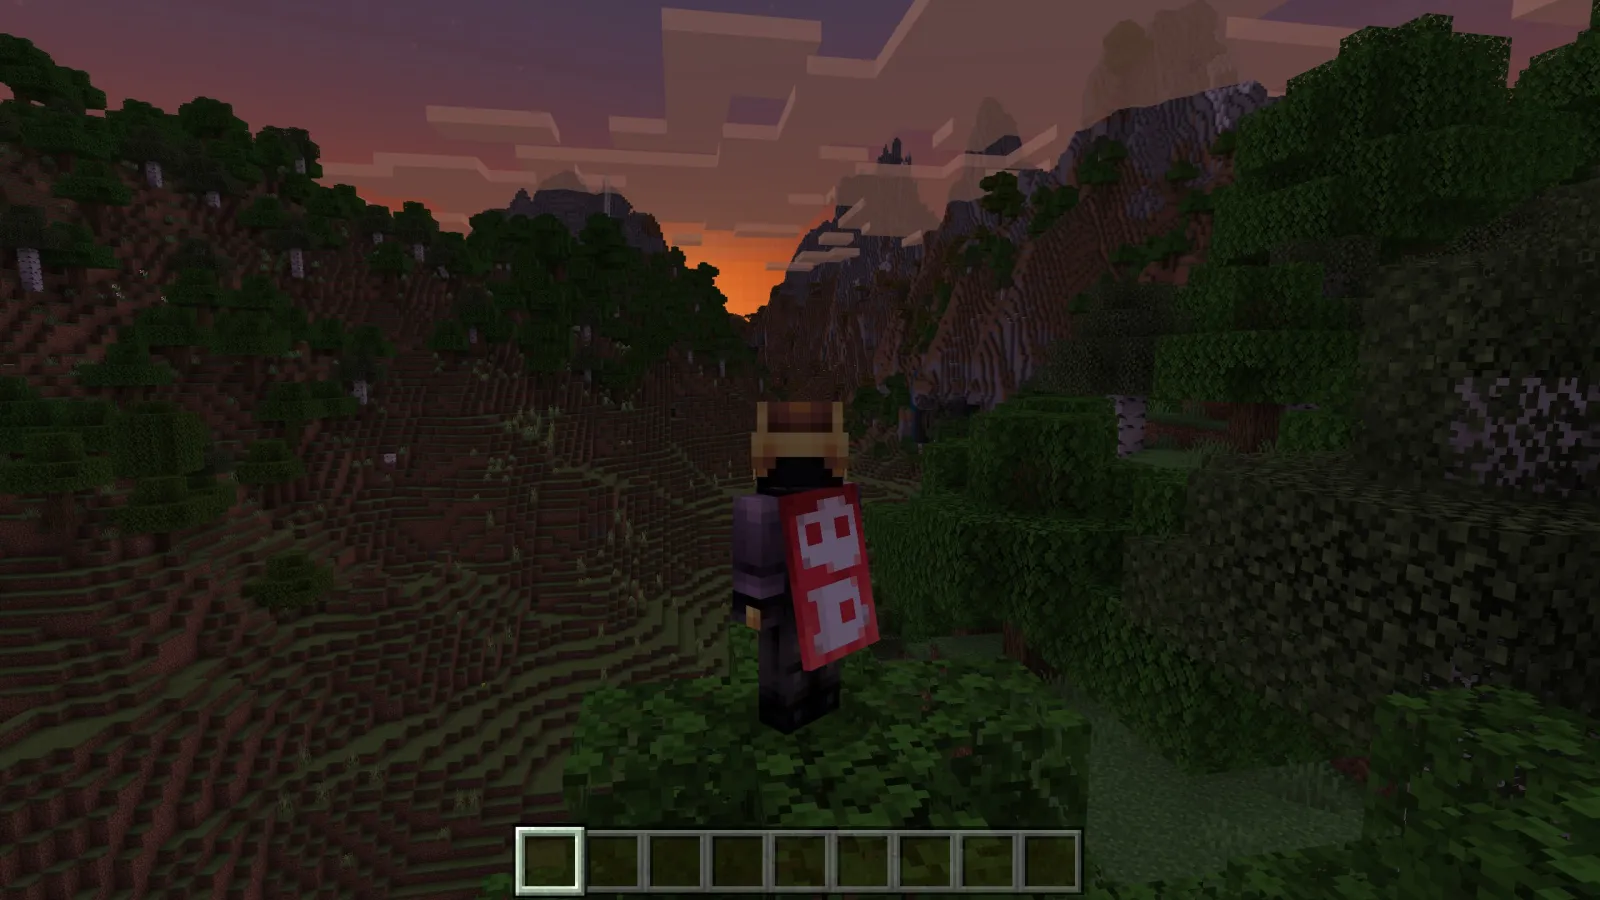
Custom player skins can also enhance the experience. Our skin collection has themed skins that might fit your map's world. You could even host a custom skin pack for players to use during gameplay, adding another layer of immersion.
Avoiding Common Pitfalls
Scope creep kills more adventure maps than any other factor. You start with a tight concept, then think of ten more cool additions. Suddenly you're building an empire when you intended a single dungeon. You burn out halfway through. Set a concrete scope and stick to it. Finish your first map, even if it's smaller than your ideal vision. You can always make a sequel.
Inconsistent aesthetics break immersion fast. Mixing hyper-realistic medieval architecture with abstract geometry looks jarring. Pick a visual style and commit to it throughout. Every player should feel like they're exploring one cohesive world.
Poor progression confuses players.
If objectives aren't clear or the path forward is ambiguous, players get frustrated and lost. Use visual cues, signage, and deliberate design to guide them. Your intended progression should feel obvious in hindsight, even if players have to figure it out initially.
Balancing difficulty across different skill levels is hard. Playtest with casual players and skilled players separately. Adjust your map so it works for both. Include optional hard-mode challenges for veterans, but keep the core experience accessible.
Assuming players understand your design is another trap. Just because you designed a puzzle doesn't mean the solution is obvious. Ask playtesters what they think they're supposed to do before explaining. If multiple people get stuck on the same spot, redesign it.
Ready to Create
Making an adventure map pushes your creative and technical Minecraft skills in equal measure. It's one of the most rewarding things you can build in Minecraft. Start with a small, focused concept, iterate based on playtester feedback, and you'll finish something genuinely worth sharing.
Lead writer at minecraft.how. Long-time Minecraft player running a small SMP server, testing every build, mod, and seed before writing about it.