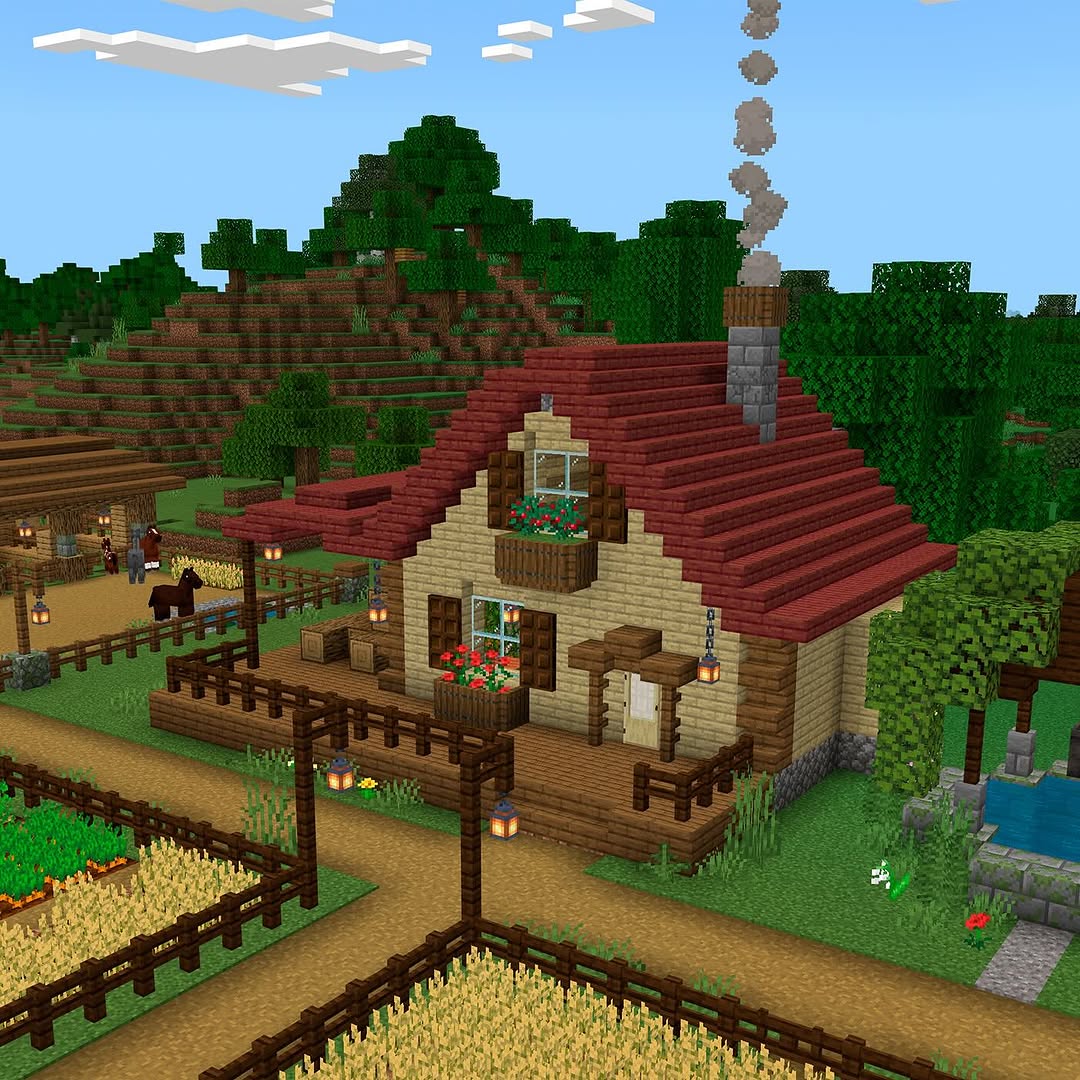
마인크래프트에서 번창하는 정원 구축: 완벽한 가이드
Minecraft gardening is about creating a functional space that produces food, looks good, and gives you a reason to spend time outside your base. It's not just rows of wheat (though that works). With some planning, you can build a garden that's both useful and beautiful. Let me walk you through the whole process.
Picking Your Location and Preparing the Ground
The best gardens start with decent planning. Find a flat area near your base, ideally somewhere visible since you'll be looking at it a lot. Clear out at least a 20x30 block area to start with. Bigger is better, but you can expand later if you get the gardening bug.
Water is your first priority. Crops need water within four blocks horizontally (or one block directly above). The standard approach is a grid: till soil in rows, leave a gap every four blocks, and fill those gaps with water channels. Sounds mechanical, but it actually looks good once you add decoration around it.
Light matters too. Crops need light level 9 or higher to grow. During the day in the overworld, you're fine. Underground or under a roof? Add lanterns, glow berries, or soul lanterns. If you're on version 26.2, glow berries are perfect because they provide light and look organic. They work especially well in cave gardens.
Which Crops Should Grow Here?
This depends on what you actually need. Wheat and potatoes produce food reliably. Carrots are more nutritious and easier to use early game. Berries work for food and animal breeding. Cocoa, pumpkins, and melons need more space but they're worth it if you've got room.
My honest take? Start with wheat and carrots. They're simple, they're reliable, and they actually matter for your playthrough. Everything else is optional until you've got the basics down. And I know some players swear by beets, but they're not as efficient per block as potatoes.
Don't forget decorative crops. Here's the thing, flowers, mushrooms, and hanging roots don't produce food, but they make gardens look incredible. A mix of both functional and decorative is where the real appeal comes in.
Layout Patterns That Work
Organization matters more than aesthetics here. Some players love the checkerboard (alternating crops and water), others prefer long rows. I've found that organizing by crop type works best: all wheat together, all potatoes together. It's easier to harvest, easier to replant, and you can actually find what you're looking for.
For bigger operations on multiplayer servers, check your server status before logging in for long gardening sessions. Use our Minecraft Server Status Checker to verify the connection is stable. Nothing's worse than harvesting crops on an unstable connection.
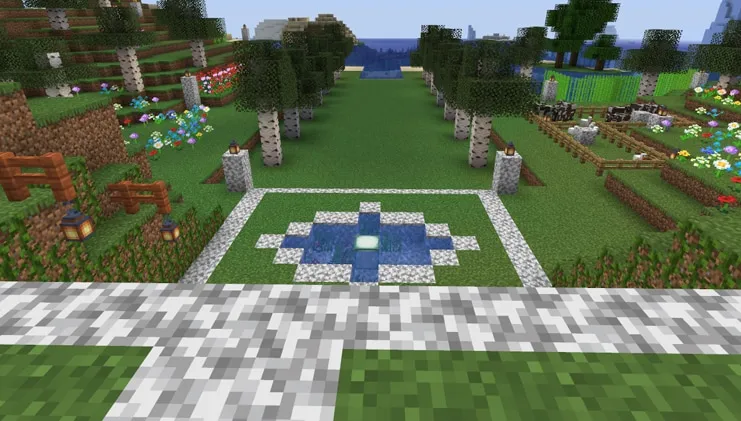
Mix in decorative elements between sections. Fences, path blocks, stairs, and slabs as borders transform a garden from "production space" to "actually nice to look at." Add composters or barrels for both decoration and actual storage. Height variation helps too, though it's more work. Tier sections at different heights using dirt or grass blocks. It turns a flat garden into something that feels like a real destination on your base.
Making Your Garden Look Good
Ever tried building a full kitchen with vanilla blocks? Yeah, it's rough. A garden is different. This is where vanilla design actually works.
Use thematic elements based on your biome. Desert gardens look better with terracotta and sand. Forest gardens benefit from wood and leaves. If you're using a lush biome seed like "Pink and White" (our community's current favorite), you've got beautiful landscape options built in. Check the biome maps at https://minecraft.how/seed/7-pink-and-white to plan around existing features.
Add these details:
- Signposts or hanging signs marking each crop section
- Walking paths through the garden using path or dirt blocks
- Benches or seating areas (just chairs and a table)
- Lighting that matches your theme (lanterns for modern, torches for rustic)
- Shade structures or greenhouses using half-slabs or trap doors
- Fences or walls to define the garden boundary
The garden becomes somewhere you actually want to spend time, not just a box you visit for inventory management.
Simple Automation That Doesn't Require Redstone Experts
You don't need complex contraptions to make harvesting easier. The simplest setup is water channels that push items toward a collection point. Dig a trench, place water, add a hopper at the end leading into a chest. Crops fall into the water when harvested, get pushed along, and end up in your storage. Done.
More advanced players add dispensers above crops for automatic hydration and a clock circuit for harvesting. But honestly, unless you're managing a massive SMP farm, manual harvesting keeps the garden feeling like actual agriculture instead of an industrial complex.
If you're gardening on a community server, consider voting for your favorite ones on minecraft.how. Popular servers like CraftMC and PRO STUDIOS welcome gardeners. You can test the voting system and server connection stability using our Minecraft Votifier Tester to ensure your votes count properly.
When to Expand and What to Add Later
Start small. A single 20x30 garden is plenty for learning what works. Once you're comfortable harvesting and replanting, you can expand. Add more crop types. Build a second garden dedicated to decoration. Create a greenhouse section. The progression feels natural if you don't overwhelm yourself at the start.
Bone meal can speed up crops, but it removes some of the satisfaction. I prefer waiting the few minutes for natural growth. It gives you time to work on other projects while crops develop.
Final Thoughts on Garden Building
Build what makes sense for your playstyle. Some gardens are tiny production spaces next to kitchens. Others are massive decorative landscapes. Both are valid. The best garden is one you'll actually use and enjoy looking at.
Start simple. Add decoration gradually. Don't stress about efficiency until you actually need it. And most pick a location you like spending time in. Your garden should feel like a real part of your base, not an afterthought.

Lead writer at minecraft.how. Long-time Minecraft player running a small SMP server, testing every build, mod, and seed before writing about it.
자주 묻는 질문
정원을 처음 만들 때 무엇을 가장 먼저 신경 써야 하나요?
작물을 더 효율적으로 배열하려면 어떻게 해야 할까요?
자동화 없이도 수확을 편하게 할 수 있는 방법이 있을까요?
정원에 자연스러운 장식을 더하려면 무엇을 사용해야 할까요?
정원을 나중에 확장할 계획이라면 어떤 팁이 도움이 될까요?
Have a Question or Tip about this Guide?Community Q&A
Ask a question or help other players below. Join the discussion and share your Minecraft tips!
댓글
아직 댓글이 없습니다. 첫 번째로 의견을 남겨보세요!