Minecraft 纹理包制作指南:从零开始到发布
Texture packs let you completely transform how Minecraft looks, from making trees glow neon to giving everything a photorealistic overhaul. Whether you want to create your own pack or modify existing ones, you'll need the right tools, a solid understanding of Minecraft's file structure, and honestly, more patience than you'd think. This guide walks you through everything from initial setup to testing and distributing your finished pack.
What's a Texture Pack?
A texture pack (officially called a resource pack in newer versions) is basically a ZIP file containing PNG images that replace the default textures in the game. Every block, item, entity, and UI element has its own texture file. When you replace those PNGs with custom versions, Minecraft loads them instead of the defaults.
The thing is, texture packs aren't just visual fluff. They can completely change the entire feel of your Minecraft world. Some players use them for nostalgia reasons (honestly, anyone else miss those old textures?). Others want photorealism, cartooniness, or something completely surreal. There's no single "right" reason to make one, which is kind of the whole point.
Bedrock Edition supports them too, though the setup differs slightly from Java Edition. The core concept stays the same though.
Getting the Right Tools
You don't need expensive software. Here's what actually works:
- Image editing software: Photoshop works great but costs money. Free alternatives are GIMP (powerful, sometimes clunky) or Paint.net (simpler, totally capable). Aseprite is excellent if you want pixel-perfect art but does cost a bit. I've tested packs made in all of these and they all produce solid results.
- ZIP compression tool: Windows and Mac have these built-in, but 7-Zip or WinRAR give you more control. And this matters because folder structure in resource packs has to be exact.
- Texture comparison tool: Optional but useful. I use a simple image viewer to compare my textures side-by-side with vanilla textures. Helps catch inconsistencies you'd miss otherwise.
Honestly? Start by downloading an existing texture pack from CurseForge and modify it rather than building from scratch. You'll understand the folder structure way faster and spend less time fighting with file organization.
Understanding the Folder Structure
This is where most people get tripped up. Your resource pack needs this exact layout, or Minecraft just ignores it:
- pack.mcmeta (a text file with pack information)
- assets/
- minecraft/
- textures/ (contains block/, item/, entity/, gui/, and more)
- sounds/
- models/
- minecraft/
The structure is strict. Assets go in minecraft/textures/, then separate folders for blocks, items, entities, GUI elements. One misplaced file and nothing loads.
Your pack.mcmeta file is the most important part. It's a simple JSON file telling Minecraft what version your pack targets. Here's what it looks like:
{
"pack": {
"pack_format": 32,
"description": "My Custom Pack"
}
}
The pack_format number changes with each Minecraft version. For the current Java release (26.2), it's format 32. For older versions, it's lower. Use the wrong number and players get an error message about incompatible versions.
The Actual Work: Designing Your Textures
Here's where you actually create something. Each vanilla texture in Minecraft is 16x16 pixels at default resolution, but modern packs often go 32x32, 64x64, or higher for extra detail. I've made packs at all these resolutions. Honestly? 32x32 feels like the sweet spot between visual quality and reasonable file size.
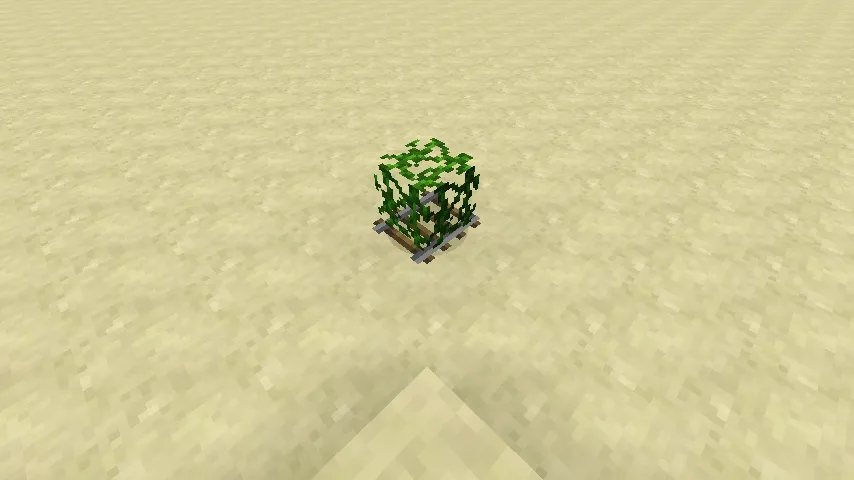
Start with one category. Pick something you'll see constantly - blocks like dirt, grass, stone. Replace them one at a time. This gives you quick feedback and keeps you motivated instead of staring at a list of 500 textures to do.
Color consistency matters more than you'd think. Your pack should feel cohesive. Weird outlier textures jump out immediately and wreck the aesthetic.
There's an art to scaling up textures properly. If you go from 16x16 to 64x64 and just use normal zoom, it looks blurry. GIMP's "No Halo" scaling works okay. Sometimes you're better off manually recreating details at the larger size to keep everything sharp.
Advanced texture packs include custom models (in assets/minecraft/models/) that actually change block shapes and item appearances. That's next-level stuff though. Start with just textures first. Get comfortable with that before adding complexity.
Testing Your Pack Before You Share It
You can't just guess. Test constantly. Drag your ZIP file into your resourcepacks folder (Java Edition:.minecraft/resourcepacks/), start the game, select it, and see what it actually looks like in-world.
Common mistakes I catch when testing:
- Forgetting to update pack.mcmeta when supporting a new Minecraft version
- Textures with wrong dimensions (32x32 when game expects 16x16)
- Broken transparency where things should be solid but aren't
- Textures looking fine in the editor but completely different when placed in the world
- Colors that seem great in daylight but turn muddy underground
Test in caves, underwater, in the Nether, with different graphics settings. Lighting changes everything. A texture that pops in bright daylight can look completely wrong when it's dark.
Test it on multiplayer servers if possible. Rendering sometimes behaves differently on dedicated servers, and you want to catch that before release.
If you're building texture packs for a multiplayer server environment, you might want to use our Minecraft MOTD Creator to customize your server's welcome message at the same time. Cohesive branding matters.
Sharing and Distributing Your Pack
Once you're satisfied, most people upload to CurseForge or Modrinth for Java Edition. Both are free, handle version management, and let players leave feedback. The community there is usually pretty supportive too.
Bedrock Edition is trickier. The official Marketplace requires approval, which takes time. Most Bedrock creators end up on alternative distribution sites instead.
Create a good preview image - a screenshot actually showing your pack in action. That's what convinces people to download. Write a solid description explaining which Minecraft versions it supports and what the aesthetic is aiming for. Include a changelog when you update it. People want to know what actually changed.
If you're customizing texture packs for complex multiplayer servers with custom travel routes through the Nether, you might also want to check out our Nether Portal Calculator for optimizing portal placements. Saves headaches when multiple people are building in the same space.
Keeping Your Pack Alive
Your first pack won't be perfect. That's totally normal. Real talk, improvement comes from iteration and feedback.
Post in texture pack communities. Discord servers, Reddit, forums - most communities are genuinely helpful about spotting weird colors or inconsistent styles. Criticism stings sometimes, but it's how you get better.
Update your pack when new Minecraft versions release. You don't need to add new textures for every update. Just update pack.mcmeta to the new format number and you're usually fine. Seriously - this is why so many texture packs on CurseForge are labeled "abandoned". Updating takes like five minutes.
Consider adding custom sounds or music. That goes in assets/minecraft/sounds/ and honestly, it can really enhance the atmosphere if you're going for a specific vibe. A peaceful texture pack with ambient forest sounds hits different than just visuals alone.
Keep a version history. Track what you changed in each update. Players appreciate knowing what you actually fixed versus just bumped the version number.
Lead writer at minecraft.how. Long-time Minecraft player running a small SMP server, testing every build, mod, and seed before writing about it.
Have a Question or Tip about this Guide?Community Q&A
Ask a question or help other players below. Join the discussion and share your Minecraft tips!
评论
暂无评论。快来抢占沙发,分享您的想法吧!